

Retainer Fit Check at Home: Your 2026 Guide
A retainer fit check at home is the process of assessing whether your retainer seats correctly, feels snug without pain, and holds your teeth in their corrected position. Skipping this check is a real risk. Tooth movement can begin within hours of missed retainer wear, with visible shifting often appearing within 6–12 months. Catching a fit problem early costs far less than correcting a relapse. This guide walks you through every step of a safe, thorough home assessment, including what tools you need, what warning signs to watch for, and when to call your orthodontist.
What do you need to check retainer fit at home?
A good retainer fit test starts with the right setup. Trying to assess fit in poor lighting or with a dirty retainer gives you unreliable results. Gather everything before you start.
Items you need:
- A well-lit room or a bright lamp positioned at face level
- A clean, flat surface to set your retainer down safely
- A handheld mirror or a bathroom mirror with good overhead lighting
- A timer or stopwatch (your phone works fine)
- Your retainer case and cleaning supplies
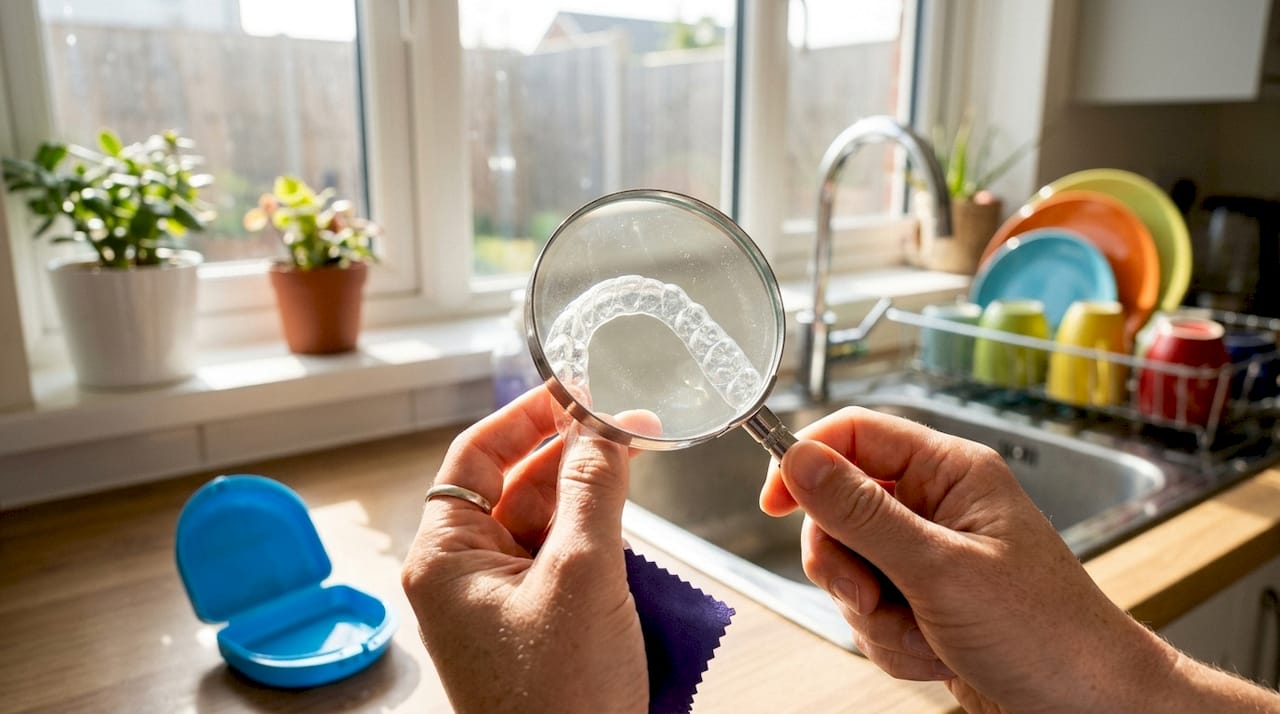
- Optional: a magnifying glass or your smartphone camera for close inspection
The magnifying glass tip is underused. Hairline cracks and early cloudiness are nearly invisible to the naked eye but show up clearly under magnification. Microscopic cracks reduce the corrective pressure your retainer delivers, so catching them early matters.
| Setup Item | Why It Matters |
|---|---|
| Bright lighting | Reveals cracks, cloudiness, and warping |
| Handheld mirror | Lets you view fit from multiple angles |
| Timer | Tracks how long discomfort lasts after insertion |
| Magnifying glass | Detects microscopic damage invisible to the naked eye |
| Cleaning supplies | Ensures the retainer is hygienic before handling |
How to check retainer fit at home: step-by-step
This is the core retainer fit test procedure. Follow each step in order. Skipping steps, especially the cleaning step, leads to inaccurate results and potential harm.
-
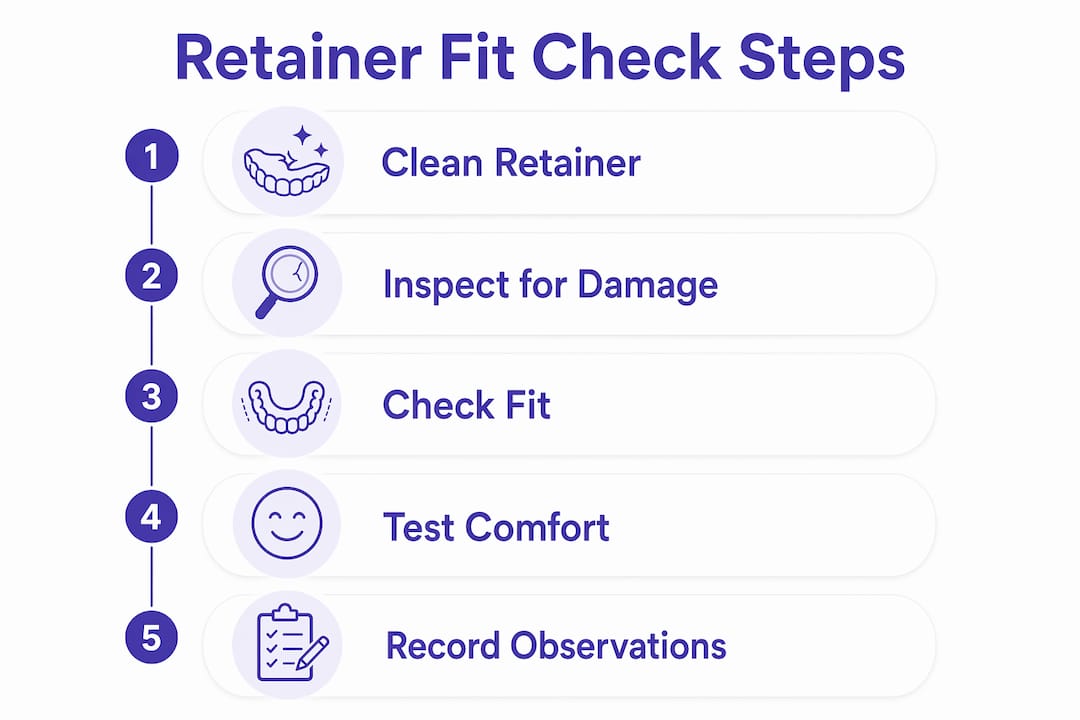
Clean your retainer first. Rinse it under cool water and clean it with a gentle, unscented soap. Avoid heat exposure at every stage. Hot water warps the plastic, which changes the shape and makes any fit assessment meaningless.
-
Inspect it visually before inserting. Hold the retainer up to your light source. Look for cracks, soft spots, cloudiness, or any warping along the edges. Check wire-acrylic junctions on Hawley-style retainers specifically. These are the first areas to show fatigue.
-
Insert gently with even pressure. Place the retainer over your teeth and press down or up with your fingertips, applying even pressure across both sides. Never use your tongue to force it into place.
-
Assess the feel immediately. A correctly fitting retainer feels snug but not painful. You may feel light pressure, which is normal, especially if you skipped a night of wear. Pain that is sharp, localized, or immediate signals a fit problem.
-
Check for wobble and gaps. Run your tongue along the inside edge of the retainer. Any wobble, rocking, or noticeable gap between the retainer and your teeth is a red flag. A well-fitting retainer stays still when you speak or open your mouth slightly.
-
Time your comfort window. Set your timer for 10 minutes. Mild pressure should ease within that window. If discomfort increases or does not change, note exactly where it occurs and how it feels.
-
Remove carefully. Use your fingertips to lift from the back molars first. Never yank from the front.
Pro Tip: Take a short video of yourself inserting the retainer and speaking a few words. Watching it back lets you spot wobble or gaps you might miss in the moment.
Orthodontists recommend wearing retainers nightly for the first year, then several nights per week after that. Regular wear also makes fit checks more accurate because the retainer and your teeth stay in consistent contact.
How to detect common retainer fit problems at home
Knowing what a problem looks and feels like is what separates a useful home check from a guessing game. Fit issues fall into three categories: comfort signals, visual damage, and structural changes.
Comfort signals to watch for:
- Sharp or localized pain on insertion, especially on one side
- A feeling that the retainer is pushing teeth rather than holding them
- Pressure points that do not ease within 10–15 minutes
- Headaches or jaw tension after wearing, which may indicate TMJ strain or bite changes requiring professional evaluation
- Looseness or a retainer that falls away from teeth during normal speech
Visual damage indicators:
- Cloudiness that was not there when the retainer was new
- Visible cracks, especially near wire junctions or along the bite surface
- Warping or an uneven edge that no longer follows the curve of your gum line
- Discoloration that does not clean off
How bite changes affect retainer fit is a question many people overlook. Natural bite shifts from grinding, aging, or dental work can make a previously well-fitting retainer feel tight on one side and loose on the other. That uneven pressure is a sign your bite has moved, not just that the retainer has worn out.
Structural damage signs including looseness, visible cracks, and inconsistent flexibility all indicate the retainer needs replacement. A damaged retainer does not just fit poorly. It can actively harm your gums and teeth if worn.
Pro Tip: Compare your retainer to a photo you took when it was new. Visual changes are easier to spot when you have a reference point.
For a detailed breakdown of when damage crosses the line into replacement territory, the 7 signs your retainer needs replacement guide covers each indicator clearly.
Common mistakes when checking retainer fit at home
Most retainer fit problems get worse because of what people do after noticing them, not because of the original issue.
Mistakes that cause real harm:
- Forcing a retainer that will not seat fully. Forcing an ill-fitting retainer risks tissue injury and retainer deformation. It does not push teeth back into position.
- Using hot water to soften a tight retainer. Heat warps the plastic permanently.
- Bending wires yourself to adjust a Hawley retainer. Wire adjustments require calibrated tools and clinical training.
- Dismissing sharp pain as “normal tightness.” Mild pressure is normal. Sharp or one-sided pain is not.
- Waiting weeks before contacting an orthodontist after noticing a problem.
Delaying professional consultation after a failed home fit check is the single most common reason minor retainer issues become expensive corrections. Early contact with an orthodontist simplifies realignment significantly compared to months of neglect.
Pro Tip: If your retainer feels tighter than usual after a few missed nights, wear it for short sessions of 30–60 minutes during the day before attempting overnight wear. If it still does not seat fully after two days, call your orthodontist.
Retainer tightness causes range from minor tooth drift to structural retainer changes. Understanding the difference helps you decide whether to wait or act.
Proper retainer cleaning practices also prevent the warping and buildup that make fit checks unreliable. A dirty or heat-damaged retainer gives you false information about your actual tooth position.
When should you see an orthodontist after a home check?
A home check tells you whether a problem exists. A professional assessment tells you what to do about it. These two things are not interchangeable.
Seek professional evaluation promptly if you notice any of the following:
- The retainer will not seat at all, even with gentle, even pressure.
- Pain persists beyond 15 minutes of wear or returns every time you insert the retainer.
- You see visible cracks, soft spots, or significant warping.
- The retainer rocks or gaps on one side but not the other.
- You experience jaw pain, headaches, or bite changes alongside fit issues.
Clinical guidelines advise against forcing an ill-fitting retainer and recommend professional evaluation whenever persistent discomfort occurs. That guidance exists because what feels like a minor fit issue can signal significant tooth movement underneath.
When you call your orthodontist, describe the problem clearly. Say where the discomfort is located, when it started, how long it lasts, and whether the retainer seats fully or partially. That information helps the orthodontist prepare for your visit and speeds up the assessment.
Orthodontists do not judge gaps in care. Early contact makes correction easier and less costly. Waiting months turns a simple retainer adjustment into a potential course of retreatment.
Pro Tip: Before your appointment, take clear photos of your retainer from the top, side, and front. Orthodontists find visual evidence of damage or warping useful when planning your assessment.
A professional orthodontic assessment evaluates bite changes and retainer pressure distribution to determine whether adjustment or full replacement is needed. If replacement is the answer, you have options that do not require multiple office visits.
Key Takeaways
A retainer fit check at home is your first line of defense against tooth shifting, and doing it correctly requires the right tools, a clear method, and knowing when to escalate to professional care.
| Point | Details |
|---|---|
| Start with a clean retainer | Always clean with cool water and gentle soap before any fit assessment. |
| Snug is normal, pain is not | Mild pressure eases within 10–15 minutes; sharp or localized pain signals a problem. |
| Visual inspection matters | Check for cracks, cloudiness, and warping before and during every fit check. |
| Never force a poor fit | Forcing a retainer that will not seat causes tissue damage and does not move teeth. |
| Act early on fit problems | Early orthodontist contact simplifies correction; delays make outcomes worse. |
Why home retainer checks changed how I think about dental care
Most people treat their retainer like a passive object. They put it in, take it out, and assume everything is fine unless something hurts badly enough to notice. That passive approach is exactly how years of orthodontic work quietly unravel.
What I have seen, working with people navigating retainer care, is that the ones who do regular home checks catch problems at the stage where a simple replacement fixes everything. The ones who skip checks show up months later with a retainer that no longer fits and teeth that have shifted enough to require retreatment.
The fear of finding a problem stops a lot of people from checking at all. That fear is understandable but backwards. Finding a problem early is the best possible outcome of a home check. It means you still have easy options.
Home checks are not a replacement for professional care. They are the reason professional care stays manageable. A 10-minute check every few weeks, done correctly, is one of the highest-return habits in dental maintenance. The method is simple. The payoff is real.
— Clear
Clearretain retainers make home fit checks easier
A well-made retainer is easier to assess at home because the fit is consistent and the materials hold their shape. Clearretain produces FDA-approved upper and lower retainers made under the supervision of experienced orthodontic technicians, at up to 80% less than traditional orthodontic office prices.
The premium upper and lower retainer set covers both arches with high-quality materials that resist warping and maintain their corrective pressure over time. If your home check reveals that your current retainer is past its useful life, Clearretain’s direct-to-consumer ordering process makes replacement fast and straightforward. You can also order a clear upper retainer or a lower teeth retainer individually, depending on which arch needs attention.
FAQ
How often should I do a retainer fit check at home?
Check your retainer fit every two to four weeks, or any time it feels different than usual. More frequent checks are worth doing during the first year after orthodontic treatment ends.
What does a correctly fitting retainer feel like?
A well-fitting retainer feels snug and stable with no wobble, gaps, or sharp pain. Mild pressure is normal, especially after a missed night of wear, and should ease within 10–15 minutes.
Can I fix a retainer that does not fit at home?
No. Forcing or bending a retainer at home causes tissue damage and does not correct tooth position. Contact your orthodontist for any retainer that will not seat fully or causes persistent pain.
How do bite changes affect retainer fit?
Natural bite shifts from grinding, aging, or dental work can make a retainer feel tight on one side and loose on the other. That uneven pressure signals that your bite has moved and warrants a professional evaluation.
When should I replace my retainer instead of adjusting it?
Replace your retainer when you see visible cracks, cloudiness, or warping, or when it no longer seats fully despite proper wear habits. Structural damage reduces corrective pressure and cannot be repaired at home.