


Retainer Impression Kit Instructions: Step-by-Step Guide
A retainer impression kit is a dental tool that lets you create precise molds of your teeth at home for custom retainers and orthodontic appliances. These kits bring a process once reserved for dental offices directly to your kitchen counter, cutting out the office visit and the markup that comes with it. Clearretain’s kits are FDA-approved and supervised by experienced orthodontic technicians, so the quality standard matches what you’d expect from a professional setting. Follow the retainer impression kit instructions correctly, and you get a retainer that fits like it was made in a clinic because it was made from your actual teeth.
What supplies do you need before starting the retainer impression kit instructions?
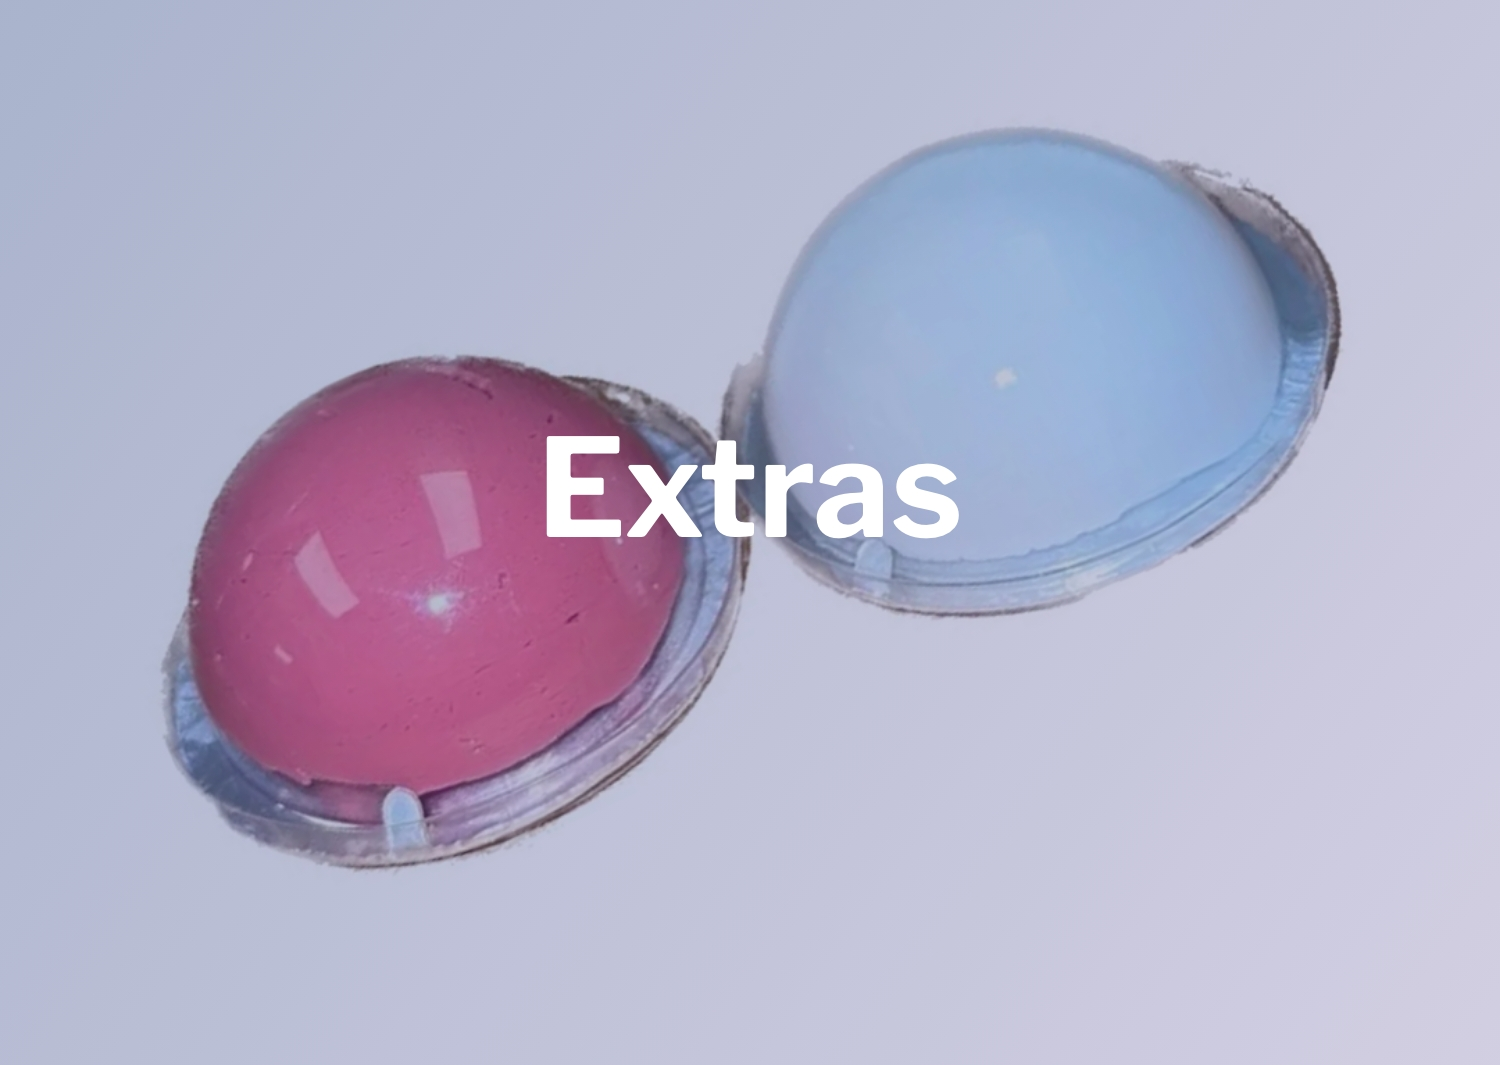
Preparation is the step most people skip, and it’s the one that causes the most failed impressions. Impression kits typically include trays in multiple sizes, impression putty, detailed instructions, and return packaging. Knowing what’s in the box before you open it saves time and prevents panic mid-process.
Beyond the kit itself, gather these items before you start:
- A timer. Setting time runs 3–5 minutes depending on the putty material. You need to track this exactly.
- A mirror. A handheld mirror lets you check tray placement without tilting your head and distorting the impression.
- A clean towel. Putty can drip. Keep one nearby.
- Good lighting. Natural light or a bright bathroom light helps you see tray positioning clearly.
- A glass of water. Rinse your mouth before starting to remove food debris.
Tray selection matters more than most people realize. Trays must cover all teeth and extend far enough back to capture the full dental arch, including the mucobuccal fold, which is the soft tissue where your gums meet your cheek. A tray that’s too small misses back teeth. A tray that’s too large sits uncomfortably and shifts during setting.
Brush and floss your teeth before taking any impression. Food particles trapped in putty create voids in the mold, which translate directly into gaps in your finished retainer. Rinse with water, not mouthwash, since some mouthwash formulas leave a residue that interferes with putty adhesion.

Pro Tip: Test the tray size dry before mixing any putty. Place it over your teeth without material and check that it covers your last molar on both sides. If it doesn’t, size up.
How do you take retainer impressions at home step by step?
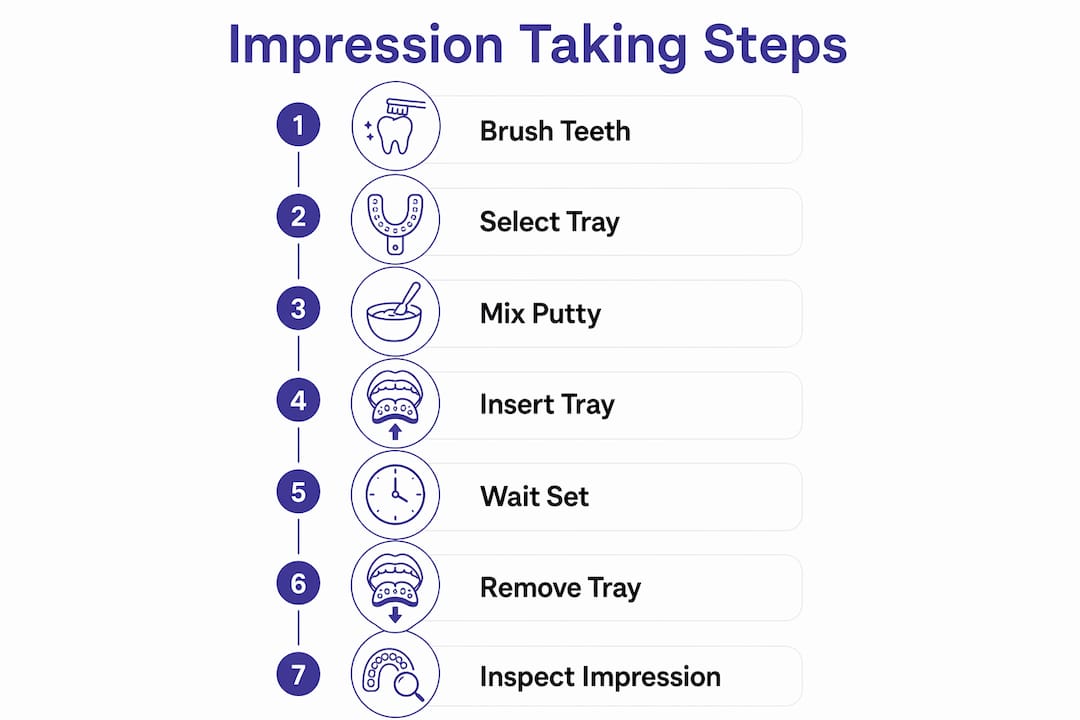
A successful at-home dental impression follows six steps in sequence. Skipping or rushing any one of them produces a mold that won’t translate into a well-fitting retainer. Work through each step deliberately.
-
Clean your teeth. Brush thoroughly and rinse with water. Dry your mouth slightly by breathing through it for 30 seconds. Excess saliva thins the putty surface and creates a weak impression.
-
Select and confirm your tray size. Do a dry run with the tray. It should seat comfortably over all teeth without pressing painfully into your gums. Refer to the sizing guide included in your kit.
-
Mix the putty to a uniform color. Most kits use a two-part putty system in two different colors. Knead both parts together until no streaks remain and the color is completely uniform. Putty must be mixed uniformly to avoid shrinkage and air bubbles that distort the final mold. Work quickly. Most putties begin setting within 60–90 seconds of mixing.
-
Load the tray evenly. Press the mixed putty into the tray in one continuous layer. Avoid pressing so hard that you push putty through the tray holes. The surface should be smooth and slightly domed in the center.
-
Center the tray and press it over your teeth. Start at the back of your mouth and press forward. Use your mirror to confirm the tray is centered on your midline. Press firmly and evenly so putty reaches all tooth surfaces and the gum line.
-
Hold completely still for the full setting time. Setting time runs 3–5 minutes depending on the putty formula in your kit. Any movement during this window distorts the mold. Breathe slowly through your nose and keep your tongue away from the tray.
Once set, remove the tray with a firm, straight pull. Do not rock it side to side. Check the impression immediately under good light.
Pro Tip: Take the lower impression first. Most people find it easier and less likely to trigger a gag reflex. Getting one clean impression builds confidence before tackling the upper arch.
The table below shows what a quality impression looks like versus a failed one.
| Quality indicator | Good impression | Failed impression |
|---|---|---|
| Tooth detail | Sharp, clear cusps visible | Blurry or smeared surfaces |
| Gum line | Captured fully around each tooth | Missing or shallow gum tissue |
| Coverage | All teeth present, including back molars | Missing teeth or partial arch |
| Bubbles | None visible | Visible pits or voids in putty |
| Tears | Putty intact throughout | Torn or cracked sections |
What mistakes should you avoid when taking impressions at home?
Most failed impressions come from the same handful of errors. Recognizing them before you start is the fastest way to get it right on the first try.
- Wrong tray size. A tray that’s too small misses molars. A tray that’s too large shifts during setting and distorts the arch shape.
- Incomplete putty mixing. Streaks in the putty mean uneven chemical activation. Sections with incomplete mixing stay soft longer and create voids.
- Moving during setting. Even a small shift in the last 60 seconds of setting time creates a warped mold. An ill-fitting retainer is the direct result.
- Ignoring the gum line. Gum line capture is essential for a retainer that snaps firmly onto your teeth. Impressions that miss gingival tissue produce loose retainers that fall out during wear.
- Pulling the tray at an angle. Rocking the tray sideways tears the putty and distorts tooth shapes. Pull straight down for upper impressions and straight up for lower ones.
If your impression has bubbles, tears, or incomplete coverage, do not send it. Most kits include enough putty for a second attempt. Use it.
“Physical putty impressions remain the standard for retainer mold accuracy, but they require strict adherence to mixing and timing to avoid shrinkage and air bubbles.” Clinicians who work with at-home impression kits consistently point to technique, not the material itself, as the deciding factor in impression quality.
Managing a gag reflex is a real concern, especially for upper arch impressions. Breathing steadily through your nose reduces the reflex significantly. Focusing on a fixed point on the ceiling also helps. If the reflex is severe, try applying a small amount of topical oral anesthetic gel to the back of your palate before starting. Check with your dentist first if you have any concerns about using topical anesthetics.
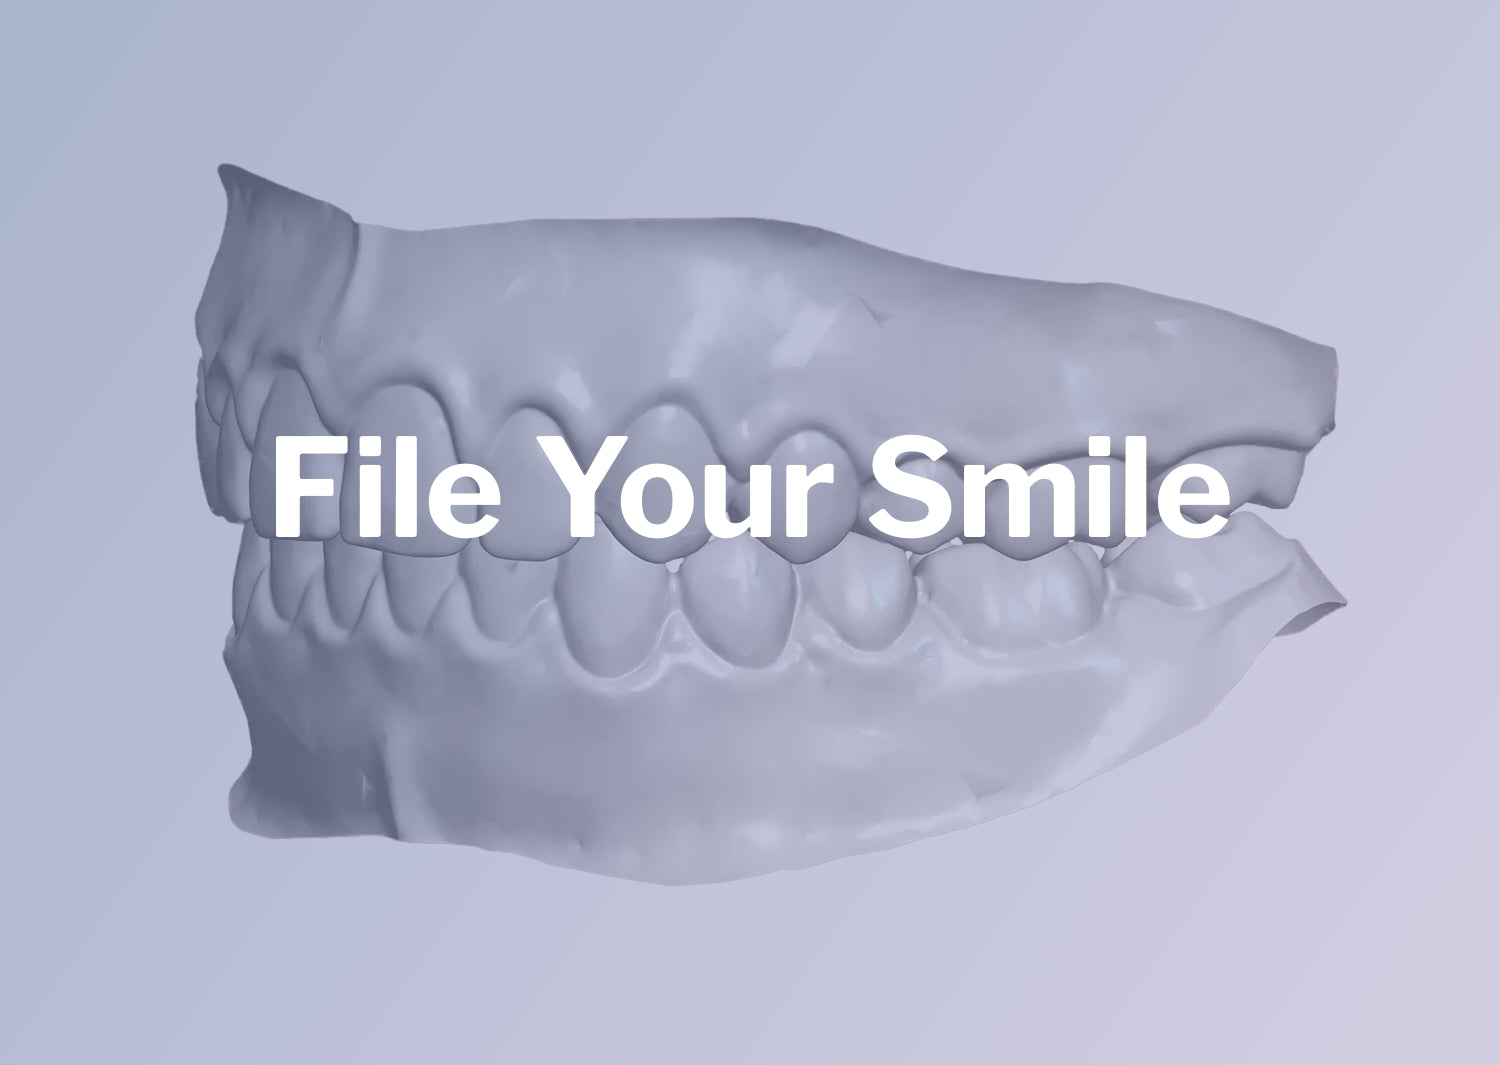
When an impression fails repeatedly despite correct technique, a professional digital scan may be the better path. Digital scanning eliminates the putty entirely and produces a precise 3D model of your teeth. Ask your orthodontist or dentist about this option if you’ve made two or more failed attempts.
How do you package and send your impressions after taking them?
The impression is only half the process. Getting it to the lab in good condition determines whether your retainer fits correctly.
- Let the putty cure fully before packaging. Even if the surface feels firm, give it an extra 10 minutes at room temperature before placing it in the return box.
- Do not wrap impressions in tissue or cotton. These materials stick to putty and pull away fine tooth detail when removed. Use the foam or rigid packaging included in your kit.
- Label both impressions clearly. Mark which is upper and which is lower. Mislabeled impressions slow processing and can result in the wrong retainer being made.
- Follow the return instructions exactly. Clearretain’s step-by-step ordering guide walks you through the mailing process so nothing gets missed.
- Send impressions promptly. Alginate and similar putty materials can undergo dimensional changes over time. The sooner the lab receives your mold, the more accurate the retainer.
One detail many people overlook: if you’ve gone without a retainer for several weeks, your teeth may have shifted. Teeth shift during any gap in retainer wear, which means an old impression no longer reflects your current tooth position. Always take fresh impressions for replacement retainers rather than reusing molds from a previous order. You can check whether your retainer still fits correctly by reviewing the signs your retainer needs replacement before deciding whether to reorder.
Key Takeaways
Accurate at-home retainer impressions require correct tray sizing, uniform putty mixing, full gum line capture, and complete stillness during the 3–5 minute setting window.
| Point | Details |
|---|---|
| Prepare before mixing | Brush teeth, select the right tray size, and gather a timer and mirror before opening putty. |
| Mix putty to uniform color | Knead both putty parts until no streaks remain to prevent air bubbles and shrinkage. |
| Capture the gum line | Press the tray firmly so putty reaches gingival tissue, which is what makes a retainer snap into place. |
| Hold still for full setting time | Any movement during the 3–5 minute set window warps the mold and produces an ill-fitting retainer. |
| Send impressions quickly | Mail molds promptly after curing, and always take fresh impressions if you’ve had a gap in retainer wear. |
Why gum line depth changed how I think about at-home impressions
Most people focus on getting all their teeth into the tray. That’s the obvious goal, and it matters. But the detail that actually determines whether a retainer fits well is how far down into the gum tissue the impression reaches. I’ve seen plenty of impressions that captured every tooth surface clearly and still produced a retainer that felt loose within a week. The reason, almost every time, was a shallow gum line capture.
The gingival tissue is what gives a retainer its “snap.” Without it, the retainer sits on top of the teeth rather than gripping around them. You can check this yourself by looking at a finished impression. Each tooth should appear as a full column of detail, not just a crown floating in putty.
Patience is the other factor people underestimate. Following the full kit instructions from start to finish, including the parts that feel obvious, consistently produces better results than rushing through steps you think you already know. A second attempt costs a few minutes. A poorly fitting retainer costs weeks of discomfort and a reorder.
If you’ve tried twice with correct technique and still can’t get a clean impression, stop. A professional digital scan is the right call. It’s not a failure. It’s the correct decision for your situation.
— Clear
Custom retainers from Clearretain start with your impressions

Clearretain turns your at-home impressions into custom-fit retainers made from FDA-approved materials, supervised by experienced orthodontic technicians. The process is direct: you take the impressions, mail them in, and Clearretain handles the rest. Customers save up to 80% compared to standard orthodontic office prices without sacrificing fit or quality. Whether you need an upper retainer, a lower retainer, or a complete upper and lower set, Clearretain’s ordering process is built around the impressions you take at home. Fast turnaround, clear instructions, and a quality guarantee make it the straightforward next step after you’ve nailed your mold.
FAQ
What is a retainer impression kit?
A retainer impression kit is a set of dental trays and putty that lets you create molds of your teeth at home. Labs use these molds to fabricate custom-fit retainers without an in-office visit.
How long does the putty take to set?
Setting time is typically 3–5 minutes depending on the putty formula in your specific kit. You must hold completely still during this window to avoid distorting the mold.
Can children take dental impressions at home?
Children can take impressions at home with adult supervision and careful tray sizing. A smaller tray size is needed for kids, and a parent should guide tray placement and hold it steady during setting.
What happens if my impression has bubbles or tears?
Bubbles and tears indicate a failed impression that will produce a poorly fitting retainer. Use the extra putty included in your kit to retake the impression before sending anything to the lab.
Do I need new impressions for a replacement retainer?
New impressions are required for any replacement retainer because teeth shift during gaps in retainer wear. An old mold no longer reflects your current tooth position and will result in an inaccurate fit.