


Retainer Self-Impression Workflow: Your 2026 Guide
A retainer fitting self-impression workflow is the process of capturing a precise mold of your teeth at home to produce a custom dental retainer that holds your orthodontic results. Getting this right matters more than most people realize. Poorly fitting retainers most often fail because inaccurate impressions miss full tooth anatomy and biting surfaces, not because of material quality. The good news is that at-home impression kits, when used correctly, can match the accuracy of in-office methods. Clearretain’s self-impression kits are built around this standard, giving you a clear path from mold to finished retainer without an office visit.
What is the retainer fitting self-impression workflow?
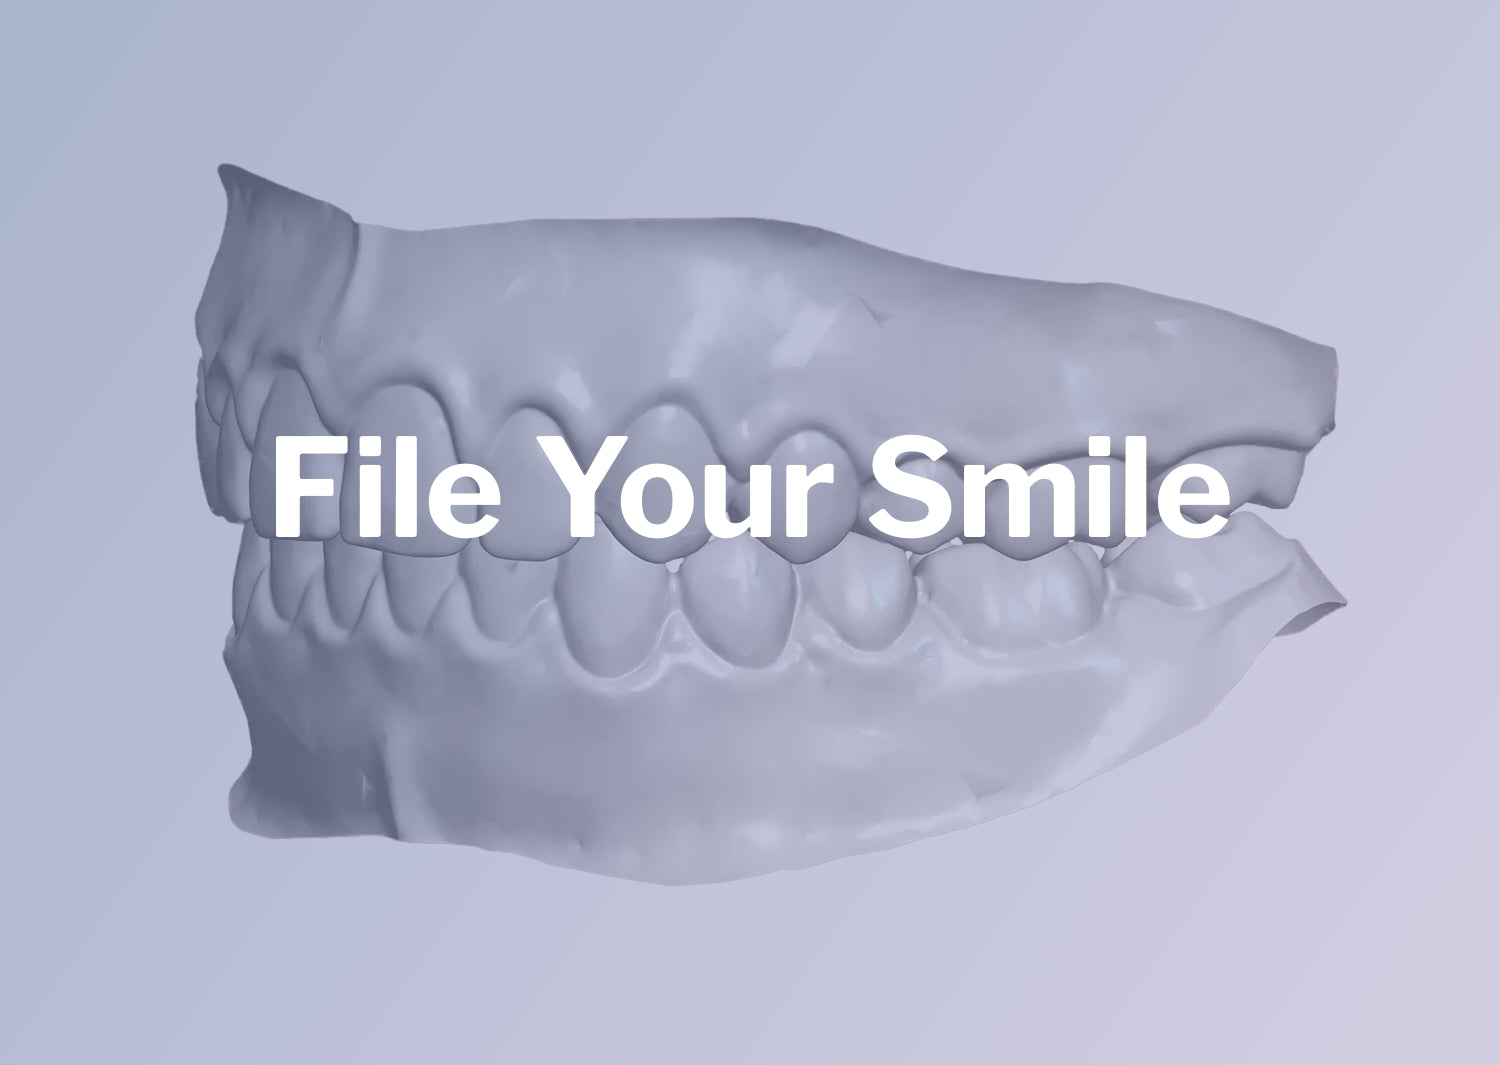
The self-impression retainer process is the industry term for taking a physical or digital mold of your teeth outside a clinical setting. Two primary workflows exist: traditional physical impressions using polyvinyl siloxane (PVS) putty or alginate, and modern digital 3D scanning that captures a model in under five minutes with no material distortion. For at-home use, physical putty kits are the standard. Digital scanning remains a clinic-based option, though some providers accept scan files from intraoral scanners. Understanding which workflow applies to your situation sets the foundation for every step that follows.
What tools and materials do you need?
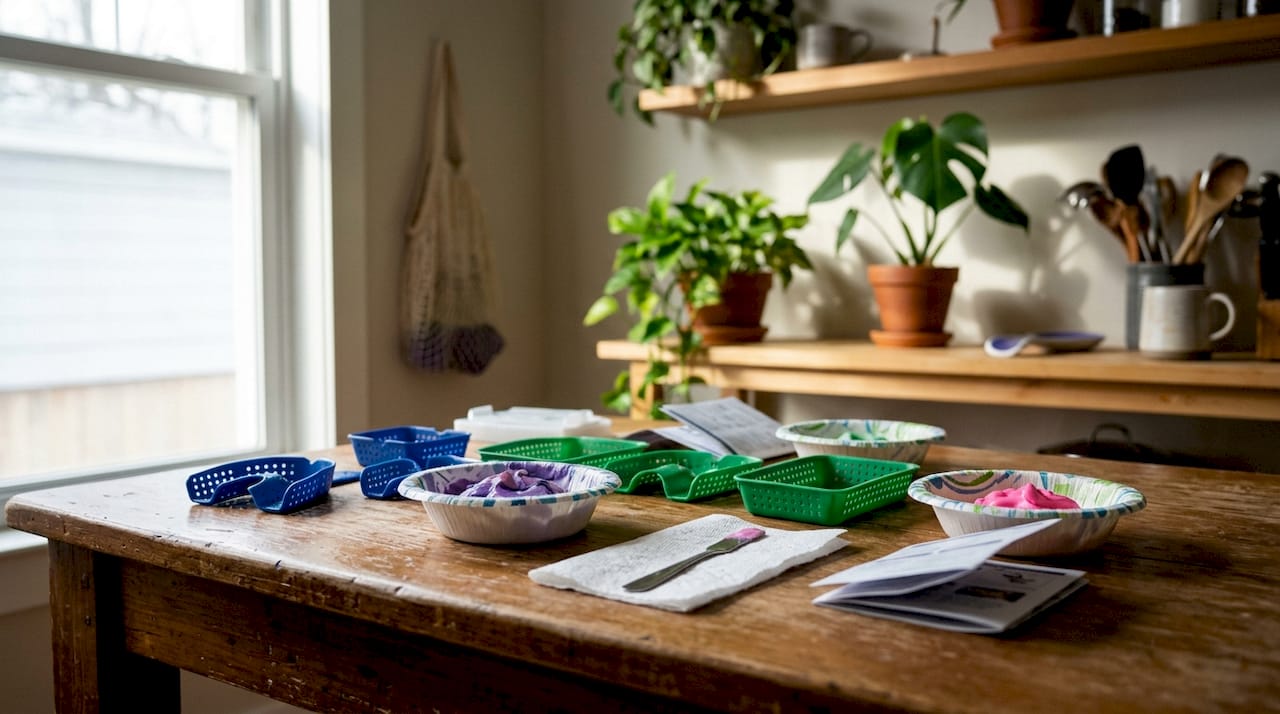
Gathering the right materials before you start prevents the most common errors. A missing tool mid-process forces you to rush, and rushing causes distortion.
Core materials:
- Impression trays (upper and lower, in small, medium, and large sizes)
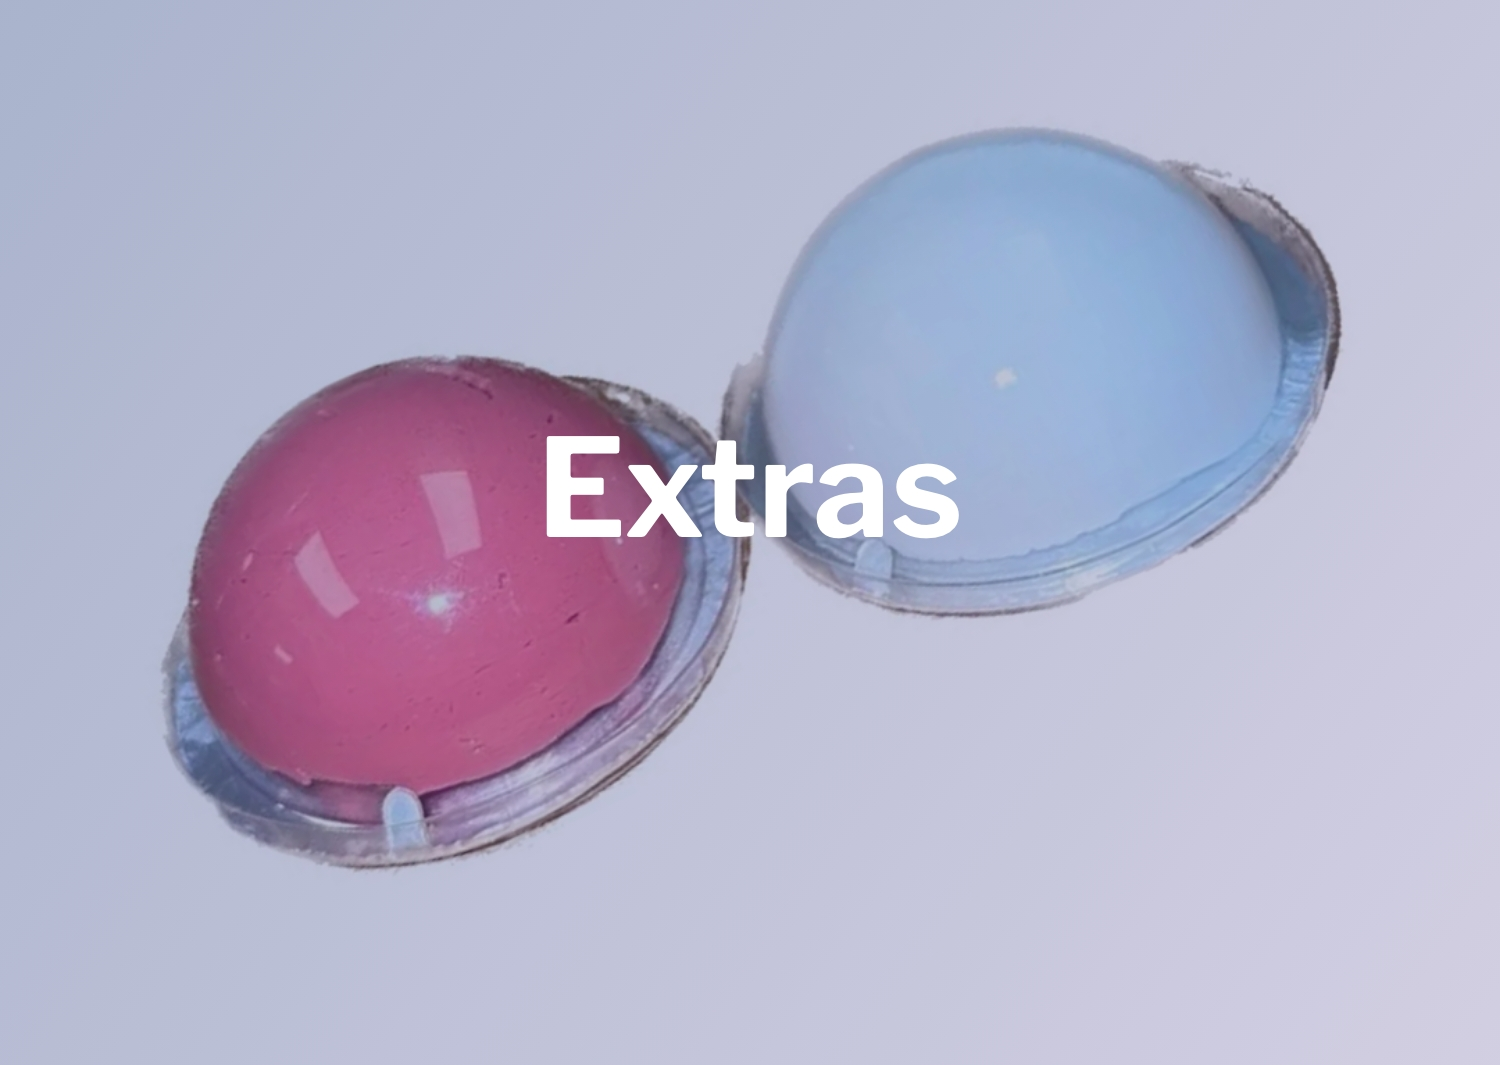
- PVS putty or alginate impression material, included in most at-home kits
- Mixing spatula or mixing pad for elastomers, or your gloved hands for two-part putty
- Disposable gloves to prevent skin oils from interfering with putty setting
- Cheek retractors (optional but helpful for wider arch access)
- Timer to track mixing and setting times accurately
Tray size selection is the single most important material decision you make. Perforated trays improve alginate retention, and the tray must provide uniform material thickness across the entire arch. A tray that is too small leaves back molars uncaptured. A tray that is too large makes seating difficult and wastes material.
| Material type | Setting time | Best for | Key limitation |
|---|---|---|---|
| PVS putty (two-part) | 3–4 minutes | At-home kits, high detail | Requires fast, even mixing |
| Alginate | 2–3 minutes | Quick impressions | Distorts if not cast promptly |
| Digital intraoral scan | Under 5 minutes | Clinic-based workflows | Requires specialized equipment |
Pro Tip: Wear an old shirt or drape a towel over your clothing before mixing putty. PVS material stains fabric permanently and will not wash out.
How do you take a proper dental self-impression?
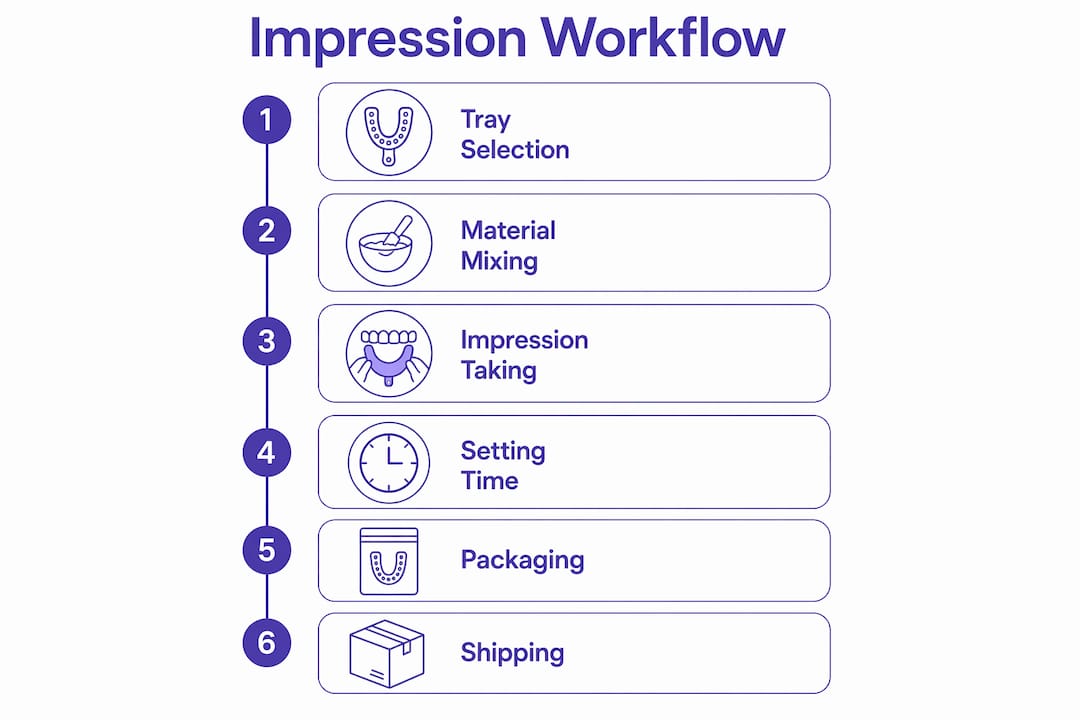
Follow this sequence exactly. Skipping or reordering steps is the leading cause of unusable molds.
- Brush and rinse your teeth. Clean teeth give the putty a clear surface to capture. Rinse with water, not mouthwash, since some mouthwashes leave a film that reduces detail.
- Select and test your tray size. Place the empty tray in your mouth before loading it. The tray should cover all teeth from front to back with at least 3–4 mm of clearance between the tray walls and your teeth.
- Mix your impression material. For two-part PVS putty, combine equal portions and knead firmly for 30–45 seconds until the color is uniform. Careful mixing minimizes bubbles and produces consistent elasticity. Work quickly because setting begins immediately.
- Load the tray evenly. Press the mixed putty into the tray so it fills the base and sides without gaps. Do not overfill, as excess material will push into your throat and trigger your gag reflex.
- Seat the tray firmly and slowly. Center the tray over your arch, then press down (upper) or up (lower) with steady, even pressure. Move slowly and firmly to avoid trapping air bubbles. Never rock the tray side to side.
- Hold completely still. Impression materials take approximately four minutes to fully harden. Any movement during this phase distorts the mold. Breathe through your nose and keep your lips relaxed around the tray.
- Remove the tray cleanly. Break the seal by pressing a finger against your cheek near the back of the tray, then pull straight out in one smooth motion. Do not wiggle or twist.
- Inspect the impression immediately. Look for sharp tooth detail, complete coverage of all teeth including back molars, and no visible tray plastic showing through the putty.
Pro Tip: Take your lower arch impression first. The lower arch is easier and less likely to trigger a gag reflex, so starting there builds confidence before tackling the upper.
Common errors to watch for during the process:
- Putty that looks streaky or two-toned was not mixed long enough
- A tray that feels loose during setting was the wrong size
- Gagging usually means the tray was loaded with too much material at the back
What are the most common self-impression mistakes?
The most frequent reason an impression becomes unusable is tray show-through. This happens when your teeth press all the way through the putty and contact the plastic tray base. At least 2–3 mm of material thickness between your teeth and the tray bottom is required to prevent distortion that stops a retainer from seating correctly.
Other common mistakes and fixes:
- Distortion from movement: If you shifted the tray during setting, the impression will show smeared or doubled tooth edges. Retake it.
- Incomplete coverage: Missing molars at the back means the retainer will not extend far enough. Check that the tray covered your full arch before loading.
- Air bubbles: These appear as small round voids in the impression surface. They come from insufficient mixing or seating the tray too quickly. Slow, firm placement prevents them.
- Premature removal: Pulling the tray before the material fully sets creates a distorted, rubbery impression. Always use a timer.
- Gag reflex: Tilt your head slightly forward, breathe steadily through your nose, and load less material at the back of the tray. Distraction techniques like wiggling your toes also help.
“The main cause of retainer failure is occlusal trauma from poor fit rather than material quality. Patients taking self-impressions must capture full occlusal anatomy, including all biting surfaces, to give the lab what it needs to produce a retainer that sits passively without inducing unwanted forces on the teeth or jaw.”
When to retake rather than send: if you can see tray plastic through the putty anywhere, if any tooth is missing from the impression, or if the material tore during removal. At-home kits produce highly accurate impressions when instructions are followed carefully, so a retake is a normal part of the process, not a failure.
What happens after you take your impression?
Once you have a clean, detailed mold, the next steps determine whether your retainer fits correctly. Physical impressions are shipped to a dental lab, where technicians pour a stone model from your mold and use it to fabricate the retainer. Digital workflows skip this step entirely. Digital scan data transmits instantly to labs, which produce precise 3D-printed models with fast turnaround times.
Post-impression checklist before shipping:
- Let the impression dry for 30 minutes before packaging to prevent moisture damage
- Wrap it in tissue, not cotton, since cotton fibers stick to putty surfaces
- Include a note with your arch preference (upper, lower, or both) and any bite concerns
- Photograph your impression from multiple angles before sealing the box
Clearretain’s step-by-step ordering instructions walk you through packaging and shipping so nothing gets lost or damaged in transit. Once the lab receives your impression, technicians evaluate it for completeness, check that all tooth surfaces are captured, and flag any issues before fabrication begins. Professional retainer fitting involves checking the insertion path and occlusion to avoid premature contacts that could cause jaw discomfort. That same standard applies when labs evaluate your self-impression mold.
3D-printed retainers from digital workflows show clinical parity with traditional vacuum-formed appliances. Digital records allow exact replica reprints without requiring a new impression, which makes reorders significantly faster.
How do you manage reorders and spare retainer impressions?
The spare retainer impression workflow in 2026 depends on whether your provider stores your digital file or requires a new physical mold. Digital storage is the clearest advantage of modern workflows. When a lab holds your scan or digital model on file, reordering a replacement retainer takes minutes rather than days.
When you can reorder using saved impressions:
- Your teeth have not shifted since the original impression
- No orthodontic treatment has occurred since your last retainer was made
- Your provider confirms the file is still on record and within their retention policy
When you need a new impression:
- Visible gaps between your current retainer and your teeth
- Recent dental work such as crowns, extractions, or new fillings
- More than two years since your last impression, as minor shifts accumulate
For a second retainer impressions workflow using a new physical kit, follow the same process described above. The technique does not change. What changes is your confidence, since most people find the second impression significantly easier than the first.
Pro Tip: Ask your provider directly whether they store digital files. If they do, request a copy for your own records. That file is your fastest path to a replacement retainer if you lose or damage your current one.
Clearretain’s reorder process is built around this convenience. Providers that use digital workflows can ship a replacement retainer without requiring you to take a new mold, saving time and reducing the chance of fit errors from a rushed impression.
Key Takeaways
A successful self-impression retainer process depends on tray selection, material mixing, and holding still during setting. Every other variable is secondary to those three.
| Point | Details |
|---|---|
| Tray size is critical | Select a tray that covers all teeth with 3–4 mm of clearance on all sides. |
| Tray show-through ruins impressions | Maintain at least 2–3 mm of putty between teeth and tray base to prevent distortion. |
| Hold still for the full set time | Impression materials need approximately four minutes to harden; any movement distorts the mold. |
| Inspect before shipping | Check for complete tooth coverage, no tray plastic visible, and no air bubbles before packaging. |
| Digital files enable fast reorders | Providers that store digital models can reprint exact replacement retainers without a new impression. |
What I’ve learned from watching people struggle with self-impressions
The most consistent mistake I see is people treating the impression kit like a guessing game. They skip the tray sizing step, mix the putty too slowly, and then wonder why the retainer does not fit. The instructions exist for a reason, and the reason is physics. Putty that is not fully mixed has inconsistent density. Inconsistent density means inconsistent pressure on your teeth. Inconsistent pressure means a retainer that rocks instead of seats.
The second thing I have noticed is that people underestimate how much the full occlusal surface matters. Your retainer needs to capture not just the fronts of your teeth but the biting edges and the grooves on your back molars. A retainer built from a shallow impression will sit high on your back teeth and feel like something is always in the way. That sensation is not normal, and it does not go away with wear.
My honest recommendation is to do a dry run with the empty tray before you ever touch the putty. Seat it, time yourself, and practice holding still. That 60-second rehearsal eliminates most of the panic that causes people to pull the tray too early. The types of retainers you can order from a good impression are worth the extra preparation time.
Digital workflows are the future of this process, and they are already here for anyone willing to use them. Stored digital models mean you never have to take another impression for a replacement. That alone is worth understanding before you order.
— Clear
Clearretain makes your self-impression count
Taking a clean, accurate impression is the hard part. What happens next should be straightforward.
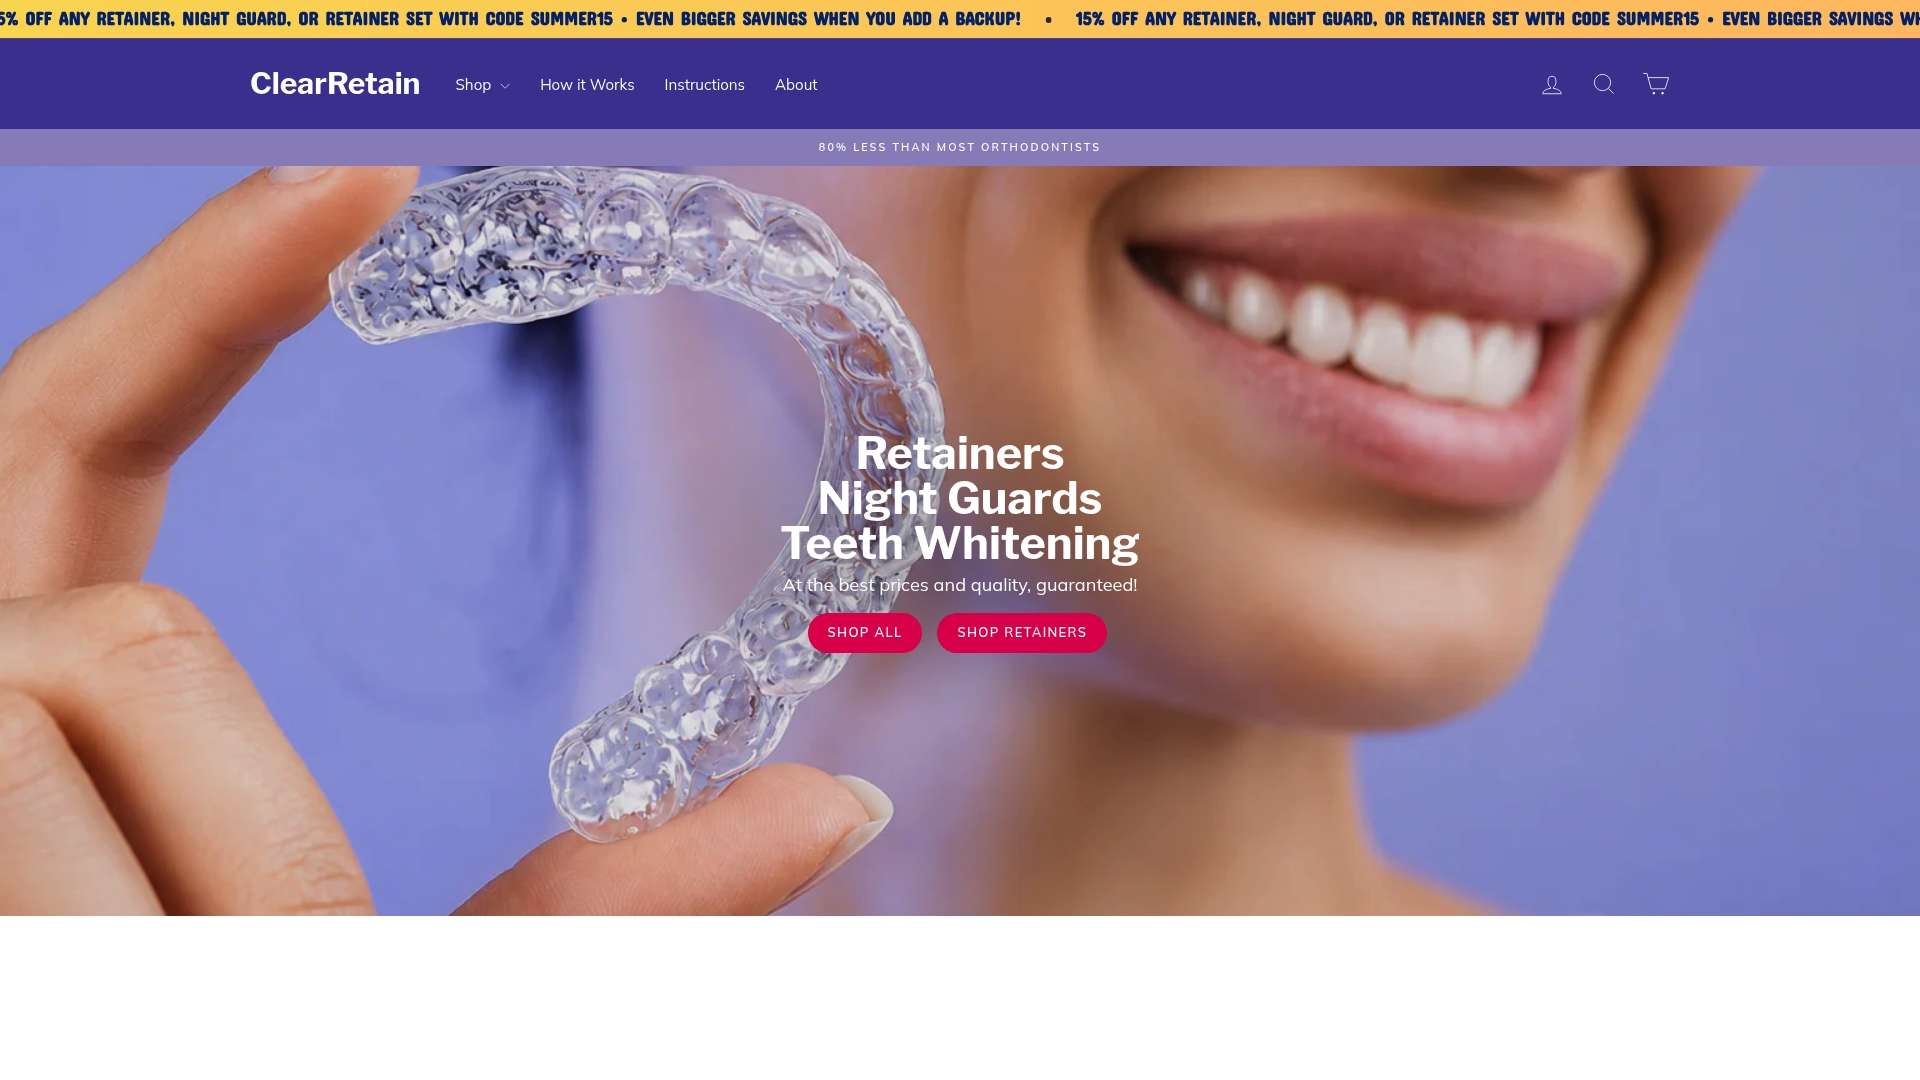
Clearretain’s custom retainers are made from FDA-approved materials under the supervision of experienced orthodontic technicians. Every kit comes with detailed instructions so you know exactly how to prepare, take, and ship your impression. You can order a custom upper retainer, a lower retainer, or the upper and lower set depending on your needs. Clearretain’s pricing runs up to 80% less than traditional orthodontic office rates, and the process starts the moment your kit arrives.
FAQ
What is a retainer self-impression workflow?
A retainer self-impression workflow is the process of taking a physical mold of your teeth at home using an impression kit, then sending that mold to a dental lab to fabricate a custom retainer. It eliminates the need for an in-office appointment.
How long does impression putty take to set?
Impression materials typically take approximately four minutes to fully harden. Removing the tray before the material sets causes distortion and produces an unusable mold.
What causes tray show-through in a self-impression?
Tray show-through happens when your teeth press through the putty and contact the plastic tray base. Maintaining at least 2–3 mm of material thickness between your teeth and the tray bottom prevents this and ensures an accurate mold.
Can I reorder a retainer without taking a new impression?
Yes, if your provider stores your digital model on file and your teeth have not shifted since the original impression. Digital records allow exact replica reprints without requiring a new mold.
How do I know if my impression is good enough to send?
A usable impression shows sharp detail on every tooth surface, complete coverage from front to back molars, no visible tray plastic, and no air bubbles or tears in the material.