


Avoid Ruining Your Guard: Safe Night Guard Adjustment in 1 to 4 Weeks
Small, conservative tweaks like smoothing a rough edge or gently remolding a boil-and-bite guard are usually safe. Custom hard guards should only be reshaped by a dentist, since chairside grinding tools do what a nail file at home cannot. Give any new guard 1 to 4 weeks to feel normal, but stop wearing it immediately if you notice sharp tooth pain or a bite that won’t settle back.
TL;DR:
- Minor rough spots on boil-and-bite guards can be safely smoothed at home using proper tools, but excessive remolding risks permanent distortion.
- Persistent symptoms such as localized tooth pain, bite misalignment, or jaw locking after several nights indicate the need to see a dentist rather than attempting further DIY fixes.
- Custom hard guards built from professional impressions tend to fit better and are less forgiving of at-home adjustments, making professional consultation more reliable.
- Most people adapt to wearing a night guard within one to four weeks, but sharp discomfort or ongoing bite issues signal a poor fit that requires professional correction or replacement.
- Replacements can be ordered from self-impression kits sent to your home, often more cost-effective than in-office adjustments, especially if the current guard is cracked or warped.
Table of Contents
- How Do You Know if Your Night Guard Fits Right?
- How Do You Safely Adjust a Night Guard at Home?
- When Should You See a Dentist Instead of DIY Fixing?
- Does Guard Material Change What You Can Fix Yourself?
- How Long Does It Take to Adjust to a Night Guard?
- Why a Reputable Custom Guard Provider Matters
- Balancing DIY Fixes and Professional Care
- Need a Replacement That Actually Fits?
- Sources
- FAQ
How Do You Know if Your Night Guard Fits Right?
A properly fitted guard seats itself with light finger pressure and stays put without you clenching to hold it there. Some awkwardness in the first days is expected. The question is whether what you’re feeling fades or gets worse.
Normal adaptation includes extra saliva, a heightened awareness that something is in your mouth, and mild jaw stiffness in the morning. These usually ease within the first couple of weeks. A night guard adjustment problem looks different: it’s specific, it’s localized, and it doesn’t quit.
Run through this quick check before bed for a few nights:
- Tooth pain in one spot that shows up every time you wear the guard
- Bite that feels “off” for more than 30 minutes after you take the guard out
- Gum irritation or rubbing along the guard’s edges, especially near the back molars
- The guard pops out repeatedly during the night, even after reseating it
- Jaw clicking, locking, or new TMJ pain that started after you began wearing it
- Trouble breathing or excessive gagging that doesn’t improve after the first few nights
One or two of these on night one is not alarming. The same symptom showing up night after night is your signal to act, either with a small home fix or a call to your dentist.
How Do You Safely Adjust a Night Guard at Home?
Not every fit problem needs a professional visit. If you have a boil-and-bite guard or you’re dealing with a minor rough spot on any guard, there’s a safe sequence to try before picking up the phone.
1. Inspect it in good light first. Look for visible high spots, rough edges, or spots where the material folds instead of sitting flat. Run a clean finger along the biting surface and the edges near your gumline.
2. Check the seat without forcing your bite down. Slide the guard in and let it settle on its own. If you have to clamp down hard to make it feel secure, the fit is off, and biting harder will not fix it. It can actually push the material into an uneven shape.
3. Remold a boil-and-bite guard incrementally. Follow the manufacturer’s exact water temperature and timing. Guessing at “a little hotter, a little longer” is how people warp the plastic beyond use. If the first remold doesn’t solve the problem, let it cool completely and try a second short remold rather than reheating it again immediately.
4. Find the exact high spot before you touch anything. Thin dental floss or a strip of articulating paper (available at pharmacies) will show you precisely where the guard contacts unevenly. Bite down gently on the paper with the guard in place; the marked spot is where pressure concentrates.
5. Smooth only that marked spot, a little at a time. A nail buffer or fine emery board made for nails works on soft thermoplastic material. Take off a whisker of material, reinsert, and recheck. Overcorrecting turns one problem into a bigger one.
6. Stop after two or three attempts. If the guard still doesn’t seat comfortably after a couple of careful tries, further home adjustment risks weakening the material. That’s your cue to call a provider instead of reaching for stronger tools.
Never use a kitchen knife, scissors, or a lighter to trim or reshape a guard. Never sterilize any guard in boiling or very hot water unless the manufacturer specifically directs it. Heat that isn’t controlled to spec is one of the most common ways thermal distortion permanently warps night guard material, and a warped guard cannot be reshaped back to its original fit.
Pro Tip: Mark the high spot with a washable marker right after the articulating paper test, then rinse before you start smoothing. It’s easy to lose track of exactly where the pressure point was once the guard is out of your mouth.
When Should You See a Dentist Instead of DIY Fixing?
Some problems are outside the scope of anything you should try at home. If you notice any of the following, stop wearing the guard and contact your dentist before your next scheduled night:
- Tooth mobility — any tooth that feels looser than it did before
- Sharp or worsening tooth pain, especially if it’s isolated to a single tooth
- A bite that stays altered after you remove the guard, not just for a few minutes but for hours or into the next day
- New jaw locking, clicking, or popping that started after you began using the guard
- Bleeding gums around the guard’s edges
- Breathing interference that doesn’t resolve after the initial adjustment period
These symptoms can point to an ill-fitting guard shifting your bite or irritating soft tissue, and pushing through them on your own can make the underlying issue worse.
At the office, a dentist can typically fix minor high spots with selective grinding and internal relief, which is chairside shorthand for shaving down acrylic in precise spots and hollowing out tiny amounts of material on the inside surface where it presses too hard. This is a different level of precision than a home emery board can achieve, especially on a custom hard acrylic guard.
Replacement, not adjustment, becomes the answer when the guard shows cracks, has been heat warped, or when you’ve had significant dental work (a new crown, an extraction) since the impression was taken. Bring the guard itself to your appointment, along with notes on when the discomfort started and whether it’s tied to a specific tooth or side of your mouth. Expect the visit to be short. Most chairside corrections take a matter of minutes once the high spot is located.
Does Guard Material Change What You Can Fix Yourself?
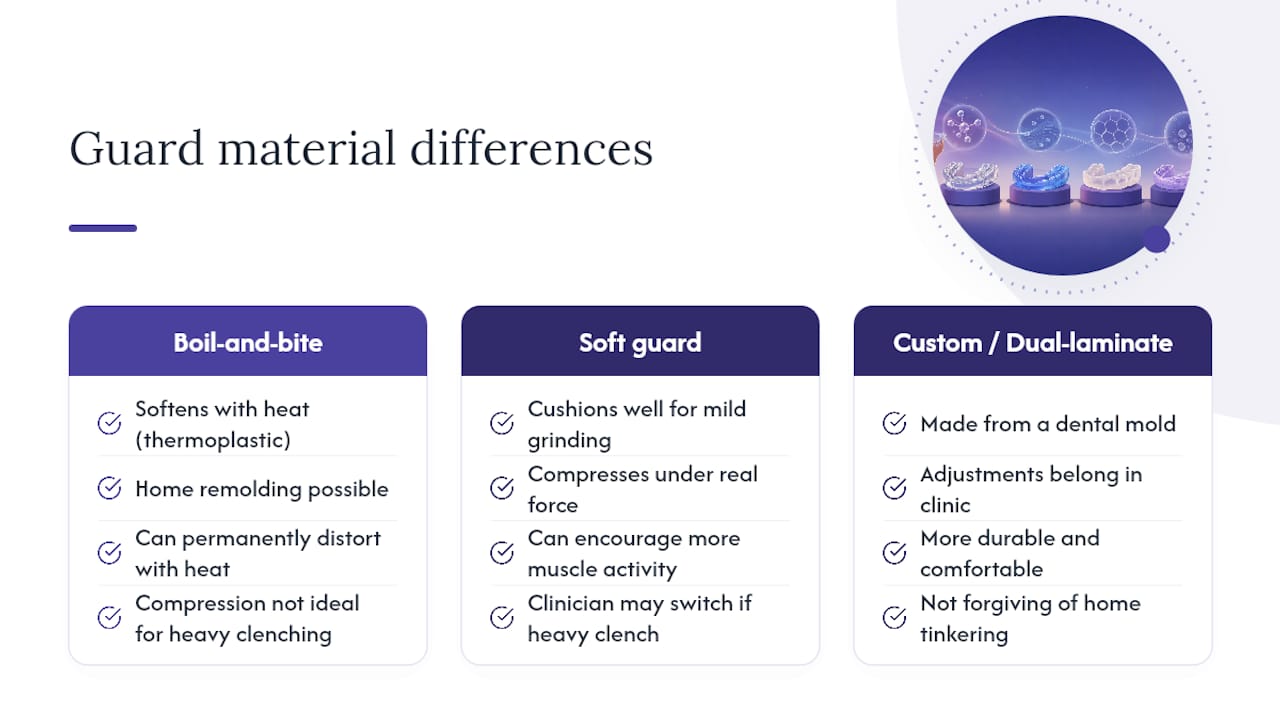
The material your guard is made from decides how much you can safely touch. This matters more than most people realize when a fit problem shows up.
Boil-and-bite guards are thermoplastic, meaning they soften with heat and reharden as they cool. That’s what makes home remolding possible, but it’s also their weak point. Too much heat, too many remolds, or hot water during cleaning can permanently distort the material, leaving you with a guard that no longer holds any shape reliably.
Soft guards cushion well for mild, occasional grinding, but they compress under real force. For heavy clenchers, that compression can backfire, since a soft material that gives way encourages more muscle activity, not less. This is often the exact case where a clinician switches a patient to a firmer or dual-laminate design.
Custom acrylic and dual-laminate guards are built from a mold of your teeth and are the least forgiving of home tinkering. Small internal reliefs are absolutely possible, but they belong in a dental chair, not on your kitchen table. Cleveland Clinic notes that custom guards tend to be more durable and comfortable than off-the-shelf options precisely because they’re built and adjusted with equipment a household toolkit can’t replicate.
How Long Does It Take to Adjust to a Night Guard?
Most of what feels like a “bad fit” in the first week is actually your mouth learning a new object. Give it a real trial before assuming something is wrong.
- Days 1 through 3: expect drooling, a strong awareness of the guard, and maybe some difficulty falling asleep. This is the novelty phase, and it’s the most common reason people quit too early.
- Days 4 through 10: symptoms should be tapering. Morning jaw stiffness lessens, saliva production normalizes, and you stop noticing the guard the moment you wake up.
- Weeks 2 through 4: most people report feeling fully adapted within this window, with the guard feeling closer to routine than intrusion.
A few tactics speed this along. Wear the guard for short stretches during the day first, like while watching television, before committing to a full night. Increase wear time gradually rather than jumping straight to eight hours. Practice slow nasal breathing for a minute after inserting it, and keep a warm washcloth on your jaw for a few minutes beforehand to relax clenching muscles. If you’re still struggling after a consistent month of use, and you’ve ruled out the red flags above, that’s a legitimate reason to revisit the fit with a professional rather than push through indefinitely.
Why a Reputable Custom Guard Provider Matters
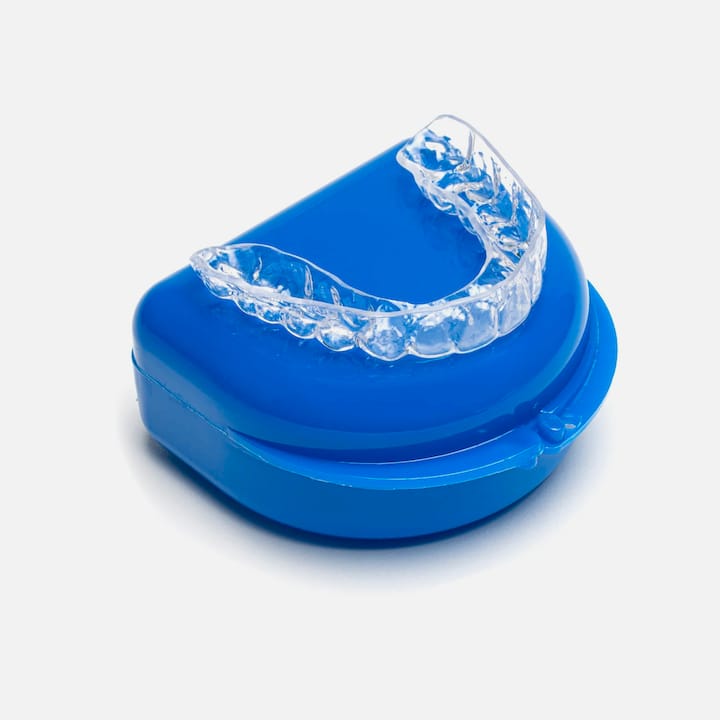
A poorly made guard sets you up for exactly the fit problems this article walks through. Clearretain builds custom night guards from self-impression kits, using FDA-approved materials produced under the supervision of experienced orthodontic technicians rather than a generic factory mold.
That matters most in a few specific situations:
- Your current guard has cracked or warped and reshaping it at home isn’t realistic
- You want a lab-made custom fit without booking an in-office impression appointment
- You’re switching from a soft guard to a hard or dual-laminate design on a clinician’s recommendation
For a closer look at how a properly built guard should feel from day one, see how ClearRetain designs custom night guards for a comfortable seat without the trial-and-error of a drugstore mold.
Balancing DIY Fixes and Professional Care
Patience matters here as much as caution does. The break-in window is real, and abandoning a guard on night three because your jaw feels unfamiliar usually means giving up right before things would have settled.
But patience has a limit. Mild, fading discomfort is the cost of your mouth adjusting to something new. A pain that’s sharp, localized to one tooth, or a bite that won’t return to normal is your appliance telling you it doesn’t fit, not your mouth telling you to wait it out.
— Clear
Need a Replacement That Actually Fits?
If your current guard is cracked, warped, or was never quite right to begin with, Custom replacements can be made from self-impression kits completed at home, often offered at lower cost than dental-office lab-made fittings.
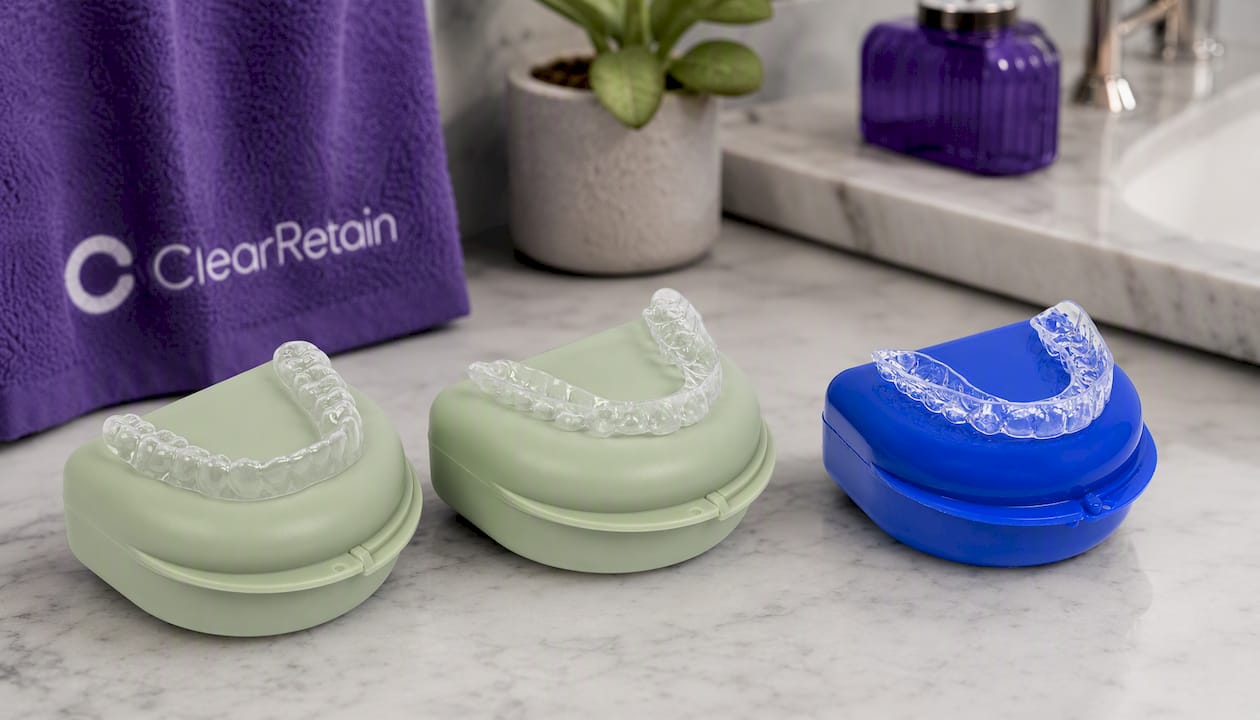
The process starts with an impression kit mailed to your door, with clear instructions for capturing an accurate mold of your teeth. From there, technicians build your appliance to spec and ship it back, typically without the wait or cost of an in-office visit. Heavy grinders dealing with a soft guard that keeps compressing can step up to the Hard Night Guard for a firmer, more durable hold. Need coverage on just one arch? The Upper Retainer-Night Guard and Lower Retainer-Night Guard both ship from the same impression workflow, and your digital mold stays on file for easy reordering later. If your appliance has cracked, our guide on what to do next walks through your options, but ordering a replacement is often the fastest fix.
Sources
The NIDCR overview of bruxism explains why grinding and clenching happen and why guards are recommended. Mayo Clinic’s bruxism symptom guide lists the warning signs worth tracking. Cleveland Clinic’s mouthguard overview covers custom versus off-the-shelf options, and Mersal Dental’s guide to grinding guards is a solid patient-facing primer on when a guard is actually needed.
- Cleveland Clinic — Mouth guards for grinding teeth
- HCMC Dental — Night Guard Not Fitting Properly: Clinical Causes & Fixes
FAQ
Can a night guard be adjusted?
Yes. Minor high spots and rough edges can often be smoothed at home on boil-and-bite guards, while custom hard guards are best adjusted chairside using selective grinding and internal relief.
How long do you boil a mouthguard to shape it?
Timing depends entirely on the manufacturer’s instructions printed with your specific guard, since over-the-counter guards vary in thickness and material. Guessing at time or temperature risks permanently warping the material.
Should a night guard be upper or lower?
Either arch works for protecting teeth from grinding, and the choice usually comes down to comfort, your dentist’s recommendation, or which arch has more restorative work to protect. Clearretain offers both an Upper Retainer-Night Guard and a Lower Retainer-Night Guard depending on which fits your situation.
How long does it take to adjust to a night guard?
Most people need one to four weeks to feel fully comfortable, with early drooling and jaw awareness fading noticeably after the first week to ten days.
What if my night guard adjustment doesn’t fix the problem?
If a small home fix doesn’t resolve discomfort within a couple of attempts, or if you notice tooth pain, bite changes, or jaw locking, stop using the guard and schedule a dental visit rather than continuing to modify it yourself.