


Mouth Guard Break-In Period Tips That Actually Work
Start tonight: wear your mouth guard for a short period during the day, increase to partial nights within a few days, and aim for full nights within about two weeks. That single progressive schedule, paired with nightly cleaning and a few bedtime habits, is what gets most people through the mouth guard break-in period without giving up.
Here’s what to do right now:
- Clean the guard with cool water and mild soap before first use.
- Insert it 30 minutes before bed while you’re still awake and relaxed, not the moment your head hits the pillow.
- Breathe through your nose and let your jaw settle naturally. Don’t clench.
- Try reading or watching TV with the guard in for the first 15–30 minutes.
- Sleep on your side or back rather than face-down, which can dislodge the guard.
Timeline at a glance:
- Today: 15–30 minutes of daytime wear while awake
- Days 2–4: Extend to 45–60 minutes; try wearing it as you fall asleep
- Days 5–7: Aim for the first half of the night
- Week 2: Full nights, every night
Pro Tip: If you feel a gag reflex, breathe slowly through your nose and focus on something else. The reflex fades with repeated short exposures faster than it does with one long, stressful session.
Key Takeaways
A consistent progressive wearing schedule, from short daytime sessions to full nights over one to two weeks, is the most reliable way to get through the mouth guard break-in period comfortably.
| Point | Details |
|---|---|
| Start small, build up | Begin with 15–30 minutes of daytime wear and increase gradually to full nights by week two. |
| Consistency is the mechanism | Skipping nights resets habituation and extends the adjustment period; wear the guard every night. |
| Clean nightly, store correctly | Use cool water and mild soap after each use; avoid hot water, toothpaste, and bleach. |
| Know the red flags | Cracks, persistent sharp pain, bite changes, or unhealing sores require a dental appointment. |
| Custom fit shortens break-in | Clearretain’s custom-fit night guards reduce muscular compensation and bulk compared to generic options. |
Table of Contents
- Why does a new mouth guard feel so strange?
- How long does adjustment really take?
- What does a solid break-in schedule look like?
- How does material type change what you feel?
- How should you clean and store your mouth guard?
- What if something feels wrong?
- How do you actually fall asleep with a mouth guard in?
- Clearretain custom night guards are built to shorten the break-in
- Ready to try a custom night guard?
- Sources
Why does a new mouth guard feel so strange?
The bulk and awkwardness you feel on night one are not signs of a bad fit. They’re the result of sensory habituation, specifically your brain registering an unfamiliar object in your mouth and your orofacial muscles tensing in response. This is the same mechanism that makes new glasses feel heavy or a retainer feel enormous on day one.
Clinical reviews of occlusal splints confirm that patient habituation and consistent wear determine adjustment success far more than the device itself. The discomfort is neurological, not structural.
Common sensations that are completely normal:
- Increased saliva production — your mouth treats the guard as food and responds accordingly; this settles within a few days.
- Awareness of bulk — you’ll feel the guard constantly at first; that awareness fades as your brain deprioritizes the signal.
- Mild speech changes — slight lisping or muffled words are normal and temporary.
- Jaw tension or mild soreness — muscles are adjusting to a new resting position.
- Drooling — especially in the first few nights; it decreases as swallowing reflexes adapt.
One thing that genuinely slows progress: skipping nights. Dental practice guidance explains that the break-in is primarily about training your brain and orofacial muscles, and missing even one or two nights can reset that habituation, pushing your adaptation timeline back by several days.
How long does adjustment really take?
Most people adapt within one to two weeks with regular, consistent wear. That’s the honest median. Some people feel comfortable by day five; others need closer to three weeks, usually because of gag sensitivity, a heavier grinding habit, or a thicker guard.
What to expect at each stage:
- Days 1–3: Noticeable bulk, excess saliva, possible mild jaw ache. Normal. Don’t stop.
- Days 4–7: Saliva normalizes, awareness decreases, speech improves. You may sleep through part of the night with it in.
- Week 2+: Most people reach full-night comfort. Jaw tension, if any, becomes minimal.
Several factors shift that timeline:
- Material type — soft guards tend to feel less intrusive initially; hard acrylic guards often need a longer adjustment window.
- Custom vs. boil-and-bite — a custom-fit guard from precise impressions sits flush and requires less muscular compensation than a generic over-the-counter option.
- Bruxism severity — heavy grinders often have more jaw tension to work through.
- Prior appliance experience — people who’ve worn retainers or other oral devices adapt faster.
- Gag reflex sensitivity — a stronger reflex extends the early daytime practice phase.
Persistent severe pain, a noticeable shift in how your teeth meet, or sores that don’t heal after a week are not part of normal adjustment. Those warrant a dental review, not more patience.
What does a solid break-in schedule look like?
Follow this progression. It’s not complicated, but the order matters.
Day 1
- Rinse the guard with cool water and mild soap.
- Insert it and wear for 15–30 minutes while awake and doing something low-key.
- Run your tongue along the edges. Any sharp spots? Note them for a dentist or, for boil-and-bite guards, a careful re-mold.
- Remove, rinse, air-dry.
Days 2–4
- Increase each daytime session to 45–60 minutes.
- On day 3 or 4, insert the guard 30 minutes before you intend to sleep, per practical dental guidance.
- Read, watch TV, or do light breathing exercises with it in.
- Try to fall asleep with it. If you remove it during the night, that’s fine — note how long you kept it in.
Days 5–7
- Aim to keep the guard in for the first half of the night.
- Practice nasal breathing before bed with the guard in place.
- If a boil-and-bite guard has a pressure point, re-mold only that section following the manufacturer’s exact instructions. Never boil a custom lab-made guard.
Week 2
- Full nights, every night.
- If a spot still rubs, a dentist can polish or adjust the edge in minutes. Don’t try to sand it yourself.
For boil-and-bite adjustments, dental lab guidance recommends re-molding only when following the manufacturer’s printed steps, and stopping if the fit worsens. If two re-molds don’t resolve the issue, the guard may simply be the wrong size for your arch.
Pro Tip: Practice speaking aloud or reading a paragraph with the guard in during daytime sessions. It speeds oral habituation noticeably and makes the first nights feel far less foreign.
Nightly checklist:
- Guard cleaned before use
- Inserted at least 20–30 minutes before sleep
- Nasal breathing practiced
- Guard stored in ventilated case after removal
How does material type change what you feel?
Material is the single biggest variable in how the first week feels. Here’s what to expect from each type:
- Soft guards feel the least intrusive on day one. They’re pliable and conform easily, which is why many people prefer them initially. The trade-off is durability — heavy grinders can wear through soft material faster.
- Hard acrylic guards feel bulkier and more rigid at first, but they’re more durable and often prescribed for moderate-to-severe bruxism. Expect a slightly longer adjustment window.
- Hybrid guards (soft inner layer, hard outer shell) split the difference. The soft interior cushions the teeth while the hard exterior resists grinding. Break-in typically falls between soft and hard in terms of timeline.
- Boil-and-bite guards are over-the-counter thermoplastic devices you mold at home. Fit is approximate, which means more muscular compensation and a longer adjustment period than a custom device.
- Custom lab-made guards from precise dental impressions sit flush against your specific arch. Less bulk, less muscular tension, and generally faster adaptation. For anyone who’s struggled with a boil-and-bite, a custom-fit option is worth considering.
Sports mouth guards and nighttime occlusal guards are built for different jobs. A sports mouth guard is designed for impact absorption during waking hours; a nighttime guard is thinner and shaped for passive wear during sleep. Don’t use one in place of the other.
How should you clean and store your mouth guard?
After every use: rinse the guard under cool water, brush gently with a soft toothbrush and mild liquid soap, then set it on a clean surface to air-dry before placing it in its case. That’s the whole daily routine.
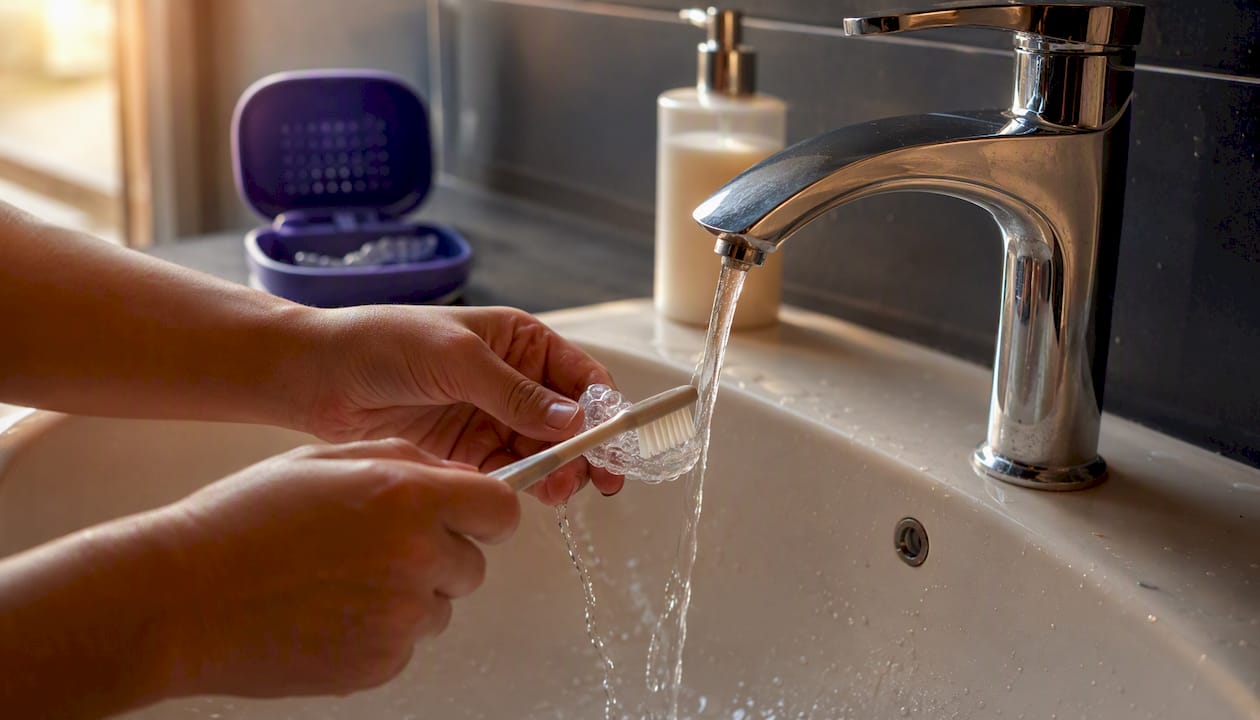
What to avoid is just as important. Dental guidance is consistent: hot water warps thermoplastics irreversibly, and standard toothpaste is abrasive enough to create micro-scratches that trap bacteria. Neither is worth the risk.
For a deeper weekly clean:
- Soak in a diluted white vinegar solution (1 part vinegar, 3 parts water) for 15–30 minutes, then rinse thoroughly.
- Or use a denture-cleaning tablet dissolved in cool water. Follow the tablet’s timing instructions.
- Never use bleach, alcohol-based mouthwash, or boiling water unless the manufacturer explicitly permits it.
For more detailed daily and weekly cleaning routines, Clearretain’s guide covers product-specific steps worth bookmarking.
Storage: Keep the guard in a ventilated case, away from direct heat, sunlight, and pets. A closed, unventilated case traps moisture and encourages bacterial growth. Leave the case lid slightly ajar or use a case with ventilation holes.
Pro Tip: Let the guard air-dry for at least 10 minutes before closing it in the case. A damp guard in a sealed container is a bacteria incubator.
What if something feels wrong?
Most early discomfort has a quick fix. A few problems, though, mean it’s time to stop and call a dentist.
Common issues and what to try first:
- Minor rubbing or pressure point: For boil-and-bite guards, attempt a partial re-mold per manufacturer instructions. For custom guards, a dentist can polish the edge in one short visit.
- Guard feels loose: Re-seat it firmly. If it won’t stay, the fit may have changed — check for replacement indicators like warping or thinning.
- Excess saliva: This is temporary. Keep wearing; it resolves within a few days.
- Mild jaw soreness in the morning: Normal in week one. If it persists into week two, mention it at your next dental visit.
Red flags that require a dental appointment:
- Visible cracks or fractures in the guard
- Persistent sharp pain (not just pressure) that doesn’t improve after a week
- A noticeable shift in how your upper and lower teeth meet
- Mouth sores that don’t heal within 7–10 days
- Difficulty breathing while wearing the guard
If you experience breathing trouble while wearing the guard, remove it immediately; consult a clinician familiar with adult airway orthodontics for proper evaluation and care. Mayo Clinic notes that oral appliances used in sleep-disordered breathing contexts require professional selection and oversight — if you suspect your guard is affecting your airway, that’s a conversation for a clinician, not a home fix.
When you go to the dentist: bring the guard, note when the problem started, and describe whether it’s constant or only during certain hours. That information cuts the appointment time significantly. For fitting problems specifically, common fitting errors and fixes are worth reviewing before your visit.
How do you actually fall asleep with a mouth guard in?
The first few nights are the hardest, and the fix is almost always about timing and routine, not the guard itself.
- Insert the guard 30 minutes before you plan to sleep, not right before lights out. Your muscles and saliva glands need that window to settle.
- Wear it while doing something calm — reading, light stretching, or watching something low-stakes. Your brain starts associating the guard with relaxation rather than effort.
- Avoid eating or drinking anything except plain water once the guard is in. Sugary or acidic drinks around the guard can accelerate enamel wear and create hygiene problems.
- Sleep on your side or back. Face-down sleeping puts pressure on the guard and can dislodge it.
- Adjust your pillow so your jaw isn’t compressed. A slightly elevated head position reduces jaw tension for many people.
- Practice nasal breathing for two to three minutes before closing your eyes. Mouth breathing with a guard in tends to increase dryness and discomfort.
Pro Tip: Dry mouth during the night is often a nasal breathing problem, not a guard problem. Staying well-hydrated in the hours before bed and practicing nasal breathing while awake with the guard in makes a measurable difference by week two.
Clearretain custom night guards are built to shorten the break-in
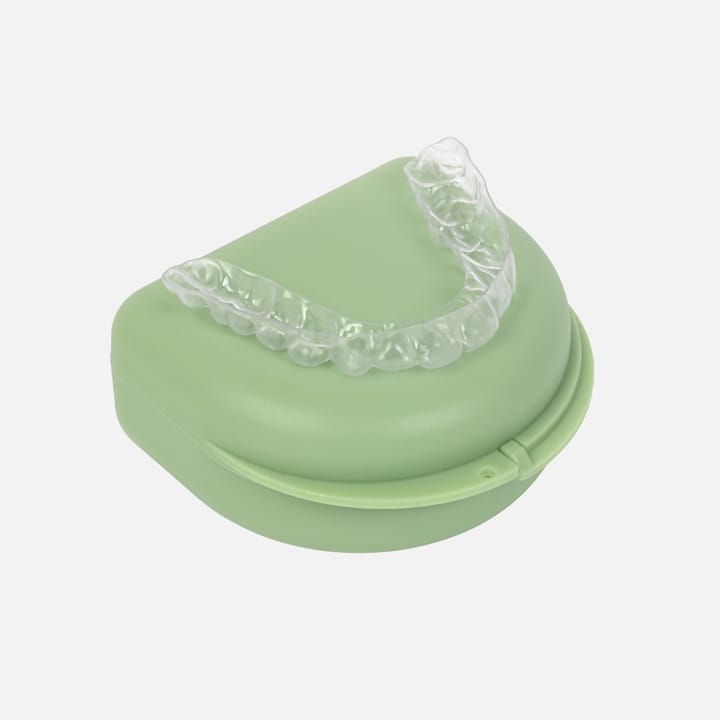
Clearretain’s upper night guard and upper and lower night guard set are made from FDA-approved materials and fabricated from your own dental impressions by experienced orthodontic technicians. The custom fit means the guard sits flush against your specific arch rather than approximating a generic shape, which reduces the muscular compensation that makes generic guards feel bulky.
Features that matter for break-in:
- Custom arch fit from a self-impression kit you complete at home
- FDA-approved materials selected for durability and comfort
- Upper-only or upper-and-lower set options depending on grinding severity
- Orthodontic technician oversight during fabrication
The ordering process is straightforward: choose your product, complete the self-impression kit at home using the included instructions, return the kit, and receive your custom guard. If the fit needs a minor adjustment, Clearretain’s customer support team is available to help. For anyone who’s struggled with a boil-and-bite or an over-the-counter option, the difference a precise fit makes in week one is significant.
The break-in is harder than it looks — and that’s worth saying plainly
Most people underestimate how much the first few nights test their patience. You’ll probably remove the guard at 2 AM on night two and feel like the whole thing isn’t working. That’s normal. The adjustment is real, the timeline is real, and consistent wear is the only thing that shortens it.
What actually helps: treating the break-in as a skill to practice rather than a problem to solve. Short daytime sessions, a consistent bedtime routine, and nightly cleaning are not optional extras. They’re the mechanism. If you hit a wall, contact Clearretain’s support team or your dentist before giving up — most fit issues have a straightforward fix.
Ready to try a custom night guard?
Clearretain offers custom night guards at a fraction of what a dental office charges, with no appointment required. The self-impression kit ships to your door, and the guard is fabricated from FDA-approved materials under orthodontic technician supervision.
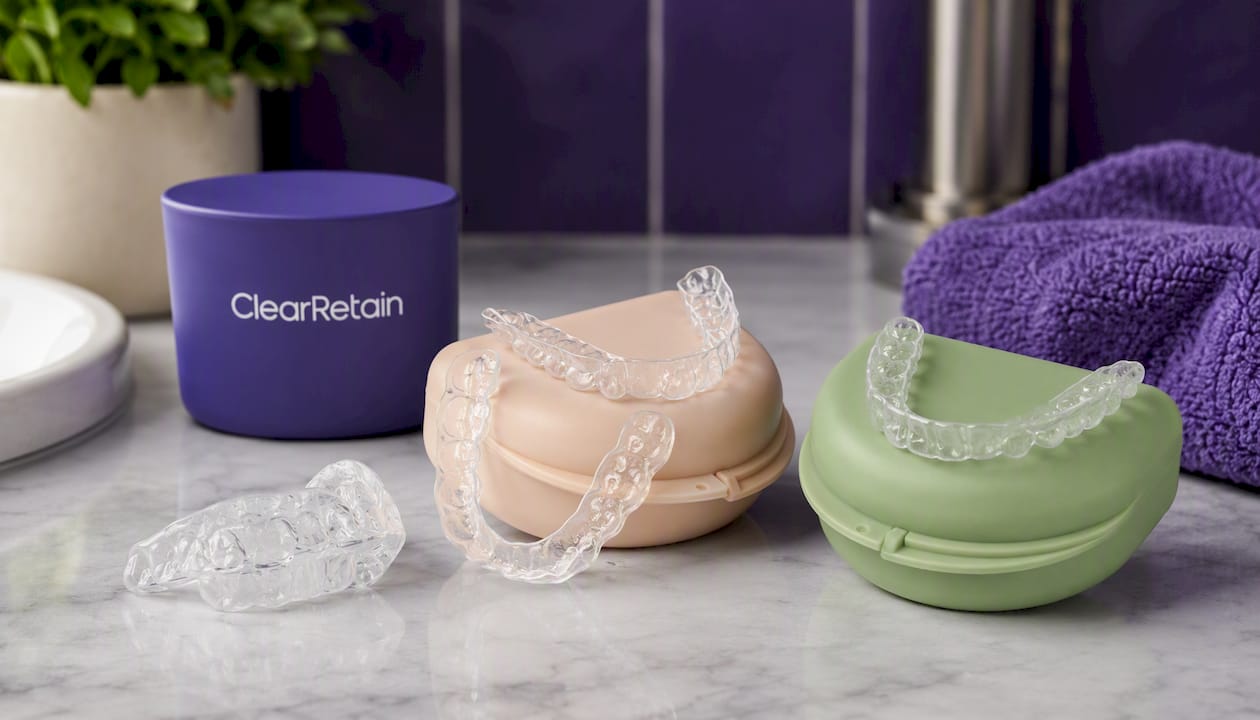
Choose the upper night guard for standard nighttime protection, or the upper and lower set if you’re a heavy grinder who needs full-arch coverage. Complete your impression at home, return the kit, and receive your custom guard. Questions about fit during break-in? Clearretain’s support team is there. Start your order at Clearretain.
Sources
These are the core references behind this guide. Bringing printed notes or links to a dental checkup can help your dentist understand exactly what you’ve tried and what still needs adjustment.
This article is general information, not a substitute for advice from a qualified doctor. Consult a qualified healthcare professional about your own circumstances before acting on anything here.