

Common Mouth Guard Fitting Errors: 10 Fixes to Try Now
If your mouthguard shifts when you open your mouth, digs into your gums, or makes you sound like you’re talking through a sock, it isn’t fitted correctly. The first move: take it out, reseat it firmly, and run the quick checks below. If it snaps back into place and feels comfortable, you’re fine. If it doesn’t, you have a fixable problem — or a red flag that needs a dentist.
- Try a reseat first. Press the guard firmly against your upper teeth with your thumbs, then bite down gently. A well-fitted guard should click into place without clenching.
- Stop using it immediately if you feel sharp pain, notice bleeding, or have any trouble breathing with it in.
- Keep using it if it seats without pressure, stays put when you open your mouth, and feels comfortable within a few minutes.
Stop use and see a dentist if you notice: severe jaw pain that persists after removal, tooth mobility, bleeding gums, a bite that feels noticeably off more than 30 minutes after taking the guard out, or any breathing obstruction. These aren’t fit-adjustment problems — they’re clinical red flags.
The ADA’s guidance on mouthguards is clear: a properly fitted guard adapts accurately to your oral structures, stays in place without clenching, and doesn’t interfere with breathing or speech. Anything short of that is a fitting error worth correcting.
Table of Contents
- What are the most common mouth guard fitting errors and how do you fix them?
- How do you safely refit a boil-and-bite mouth guard at home?
- Why does fit differ so much between stock, boil-and-bite, and custom guards?
- How should you clean and store your mouth guard to preserve the fit?
- When should you replace your mouth guard and when do you need a dentist?
- Key Takeaways
- Why custom guards are worth it for serious athletes and heavy grinders
- Clearretain’s custom guards: built for fit, not just price
- Authoritative sources and further reading
What are the most common mouth guard fitting errors and how do you fix them?
Most mouthguard problems trace back to a handful of recurring mistakes. Here’s how to diagnose each one and what to do about it.
1. Guard is too loose and falls out
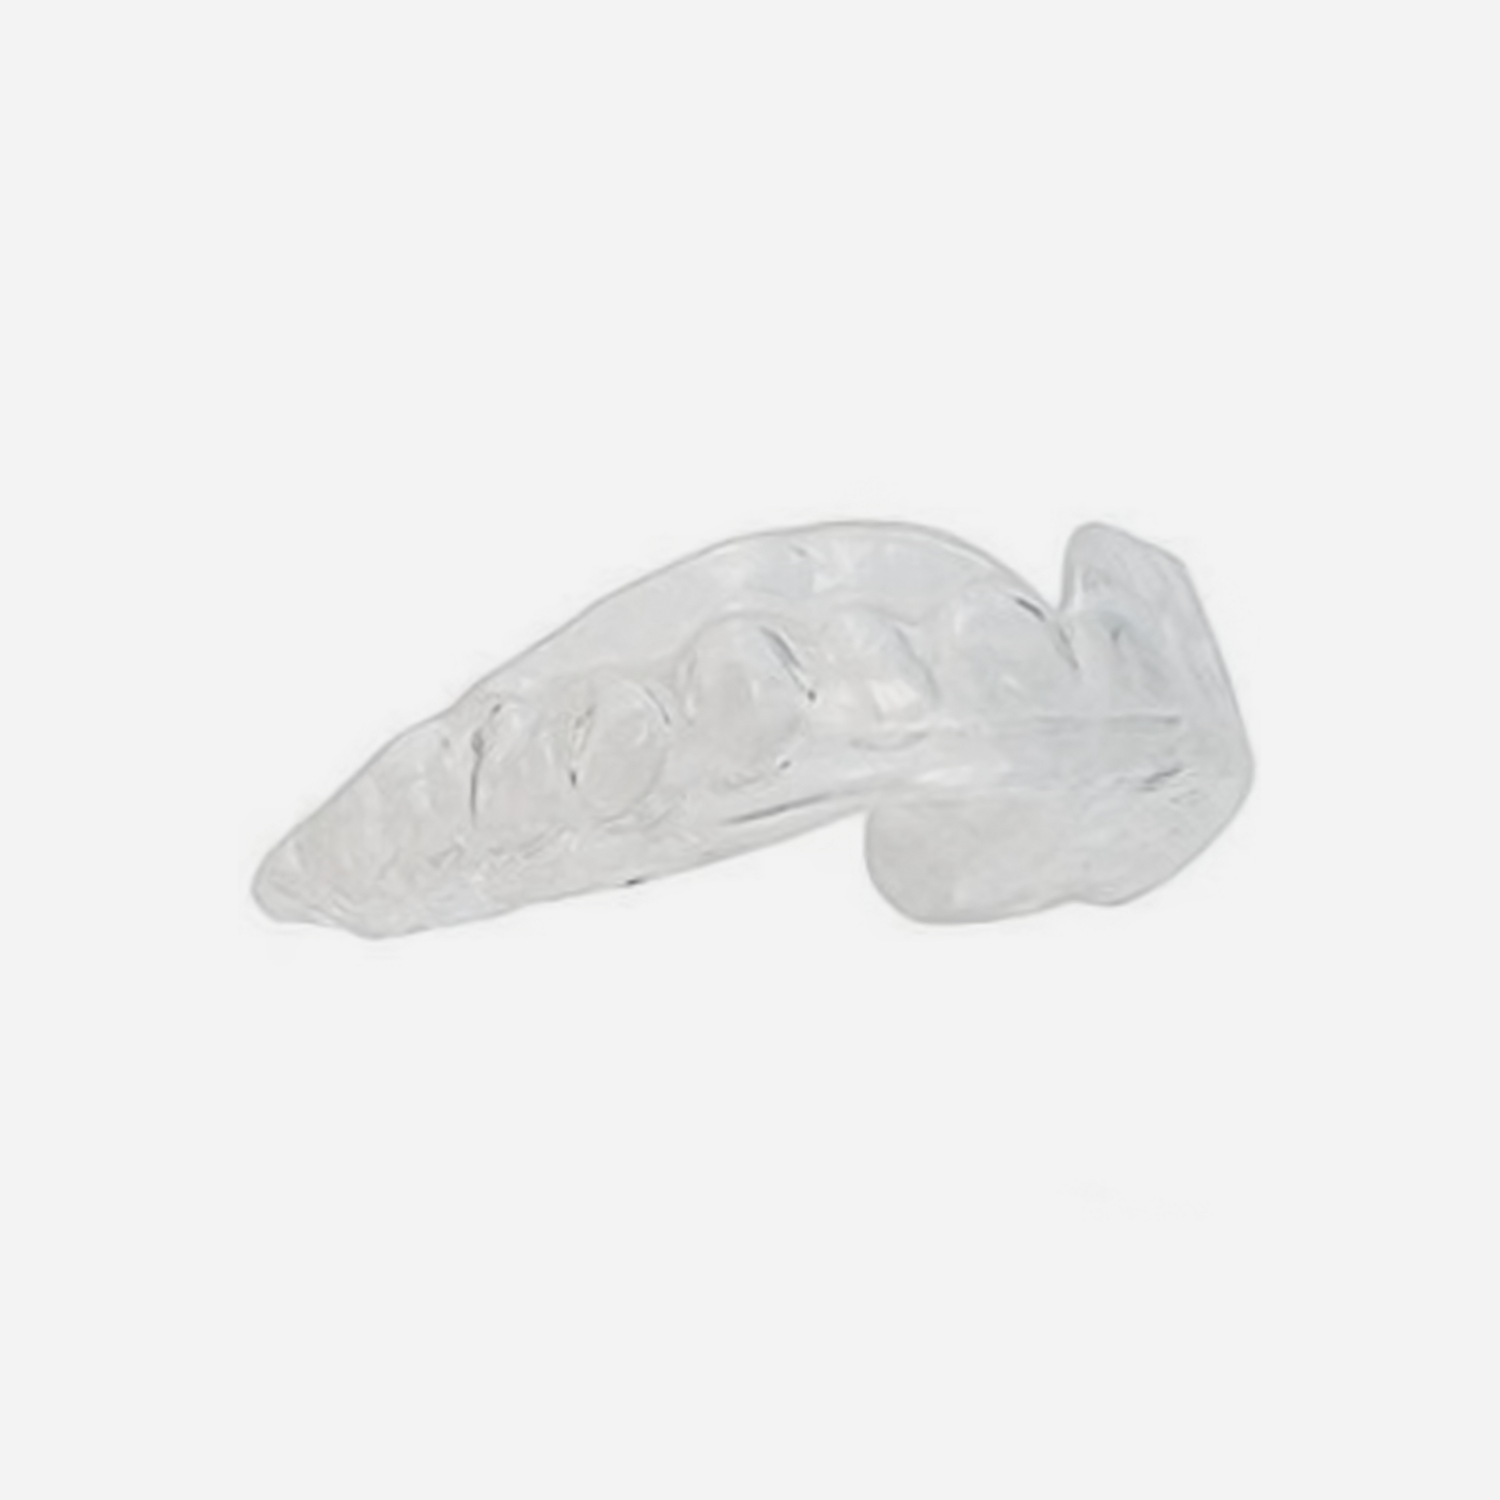
Cause: undersized guard, worn-out material, or a boil-and-bite that wasn’t molded tightly enough. Stock guards are especially prone to this because they’re one-size-fits-most and rely on clenching to stay in.
Fix: For a boil-and-bite, attempt a refit (see Section 4). For a stock guard, size up or switch types. If a custom guard has loosened, your teeth may have shifted — see your dentist.
2. Guard is too tight and causes pain
Cause: over-molded boil-and-bite, new dental work, or tooth movement from orthodontics. A guard that was perfect six months ago can become painfully tight after braces adjustments or new crowns.
Fix: For mild tightness, try a refit with slightly less bite pressure. For pain that persists more than two nights, stop use. Clinical sources confirm that new restorations and tooth movement are frequent causes of sudden tightness — a chairside adjustment or replacement is often the only real solution.
3. Guard shifts or rocks during use
Cause: uneven molding, worn retention points, or a guard that covers too few teeth. Rocking is a sign the guard isn’t seated across the full arch.
Fix: Check that the guard covers all upper teeth to the second molar. Attempt a refit if it’s a boil-and-bite. If rocking continues after one careful refit, the material has likely fatigued.
4. Uneven bite or jaw feels misaligned after wearing
Cause: asymmetric molding, a guard that’s thicker on one side, or a soft OTC guard that’s triggering more clenching. Research links soft materials to a “stress toy” effect in some grinders — the material actually stimulates the chewing reflex and worsens clenching, which shifts the bite over time.
Fix: If your bite feels off for more than 30 minutes after removing the guard, stop using it. This is a dentist-level problem, not a DIY fix.
5. Guard impinges on soft tissue (gums, cheeks, tongue)
Cause: guard extends too far onto the gums or has a rough edge from molding. Even a 1mm overhang can cause significant irritation overnight.
Fix: After the guard is fully dry, inspect the edges. A small rough spot can be smoothed with fine-grit sandpaper or a nail file. Never trim while the material is warm. If the impingement is structural (the guard is simply too long), it needs to be remade.
6. Breathing or speech is obstructed
Cause: guard is too bulky, extends too far back, or the reader is using a stock guard that requires constant clenching to stay in. Stock guards are widely noted as the worst offenders here.
Fix: If it’s a stock guard, replace it with a boil-and-bite or custom option. If it’s a boil-and-bite that’s too thick in the posterior, check whether you used the right size. Breathing obstruction is never something to push through.
7. Material has warped or cracked
Cause: exposure to heat (hot water, a hot car, direct sunlight), repeated reheating, or age. ANSI/ADA Standard No. 99 sets specific temperature and processing parameters for mouthguard materials — exceeding them causes irreversible distortion.
Fix: A warped or cracked guard cannot be safely refitted. Replace it.
8. Orthodontic treatment or new dental work has changed the fit
Braces adjustments, new crowns, extractions, or implants can all alter the arch enough to make a previously well-fitted guard useless or harmful. This applies to both sports guards and night guards.
Fix: After any significant dental work, treat your current guard as temporary. Get a new impression or order a replacement once your bite has stabilized.
Pro Tip: Never try to trim a boil-and-bite guard with scissors while it’s still warm. Let it cool completely, then use rounded-tip scissors or a nail file for minor edge smoothing only. Cutting into the body of the guard compromises its structural integrity.
How do you safely refit a boil-and-bite mouth guard at home?
You can attempt 1–2 careful refits on a boil-and-bite guard. Beyond that, the thermoplastic material degrades and won’t hold a reliable shape. Stop immediately if the guard cracks, turns white, or causes pain during molding.
Before you start: Read your guard’s original manufacturer instructions. Timing and temperature recommendations vary by brand, and following them is the single most important safety step. The ADA notes that boil-and-bite guards must be fabricated exactly per manufacturer guidelines to be effective.
- Boil water and let it cool slightly. Most manufacturers recommend water at approximately 170°F (77°C) rather than a full rolling boil. Check your instructions.
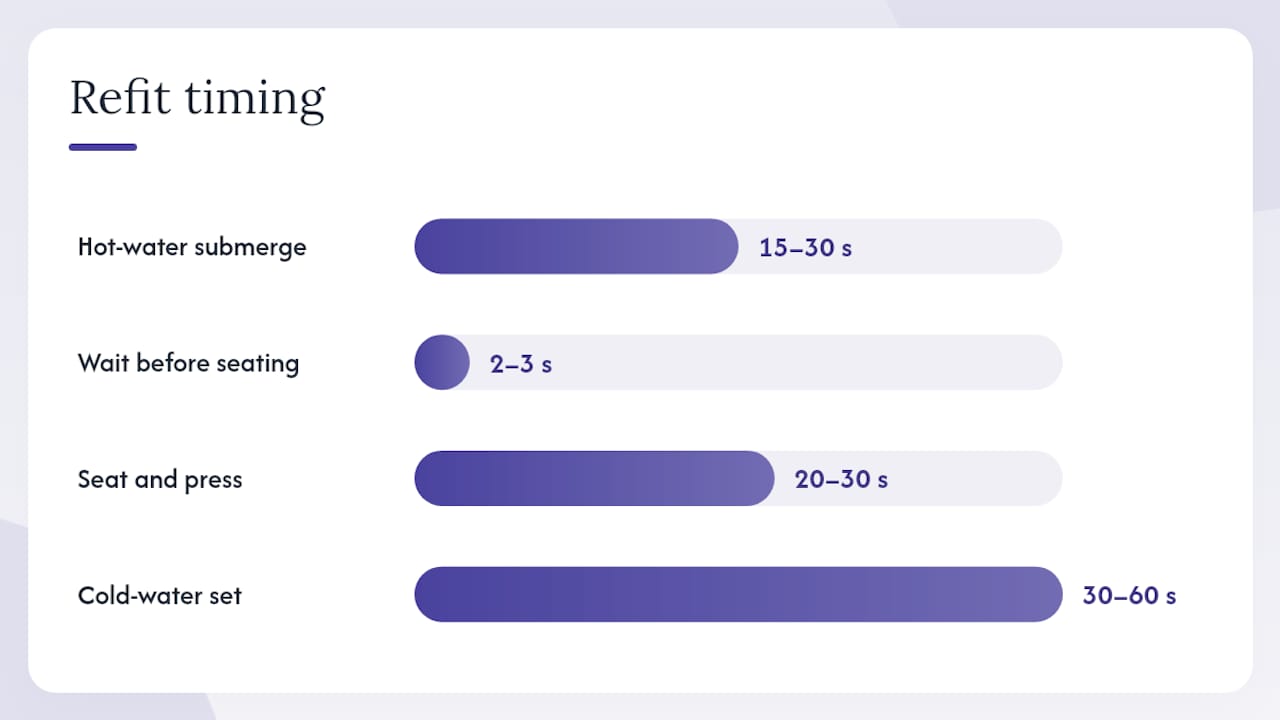
- Submerge the guard for the recommended time. A common manufacturer guideline is approximately 15–30 seconds. Watch for the guard to become pliable but not shapeless.
- Remove carefully with a spoon or tongs. Shake off excess water. The guard will be hot — do not put it directly in your mouth.
- Wait 2–3 seconds, then seat it. Center it on your upper teeth, press up firmly with your thumbs from below, and bite down with moderate pressure.
- Use your tongue and fingers to press the guard against your teeth and gums for 20–30 seconds while maintaining bite pressure.
- Submerge in cold water for 30–60 seconds to set the shape.
- Run the retention test from the checklist above. If it passes, you’re done. If it doesn’t, you have one more refit attempt remaining.
Scald warning: Thermoplastic materials retain heat. Never rush the cooling step. A guard that’s too hot can burn your gums and soft palate.
The ANSI/ADA Standard No. 99 draft documents the processing parameters for Type II and Type III guards — overheating beyond those parameters causes irreversible warping that no amount of remolding will fix. If your guard looks distorted after cooling, replace it rather than trying again.
Why does fit differ so much between stock, boil-and-bite, and custom guards?
The fabrication method determines how closely the guard matches your actual tooth anatomy — and that gap between “close enough” and “exact” is where most fitting mistakes live.
Stock guards
Pre-formed, no molding required. They come in small, medium, and large, which means they fit almost no one precisely. You have to clench to keep them in, which interferes with breathing and speech. The JADA review on athletic mouthguards links custom fabrication methods to meaningfully better retention and protection compared with stock alternatives. Stock guards are fine for very casual, low-contact use — nothing more.
Boil-and-bite guards
Made from thermoplastic materials like EVA (ethylene-vinyl acetate), these conform to your teeth when heated and bitten. Done correctly, they’re a significant step up from stock. Done sloppily — wrong water temperature, too little bite pressure, wrong size — and you end up with a guard that’s only marginally better. The custom vs. boil-and-bite comparison breaks down exactly where each type wins and loses on fit.
Custom guards
Made from a precise impression of your teeth, either vacuum-formed or pressure-processed in a lab. They don’t require clenching to stay in, cover the arch accurately, and are built to the material specifications in standards like ANSI/ADA No. 99. The ADA and Academy for Sports Dentistry both favor custom dual-laminate guards for athletes, particularly in collision and contact sports. The AAPD’s sports dentistry guidance echoes this, noting that custom guards are the preferred option for contact sports and that mouth-formed guards are an acceptable alternative only when custom isn’t feasible.
| Guard Type | Fit Accuracy | Retention | Breathing/Speech | Best For |
|---|---|---|---|---|
| Stock | Low | Requires clenching | Often impaired | Very casual use only |
| Boil-and-bite | Moderate (user-dependent) | Good if correctly molded | Moderate | Recreational athletes, light grinding |
| Custom (lab/digital) | High | Stays without clenching | Minimal interference | Contact sports, heavy bruxism |
Who should use what:
- Casual recreational athlete with no contact: boil-and-bite, correctly fitted, is adequate.
- Contact or collision sport athlete: custom guard, full stop. The injury-risk evidence for custom guards in contact sports is consistent.
- Heavy bruxer or TMJ sufferer: custom hard or dual-laminate guard. Soft OTC guards can worsen clenching in this population.
How should you clean and store your mouth guard to preserve the fit?
A guard that fits perfectly on day one can fit poorly by month two if you store it wrong. Heat is the main enemy — it warps thermoplastic materials gradually, and the distortion is cumulative.
Daily routine:
- Rinse with cool water immediately after use.
- Brush gently with a soft toothbrush and mild soap (not toothpaste — the abrasives scratch the surface and harbor bacteria).
- Air-dry completely before storing. A damp guard in a closed case grows bacteria fast.
- Store in a ventilated case, away from direct sunlight and heat sources.
Weekly sanitation:
- Soak in a diluted alcohol-free mouthwash solution for 15–20 minutes.
- Alternatively, use a denture-cleaning tablet dissolved in cool water.
- Rinse thoroughly and air-dry.
Never use hot water to clean a mouthguard. Never leave it in a car, near a radiator, or in direct sun. Colgate’s consumer guidance and Clearretain’s own daily hygiene guide both flag heat exposure as the primary cause of hygiene-related fit degradation. For a more detailed breakdown of sports guard hygiene routines, Clearretain’s athlete guide covers daily and weekly steps in full.
When cleaning can’t fix the problem: If the guard has developed a persistent odor despite proper cleaning, visible cracks, or thinning in the bite zone, no amount of soaking will restore its fit or hygiene. Replace it.
When should you replace your mouth guard and when do you need a dentist?
Mouthguard replacement generally depends on use frequency and type, with more frequent use leading to faster wear. Replacement should be considered when the guard shows damage, fit issues, or following dental changes. Check the replacement indicators guide for a full breakdown of wear signals by guard type.
Red flags that mean stop use now and call your dentist:
- Jaw pain that persists more than 30 minutes after removing the guard
- Any tooth mobility that wasn’t present before
- Bleeding gums at the guard’s edges
- Bite that feels consistently off after wearing
- Breathing obstruction at any point during use
- Worsening TMJ symptoms or clicking
Pro Tip: Before your dental appointment, take a photo of the guard from multiple angles and note when the fit problem started. If you’ve had any recent dental work, write down the date and procedure. That context cuts the diagnostic time significantly.
What to bring to the appointment: the guard itself, a note on how long you’ve been using it, any recent dental work timeline, and a description of your bruxism intensity if relevant. If you need to pause use while waiting for the appointment, a spare guard or temporary stop-gap is better than going without — especially for athletes.
Key Takeaways
A poorly fitted mouthguard doesn’t just feel bad — it can fail to protect you when it matters most, and in some cases actively cause harm.
| Point | Details |
|---|---|
| Self-check first | Run the 8-test checklist; fail 2 or more tests and you need to refit, replace, or see a dentist. |
| Boil-and-bite refit limit | Attempt no more than 1–2 refits; a warped or cracked guard must be replaced, not remolded. |
| Heat destroys fit | Never clean or store a guard near heat; thermal distortion is cumulative and irreversible. |
| Red flags require a dentist | Persistent jaw pain, tooth mobility, bleeding, or a bite that stays off after removal are not DIY problems. |
| Clearretain custom option | Clearretain’s custom sports guards and night guards are made from FDA-approved materials and eliminate the fit guesswork of stock and boil-and-bite options. |
Why custom guards are worth it for serious athletes and heavy grinders
The conventional wisdom is that boil-and-bite guards are “good enough” for most people. For casual use, that’s defensible. But the moment you’re in a contact sport or grinding hard enough to wake up with jaw pain, “good enough” is a risk you’re taking with your teeth.
The ADA and Academy for Sports Dentistry don’t recommend custom guards because they’re more expensive — they recommend them because the fit is categorically different. A guard made from your exact impression doesn’t require clenching to stay in, which means your jaw muscles aren’t working against the guard all night or all game. That matters for TMJ health, for sleep quality, and for actual impact protection.
Clearretain’s position on this is straightforward: for athletes in contact sports and for chronic bruxers, a custom guard is the right tool. The materials comparison and the teeth grinding alternatives guide both make the case in detail. What Clearretain adds to the equation is cost accessibility — custom doesn’t have to mean an expensive clinic visit and a two-week wait.
Clearretain’s custom guards: built for fit, not just price
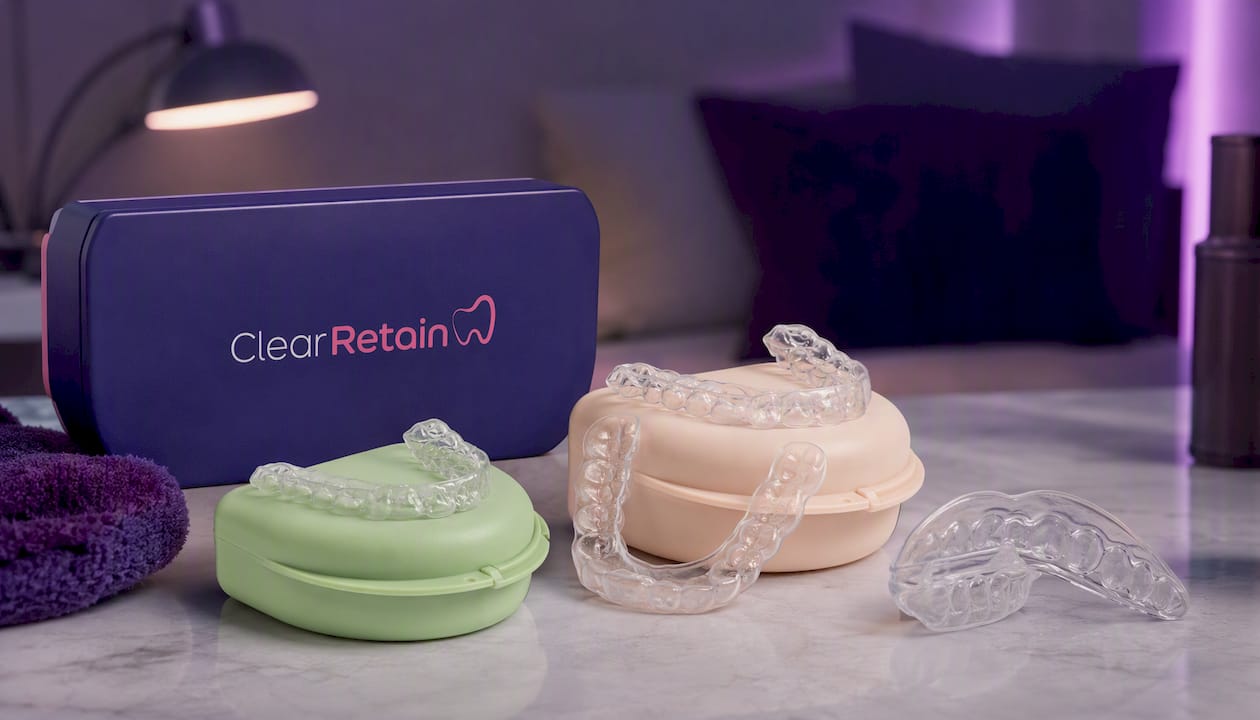
The fitting errors covered in this article — loose retention, uneven bite, soft-tissue impingement — are almost entirely eliminated with a properly made custom guard. Clearretain’s Sports Mouth Guard (Multiple Colors) is fabricated from your own impression using FDA-approved materials, so it seats without clenching and stays put through contact. For nighttime use, the Upper Retainer-Night Guard addresses the fit problems that OTC night guards consistently fail on, and the upper and lower night guard set is built specifically for heavy grinders who need full-arch coverage.
The process is direct-to-consumer: order online, use the self-impression kit, and get a lab-fabricated guard without the clinic markup. Clearretain customers save up to 80% compared with traditional orthodontic pricing. If you’ve been tolerating a guard that doesn’t quite fit, order your custom guard at clearretain.com and stop settling for close enough.
Authoritative sources and further reading
- Athletic Mouth Protectors (Mouthguards) | American Dental Association
- Dentist-fitted mouthguards necessary for athletes of all ages, advocates say | American Dental Association
- Journal of the American Dental Association (JADA) review on athletic mouthguards64802-9/abstract)64802-9/abstract)
- Mouth guards — everything you need to know | Colgate
- Night Guard Not Fitting Properly: Clinical Causes & Fixes | HCMC Dental
- Night Guard Jaw Pain: 2026 Relief Guide
- AAPD: Sports mouthguard guidance