


Store Sports Mouth Guard Hygiene: The Athlete's Guide
The quickest way to keep a sports mouth guard hygienic and protective is simple: rinse it immediately after use, clean it gently with mild soap, air-dry it completely, and store it in a ventilated hard case away from heat. That four-step sequence, done consistently, prevents the bacterial buildup and odor that sideline guards far sooner than physical wear does.
A Journal of Clinical Medicine study found that rinsing with cold tap water removed 91% of salivary proteins, while a soluble effervescent tablet pushed that to 99%. Dentists recommend pairing both: daily rinsing after every session, weekly effervescent soaks for deeper disinfection. Clinical testing showed 91% protein removal with cold tap water and 99% removal with a soluble effervescent tablet. Clearretain’s custom sports mouth guards are made from FDA-approved materials designed to hold up to exactly this routine.
Quick sideline checklist:
- Rinse with cool water the moment you remove the guard
- Brush gently with mild soap and a soft toothbrush
- Air-dry for at least 15–30 minutes before closing the case
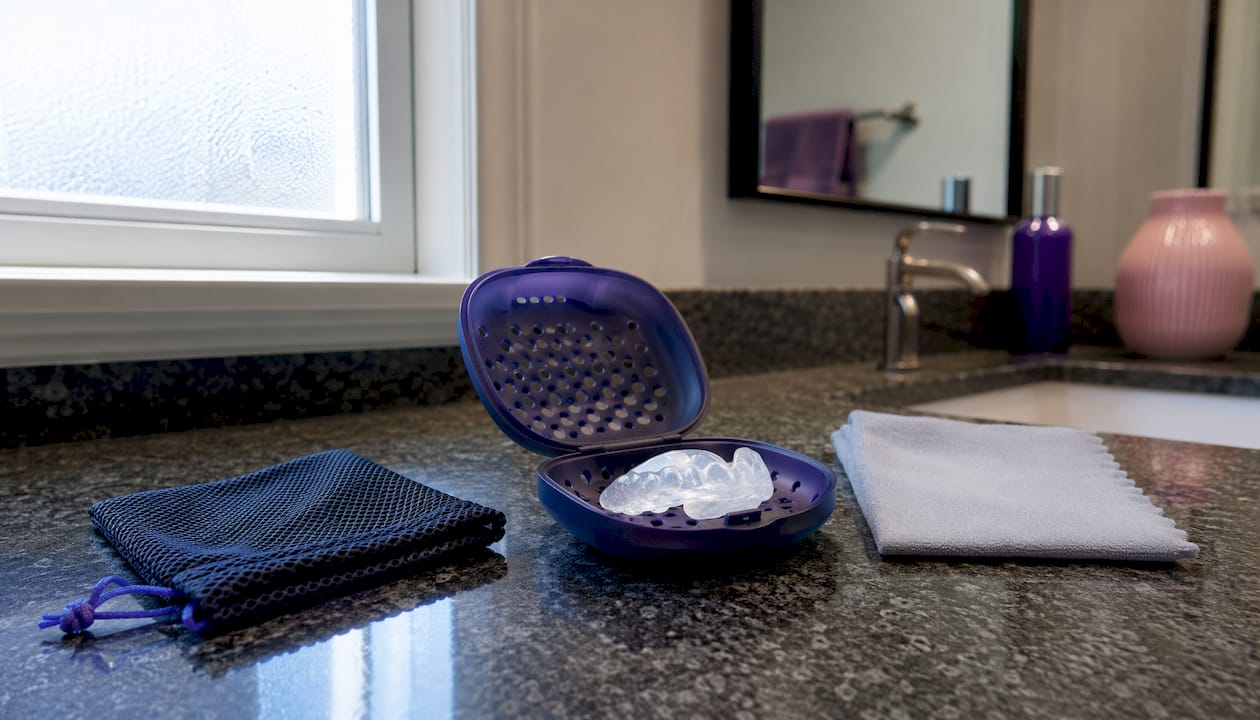
- Store in a ventilated hard case, away from heat and pets
Pro Tip: Never seal a damp guard in a closed case. Even a few hours of trapped moisture creates a fast-growth environment for mold and odor-causing bacteria.
Table of Contents
- What should your daily cleaning routine look like?
- How do you deep-clean a mouth guard each week?
- What does the clinical evidence actually say?
- How should you store and transport your mouth guard?
- Common mistakes that shorten guard life or create hygiene risks
- When is it time to replace your mouth guard?
- Key Takeaways
- Why hygiene and fit are inseparable
- Clearretain custom sports mouth guards
- Useful sources
What should your daily cleaning routine look like?
Think of your mouth guard the way you think of a toothbrush: it spends every practice in direct contact with your oral tissues, which makes it a persistent reservoir for bacteria and food debris. Immediate post-activity hygiene is what keeps infections and odors from taking hold.
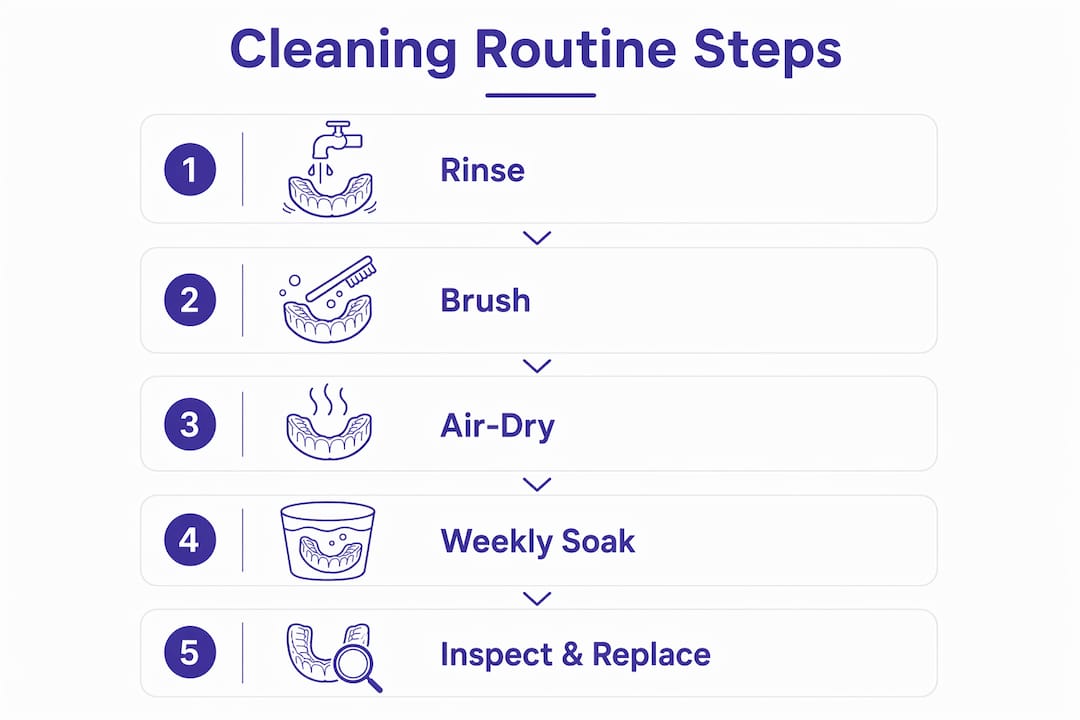
Step-by-step daily routine:
- Rinse immediately with cool tap water as soon as you remove the guard. This flushes away loose saliva and debris before proteins can bond to the surface.
- Brush gently using a soft-bristle toothbrush and a small amount of mild, non-abrasive liquid soap. Work all surfaces, including the inner channel.
- Rinse again thoroughly under cool running water until all soap residue is gone.
- Air-dry on a clean surface for 15–30 minutes before placing it back in the case.
What to skip entirely:
- Toothpaste — abrasives in toothpaste create micro-scratches that trap bacteria and accelerate material breakdown
- Hot water — warps the thermoplastic material and ruins the fit
- Dishwashers and bleach — both destroy EVA-based guards quickly
- Alcohol-based mouthwash — dries out and weakens the material over time
No sink nearby? A bottled water rinse plus a quick soap wipe with a travel-size soap packet works well on a sideline or in a locker room. For short-term transport between periods or quarters, keep the guard in its ventilated case rather than a pocket or bag pouch. More on daily and weekly routines that fit an athlete’s schedule.
Pro Tip: Keep a dedicated soft toothbrush in your gear bag solely for guard cleaning. Using your regular toothbrush transfers toothpaste residue, which defeats the purpose.
How do you deep-clean a mouth guard each week?
Daily rinsing handles surface debris, but proteins and bacteria that adhere deeper into the material need a weekly soak to clear out. The good news: the most effective options cost almost nothing.
Evidence-backed deep-clean methods:
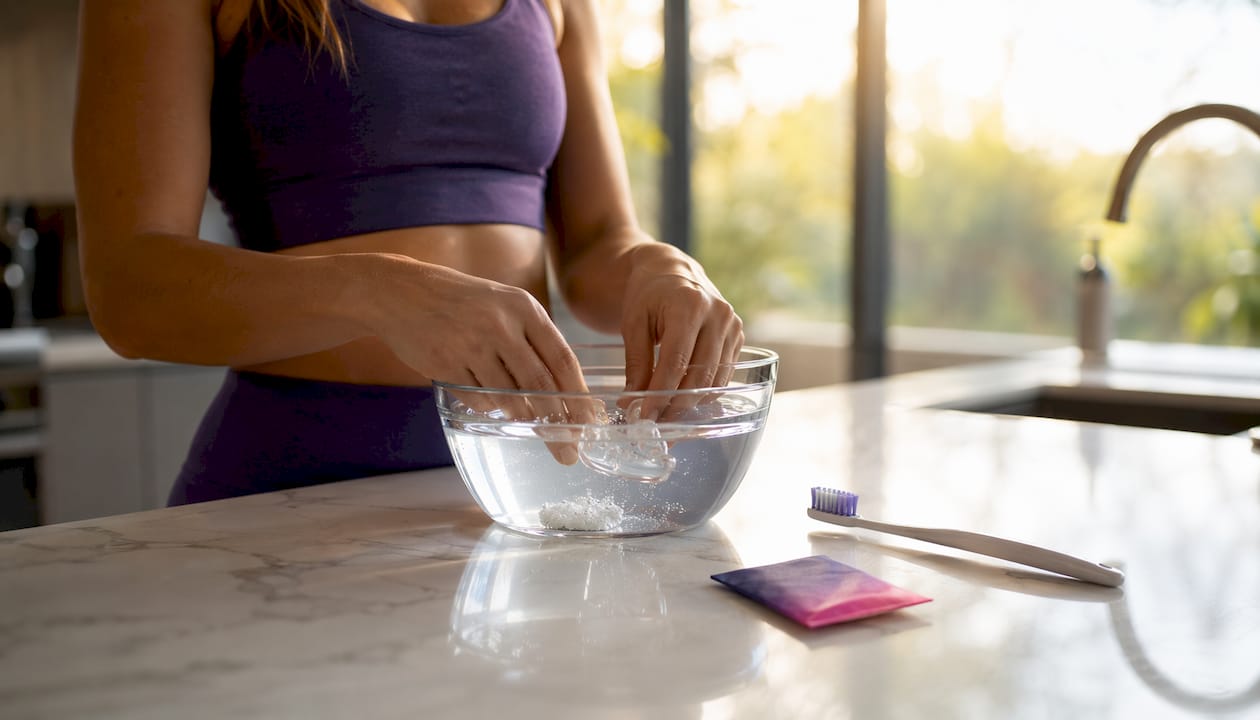
- Effervescent denture tablet soak: Drop one tablet into a cup of cool water, submerge the guard, and soak for 10–15 minutes. This method removes 99% of salivary proteins per clinical testing. Rinse thoroughly afterward.
- White vinegar soak: Mix equal parts white vinegar and cool water, soak for 15 minutes, then rinse well. A practical, low-cost option when tablets aren’t available.
- Short hydrogen peroxide soak: A brief soak in a diluted hydrogen peroxide solution can reduce bacterial load, but only use this if your guard’s manufacturer approves it. Prolonged or repeated exposure can degrade some materials.
- Commercial mouth guard cleaners: Products formulated specifically for guards are safe when used per instructions. Avoid anything containing alcohol or bleach.
Timing and temperature matter. Always use cool water, never warm or hot. Keep soaks within the 10–15 minute window; longer doesn’t mean cleaner and can stress the material. After any soak, rinse under cool running water and air-dry completely before storage.
After an illness, skip the standard weekly soak and go straight to a denture tablet or vinegar soak. If the illness was prolonged, replacing the guard entirely is a reasonable call — bacteria and viruses can persist in the material even after cleaning.
What does the clinical evidence actually say?
The most useful data for athletes comes from a small but direct clinical test: 15 volunteers wore a mouthguard for one hour, and researchers then measured how well different cleaning methods removed deposited salivary proteins.
| Cleaning Method | Protein Removal Rate |
|---|---|
| Cold tap water rinse | 91% |
| Soluble effervescent tablet | 99% |
The gap between those two numbers is the practical argument for a weekly deep clean. A daily rinse handles the bulk of contamination well, but that remaining 8% accumulates over a season. Effervescent tablets close that gap almost entirely.
What dentists consistently recommend:
- Avoid abrasive cleaners and toothpaste, which scratch the surface and create bacterial hiding spots
- Never expose the guard to heat sources, including hot cars, boiling water, or dishwashers, since heat causes permanent warping and fit loss
- Bring the guard to routine dental checkups for professional fit inspection and cleaning guidance
- Treat any persistent odor after proper cleaning as a replacement signal, not a cleaning failure
The practical takeaway: daily rinse plus weekly effervescent soak is the combination that clinical evidence and dental professionals both point to. For athletes who wear their guard multiple times a week, that weekly soak becomes more important, not less. Proper dental appliance care follows the same core logic across device types.
How should you store and transport your mouth guard?
Storage is where most athletes lose ground on hygiene, even when they clean well. A guard that gets cleaned properly but stored wet in a sealed bag undoes the work within hours.
The right storage setup:
- Use a hard-sided case with ventilation holes. The vents allow moisture to escape so the guard dries even when closed.
- Air-dry the guard for at least 15–30 minutes on a clean surface before sealing the case.
- Keep the case away from direct sunlight, car dashboards, and gym bag pockets near heat sources.
For travel and team bags, place the ventilated case inside a small protective pouch to prevent it from getting crushed or contaminated by other gear. Never store the guard loose in a back pocket or zip pouch without ventilation. The ventilated case design exists specifically to prevent the airtight-container problem.
Storage: do vs. don’t
| Scenario | Do | Don’t |
|---|---|---|
| After practice | Air-dry 15–30 min, then ventilated case | Seal immediately in airtight bag |
| In a team bag | Hard case inside a protective pouch | Loose in a side pocket |
| Overnight | Ventilated case on a shelf | On a bathroom counter near steam |
| Hot weather / car | Bring inside with you | Leave on dashboard or in a hot car |
| Pets in the home | Store in a closed cabinet or bag | Leave on a counter or bench |
Pro Tip: Label your case in a team setting. Mixing up guards is a direct route to cross-contamination, and it happens more often than most athletes expect.
Common mistakes that shorten guard life or create hygiene risks
Most guard damage and hygiene failures trace back to a short list of repeated errors.
- Using toothpaste: The abrasives scratch the surface, creating micro-grooves where bacteria colonize. Switch to mild liquid soap.
- Boiling the guard: Heat warps the material permanently unless the manufacturer’s instructions explicitly permit it. Even a few seconds too long ruins the fit.
- Leaving it in a hot car: A closed car in summer reaches temperatures that warp EVA-based guards within minutes. Treat it like a chocolate bar.
- Storing it damp in a sealed case: Moisture plus no airflow equals mold. Always air-dry first.
- Chewing on the guard between plays: This accelerates surface breakdown and creates irregular crevices that trap bacteria.
- Letting pets access it: Dogs in particular treat mouth guards as chew toys. One bite can crack the material and introduce bacteria that no cleaning routine will fully address.
Quick fixes if a mistake already happened:
- Scratched by toothpaste? Inspect for deep grooves. If the surface feels rough or the guard smells despite cleaning, it may be time to replace it.
- Warped by heat? Test the fit. If it no longer seats snugly, a warped guard offers reduced protection. Check custom vs. boil-and-bite options for replacement guidance.
- Stored wet once? Do a full effervescent tablet soak, rinse, and air-dry for several hours before using again.
- Pet chewed it? Replace it. No cleaning protocol recovers a structurally compromised guard.
When is it time to replace your mouth guard?
A guard that no longer fits correctly offers significantly less protection, regardless of how clean it is. Fit and structural integrity matter as much as hygiene.
Replace your guard when you notice:
- Visible cracks, tears, or bite-through spots
- Permanent warping or deformation that prevents a snug fit
- A loose or shifting feel during activity
- Persistent bad odor after a proper deep clean
- Rough or jagged edges that irritate the gums or cheeks
General replacement timelines:
- Junior athletes: at least once per season, or sooner if signs appear
- Adult athletes: once per season for heavy contact sports; every 1–2 seasons for lower-impact activities
- Post-illness: after a significant viral or bacterial illness, a fresh guard is worth the cost
Dentists recommend bringing your guard to routine dental checkups for professional fit inspection. Visual checks at home catch obvious damage, but a dentist can identify subtle fit loss that you might not notice until it causes a problem. If you’re unsure whether your guard still fits properly, that uncertainty is itself a signal worth acting on.
Pro Tip: At the start of each season, hold the guard up to light and flex it gently. Micro-cracks that aren’t visible flat become obvious when the material bends.
Key Takeaways
A daily rinse plus a weekly effervescent tablet soak is the evidence-backed routine that keeps a sports mouth guard hygienic, protective, and long-lasting throughout a full season.
| Point | Details |
|---|---|
| Daily cleaning routine | Rinse with cool water, brush with mild soap, air-dry 15–30 minutes after every use. |
| Weekly deep clean | Soak in cool water with an effervescent tablet for 10–15 minutes; removes 99% of deposited salivary proteins, based on clinical testing. |
| Storage rule | Always air-dry fully before sealing in a ventilated hard case; never store damp or in airtight containers. |
| Replacement triggers | Replace on visible cracks, permanent warping, poor fit, or persistent odor after proper cleaning. |
| Clearretain option | Clearretain’s custom sports mouth guards use FDA-approved materials built to withstand this exact cleaning and storage routine. |
Why hygiene and fit are inseparable
Most athletes focus on cleaning and treat fit as a separate issue. That split is a mistake. A guard that fits precisely sits flush against the teeth and gums, which means less surface area exposed to pooled saliva and debris between wears. A loose guard, by contrast, shifts constantly, creating gaps where bacteria accumulate regardless of how often you clean it.
The routines in this article work best when the guard itself is properly fitted. Clearretain recommends inspecting fit at every dental checkup, not just when something feels off. Subtle fit changes happen gradually, and most athletes don’t notice until the guard is already underperforming. Bringing the guard to a checkup takes thirty seconds and gives a professional a chance to catch what you’d miss.
The other thing worth saying plainly: no cleaning routine compensates for a guard that’s past its useful life. If the material is cracked, warped, or permanently deformed, the right move is replacement, not a deeper soak.
Clearretain custom sports mouth guards
If you’re already following a solid hygiene routine, the next variable that affects protection is the guard itself. Clearretain’s custom sports mouth guards are made from FDA-approved materials and fitted from a self-impression kit you complete at home, with no office visit required. The precise fit means the guard stays in place during contact, cleans more evenly, and holds its shape through a full season of proper care.
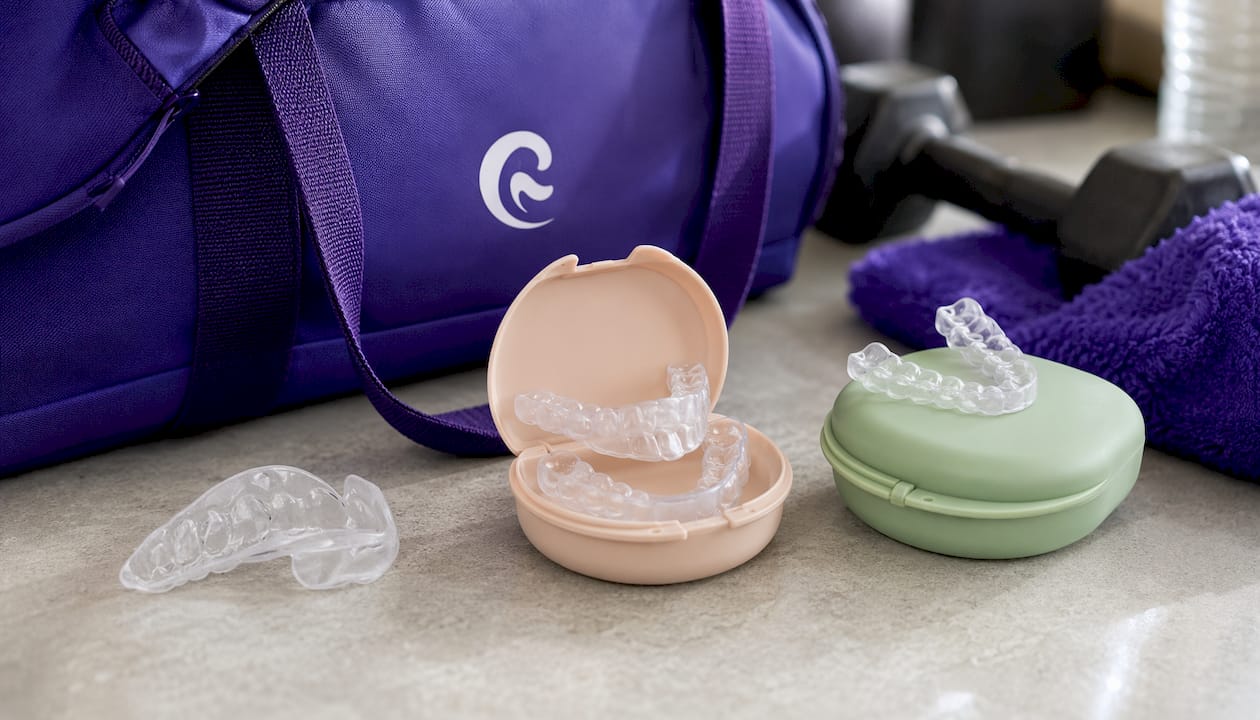
For athletes who need coverage for both arches, the upper and lower guard set offers full protection, and the upper retainer-night guard covers nighttime grinding separately. Clearretain’s direct-to-consumer model cuts the cost significantly compared to clinic pricing, with the same quality of materials and orthodontic technician oversight. Order online, complete your impression at home, and get a guard built to fit the mouth it’s actually protecting.
Useful sources
- New study identifies proper methods to clean sport mouthguards — American Dental Association coverage of the Journal of Clinical Medicine study on rinsing vs. effervescent tablets
- Mouthguards — MouthHealthy / ADA consumer guidance on care, storage, and replacement
- Athletic Mouth Protectors (Mouthguards) — ADA clinical guidance on mouthguard types, materials, and fit standards
- Sports Mouthguard Care & Replacement — Sandgate Family Dental practitioner guidance on daily and weekly cleaning, storage, and replacement triggers
- Custom sports mouth guards — Clearretain product page for athletes seeking a custom-fitted guard
- Mouth guard sports performance guide — Clearretain guide on how guards affect athletic performance and hygiene