

Mouth Guard Replacement Indicators: Know When to Replace
Replace your mouth guard immediately when you notice visible cracks, holes, or tears; thinning at the bite surfaces; a loose or shifted fit; persistent odor that survives cleaning; or the return of morning jaw pain and tooth sensitivity. These are the primary mouth guard replacement indicators that dental professionals use to determine whether an appliance is still protecting you or quietly making things worse.
A few things worth knowing upfront:
- Structural damage (cracks, holes, missing pieces) is an immediate stop-use trigger. A cracked guard cannot distribute grinding forces properly and can injure your gums.
- Fit changes matter as much as visible damage. A guard that no longer seats securely may force your jaw into unnatural positions, increasing TMJ strain.
- FDA-approved materials used in custom guards are designed to hold up under repeated stress, but no material lasts indefinitely. Clearretain’s night guards and sports guards use FDA-approved materials manufactured under orthodontic technician supervision.
- The American Dental Association recommends bringing your guard to every dental checkup so your dentist can inspect it alongside your teeth.
If your guard shows any of the signs above, stop using it and arrange a replacement before your next grinding session.
Table of Contents
- What are the key mouth guard replacement indicators?
- How do you inspect your mouth guard at home?
- What cleaning and storage habits extend your guard’s life?
- How long does a mouth guard last, and what does replacement cost?
- When does dental work mean you need a new guard?
- Why does wearing a worn guard put your health at risk?
- What are your options when it is time to replace your guard?
- What should you do in the next 7–14 days?
- Key Takeaways
- The case for replacing sooner rather than later
- Clearretain custom night guards: a practical replacement path
- Authoritative sources and further reading
What are the key mouth guard replacement indicators?
Most guards fail in one of five ways. Knowing which category your guard falls into tells you how urgent the replacement is.
1. Visible structural damage
Cracks, splits, tears, and holes are the clearest signs you need a new mouth guard. Even a hairline crack is a problem: it creates a weak point where the guard can collapse mid-use, letting your teeth make direct contact. Cracks also trap bacteria in ways no cleaning routine can reach. Rough or sharp edges that develop from wear can cut into gum tissue, turning a protective device into a source of irritation.
2. Thinning or flattened bite areas
The occlusal surfaces (the flat areas where your upper and lower teeth meet) absorb the most grinding force. Over time, those areas compress and thin. Micro-thinning on bite surfaces can be functionally critical before it is visually obvious, which is why a physical retention check matters as much as a visual scan. When the material gets too thin, it stops absorbing pressure and transfers force directly to your teeth and jaw joints.
3. Changed or loose fit
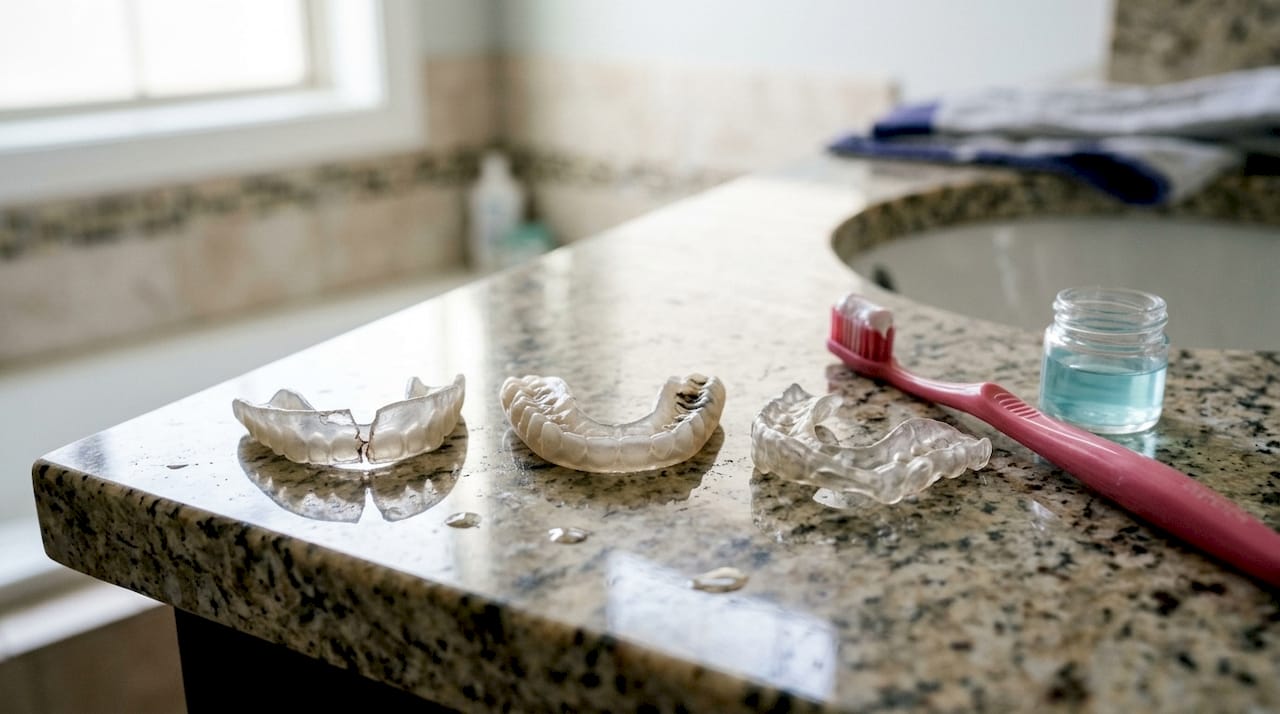
A guard that once snapped into place but now wobbles, slides, or falls out during sleep has stretched or warped. Oral heat, repeated use, and improper storage all alter the shape of the material over time. A loose guard provides minimal protection and can actually shift teeth if it applies uneven pressure night after night.
4. Persistent odor or staining
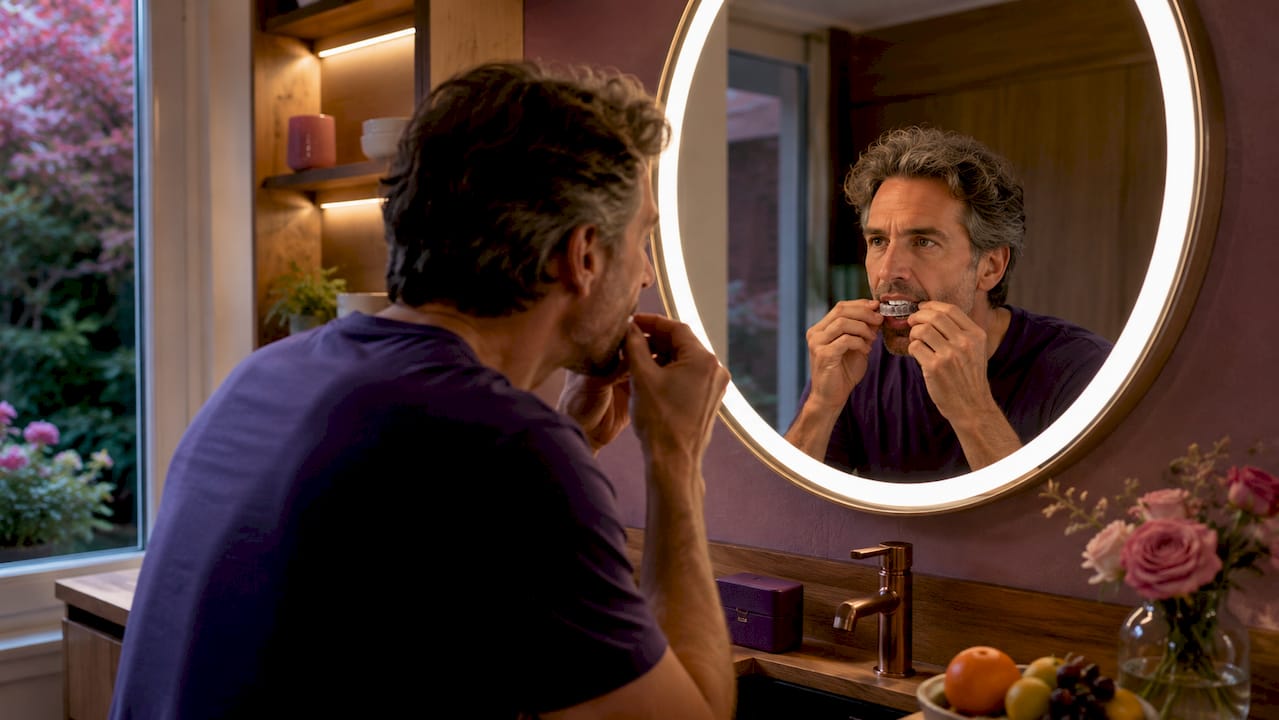
A foul smell that survives a thorough cleaning is not a hygiene inconvenience. It signals that saliva minerals and microbes have penetrated the material’s pores, meaning the guard cannot be effectively sanitized. Continuing to wear it increases oral microbial load and raises the risk of gum inflammation.
5. Return of symptoms
Morning jaw pain, new headaches, tooth sensitivity, or visible chips in enamel are functional failure signals. Your guard exists to prevent these symptoms. When they come back, the appliance has stopped doing its job.
Sport-specific and pediatric flags
Athletes should also watch for chewed or deformed edges after impact, which compromise the guard’s shock-absorption geometry. For children and adolescents, growth and tooth eruption frequently alter fit, so pediatric replacement intervals are shorter than adult timelines.
Pro Tip: Dental professionals consistently note that a worn or ill-fitting guard can be worse than no guard at all. It may force the jaw into unnatural positions, creating muscle tension, TMJ strain, and even orthodontic shifting. When in doubt, replace it.
How do you inspect your mouth guard at home?
A monthly check takes about three minutes and catches problems before symptoms return. Here is the sequence:
Step 1: Visual check under bright light. Hold the guard up to a lamp or bright window. Look for hairline cracks, cloudy or discolored patches, and any areas where the material looks thinner or more translucent than the rest. Discoloration that does not rinse off is a flag.
Step 2: Retention test. Place the guard in your mouth and press it into position. It should seat with a firm, even snap and stay put without you biting down to hold it. If it wobbles, slides, or requires you to clench to keep it in place, the fit has failed.
Step 3: Occlusal surface check. Run your fingertip across the bite surfaces. You are feeling for deep grooves, uneven compression, or areas that feel noticeably thinner than adjacent zones. You do not need special tools for this.
Step 4: Odor and texture check. After rinsing, smell the guard. A faint, neutral smell is normal. A persistent stale or sour odor after cleaning indicates material breakdown. Also feel the surface: a tacky or sticky texture that was not there when the guard was new suggests the polymer is degrading.
Frequency: Do this check monthly and also bring the guard to every dental visit. Your dentist can verify occlusal balance and check for wear patterns that are difficult to detect by touch alone.
What cleaning and storage habits extend your guard’s life?
How you clean and store a mouth guard directly affects how long it lasts. The right habits can add months to its lifespan; the wrong ones accelerate failure.
| Practice | Safe | Harmful |
|---|---|---|
| Cleaning agent | Mild non-abrasive soap, guard-specific cleaner | Abrasive toothpaste, bleach, alcohol-based mouthwash |
| Water temperature | Cool or lukewarm water | Hot or boiling water (unless the guard is designed for it) |
| Brushing | Soft-bristle brush, gentle strokes | Stiff brush or scrubbing |
| Storage container | Vented hard case, dry before storing | Sealed airtight bag, damp storage |
| Heat exposure | Room temperature, away from sunlight | Car dashboard, dishwasher, microwave |
| Handling | Hold by the edges | Bending, twisting, or chewing on the guard |
Abrasive toothpaste and high heat create microscopic surface damage that accelerates material fatigue and opens niches for bacterial growth. That is the mechanism behind most premature guard failures. For a detailed daily and weekly protocol, Clearretain’s mouth guard cleaning guide covers product-specific recommendations and step-by-step routines.
- Rinse with cool water immediately after removing the guard, before residue dries.
- Let it air-dry completely before closing it in its case.
- Deep-clean weekly with a non-abrasive cleaner approved by the manufacturer.
- Never leave the guard in a hot car. Temperatures inside a parked vehicle can warp thermoplastic materials in minutes.
Pro Tip: If you want to sanitize without damaging the material, use a non-abrasive, manufacturer-approved cleaner or a diluted white vinegar soak (one part vinegar, three parts water, 30 minutes). Rinse thoroughly afterward. Avoid any product that contains alcohol or harsh oxidizers.
How long does a mouth guard last, and what does replacement cost?
Lifespan varies significantly by guard type, grinding severity, and how well the guard is maintained.
| Guard type | Typical lifespan | Approximate cost range |
|---|---|---|
| Stock/OTC boil-and-bite | 3–6 months | — |
| Custom soft night guard | 1–2 years | — |
| Dual-laminate night guard | 1–3 years | — |
| Hard acrylic custom guard | 2–5 years | — |
| Sports mouth guard (custom) | Replace every season | — |
Custom hard acrylic guards typically provide several years of protection with proper care, while soft OTC guards generally need more frequent replacement. For heavy grinders, hard acrylic is the recommended material because soft guards compress too quickly under severe bruxism forces.
The cost-per-year math often surprises people. Replacing a $25 boil-and-bite guard three times a year costs $75 annually with inferior protection. A custom guard at $400 spread over three years costs roughly $133 per year, with better fit and durability. Frequent replacement of low-cost guards often equals or exceeds the five-year cost of a single custom-fitted appliance. For a detailed breakdown of the tradeoffs, Clearretain’s comparison of custom vs. boil-and-bite guards walks through the fit and value differences.
- Light grinders: Custom soft guard, 1–2 years with good care.
- Moderate grinders: Dual-laminate, 1–3 years.
- Heavy or lateral grinders: Hard acrylic, 2–5 years; plan for annual inspection.
- Athletes: Replace every season or sooner after any significant impact.
- Budget planning tip: Order a backup guard when you re-order your primary. The cost is lower than an emergency replacement, and you will not be unprotected while waiting for a new one.
When does dental work mean you need a new guard?
A guard that looks perfectly fine may still need replacement after certain dental procedures. The fit is the issue, not the material.
- New crowns, fillings, or bridges change the height and contour of your occlusal surface. Even a single new crown can shift how the guard seats, creating uneven pressure points that stress adjacent teeth and the TMJ. Any change in dental anatomy can alter occlusal contacts enough that a previously well-fitting guard becomes problematic.
- Orthodontic treatment moves teeth continuously. A guard fitted at the start of treatment will not fit the same mouth six months later. Bring your guard to every orthodontic adjustment appointment.
- Children and adolescents need reassessment more frequently than adults because growth and tooth eruption alter fit on a shorter timeline. A guard that fit well in September may be noticeably loose by spring.
- Extractions and implants change the bite geometry in ways that are not always immediately obvious. After any extraction or implant placement, have your guard evaluated before resuming use.
Never attempt to trim or reshape a guard at home to compensate for a new restoration. Self-trimming removes material unevenly and compromises the uniform thickness that distributes grinding forces safely. Bring the guard to your dentist and let them assess whether it can be adjusted professionally or needs replacement.
Why does wearing a worn guard put your health at risk?
A compromised guard does not just fail to protect you. It can actively cause harm.
When the bite surfaces thin out, the guard stops absorbing grinding forces and transfers them directly to tooth enamel and the jaw joints. That increases the risk of enamel fractures, micro-cracks, and TMJ strain. A loose guard that shifts during sleep can apply lateral pressure to teeth, contributing to unwanted tooth movement over time.
The infection risk is less visible but equally real. Material that has become porous from age or improper cleaning harbors bacteria and fungi in micro-tears that no surface cleaning reaches. Wearing that guard nightly increases local microbial load and raises the risk of gum inflammation and periodontal problems.
“If a guard no longer provides a precise, comfortable, stable fit, it has stopped serving its therapeutic function — even when it looks intact. Replacement is a protection question, not just a wear question.” — dental professionals cited in clinical guidance from HCMC Dental
Symptom return is the clearest signal that protection has failed: waking headaches, new tooth sensitivity, sore facial muscles in the morning, or visible chips in enamel. These are not coincidences. They are the consequences of a guard that has crossed from protective to ineffective.
What are your options when it is time to replace your guard?
The right replacement path depends on how urgently you need protection and what your current symptoms are.
- Stop use immediately if the guard has visible cracks, holes, or a severely compromised fit. Do not use a damaged guard as a temporary measure.
- Short-term OTC backup only for emergencies. A boil-and-bite from a pharmacy is acceptable for a night or two while you arrange a custom replacement. It is not a long-term solution, especially for moderate or heavy grinders.
- See a dentist first if you have new symptoms (jaw pain, tooth sensitivity, visible enamel damage), if you have had recent restorative work, or if your wear patterns are severe and asymmetric. These situations need clinical evaluation before a new guard is made.
- Re-order a custom replacement for durable, long-term protection. Custom guards made from FDA-approved materials provide a precise fit that OTC options cannot match. For heavy grinders, hard acrylic is the recommended material.
- Use stored impressions to speed up re-orders. Clearretain stores digital impressions from previous orders, so returning customers can re-order without repeating the impression process. That shortens the turnaround significantly.
For a broader look at custom options for bruxism, Clearretain’s guide to teeth grinding alternatives covers material choices and fit considerations in detail.
What should you do in the next 7–14 days?
Once you decide to replace your guard, here is the practical sequence:
- Stop use if urgent signs are present. Photograph the damage (cracks, worn areas, discoloration) before cleaning the guard. Those photos are useful when contacting your dentist or supplier.
- Clean and store the guard in its case. Bring it to your dental appointment so your dentist can assess wear patterns and occlusal balance.
- Contact your dentist or supplier within 48 hours if symptoms have returned. If the guard simply shows wear without symptoms, scheduling within the week is fine.
- Order your replacement. Custom lab-made guards typically take 1–2 weeks from impression to delivery. If you are a returning Clearretain customer with stored impressions on file, the re-order process skips the impression step entirely.
- Order a backup if your timeline allows. Having a second guard means you are never unprotected during shipping or if a guard is lost or damaged.
Bring your symptom notes to the appointment: when the pain started, which teeth feel sensitive, and whether symptoms have changed. That information helps your dentist assess whether the guard alone is the issue or whether the underlying bruxism has intensified.
Key Takeaways
Replacing a worn or damaged mouth guard promptly is the single most effective way to prevent enamel fractures, TMJ strain, and oral infection from a compromised appliance.
| Point | Details |
|---|---|
| Urgent replacement signs | Cracks, holes, thinning bite areas, loose fit, persistent odor, and returning jaw pain all require immediate replacement. |
| Typical lifespans | OTC boil-and-bite guards last 3–6 months; custom hard acrylic guards last 2–5 years with proper care. |
| Maintenance extends life | Avoid abrasive toothpaste and hot water; store in a vented case; clean daily with a non-abrasive cleaner. |
| Dental work triggers replacement | New crowns, fillings, orthodontic changes, or growth in children require guard reassessment even without visible wear. |
| Clearretain custom guards | Clearretain offers FDA-approved custom night guards with fast re-orders via stored impressions, at a fraction of in-office lab fees. |
The case for replacing sooner rather than later
The conventional advice on mouth guards tends to focus on visible damage, and that framing misses half the problem. A guard can look fine and still be failing. The bite surfaces thin gradually. The fit loosens by fractions of a millimeter each week. Symptoms creep back slowly enough that people attribute them to stress or posture rather than a guard that has quietly stopped working.
The more useful frame is the one dental professionals actually use: is this guard still providing a precise, stable, comfortable fit? If the answer is anything other than a clear yes, the guard has stopped serving its purpose. That is the standard worth applying, not “does it have a visible crack.”
Custom replacements are worth the investment not because they are premium products but because the fit is what drives protection. A guard that seats precisely distributes grinding forces evenly across the arch. One that wobbles or has compressed unevenly concentrates force on specific teeth and joints. The material matters, but the fit is the mechanism.
Clearretain’s direct-to-consumer model exists specifically to remove the cost barrier that causes people to delay replacement. FDA-approved materials, orthodontic technician supervision, and stored digital impressions for fast re-orders make it practical to replace a guard when it actually needs replacing, not when the cost finally feels justified.
Clearretain custom night guards: a practical replacement path
When your guard shows signs of wear, the fastest path to reliable protection is a custom replacement made from FDA-approved materials. Clearretain offers three options to match your situation: the Upper Retainer-Night Guard for single-arch upper protection, the Lower Retainer-Night Guard for lower-arch coverage, and the Upper and Lower set for full-arch protection.
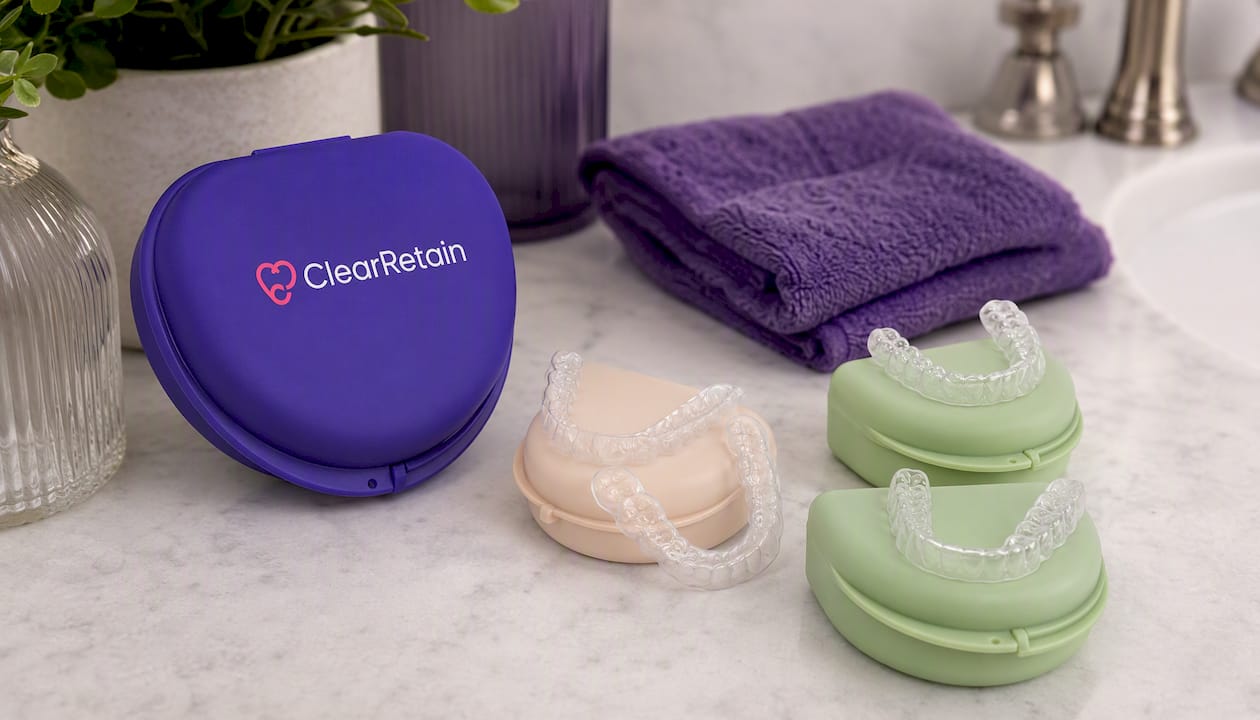
Returning customers with stored impressions on file can re-order without repeating the impression process, cutting turnaround time significantly. Every guard is made under orthodontic technician supervision using FDA-approved materials, and the direct-to-consumer model means you pay for the appliance, not the office visit markup. Savings of up to 80% compared to standard in-office lab fees are typical. Visit Clearretain’s night guards page to review your options and start your replacement order.
This article is general information, not professional dental advice. Confirm your specific situation with a licensed dental professional before making replacement decisions.
Authoritative sources and further reading
- Cleveland Clinic: Mouth Guards — Types and Purpose — Clinical overview of guard types, lifespans, and replacement guidance from a major academic medical center.
- American Dental Association (ADA) — Primary professional body for U.S. dental standards; source for clinical recommendations on guard use and maintenance.
- HCMC Dental: When to Replace a Night Guard — Clinical guide covering immediate replacement indicators and the fit-as-protection framework.
- HCMC Dental: How Long Do Night Guards Last — Lifespan data by guard type and the impact of cleaning practices on material longevity.
- Colgate: Do I Need a Night Guard? — Consumer-facing guidance on odor as a microbial and structural failure indicator.
- Minnetonka Dental: When to Replace a Mouthguard or Night Guard — Clinical detail on micro-thinning and retention checks.
- Glenmore Family Dental Care: Signs It’s Time to Replace Your Mouthguard — Pediatric replacement cadence and cost-per-year analysis of OTC vs. custom guards.
- Clearretain Night Guards — Product options, materials, and re-order process for custom FDA-approved night guards.
A dental professional’s in-person exam is the final authority on whether your guard needs replacement. Use this article as a starting framework, not a substitute for clinical evaluation.