

30–60 Minutes or 6–8 Hours: Which Whitening Works and Why Fit Wins
Both overnight and daytime whitening can lift your teeth several shades when you use them correctly. The real differences are in exposure time, ingredient strength, and how much sensitivity you’re willing to tolerate. Daytime products use hydrogen peroxide at higher concentrations for short 30 to 60 minute sessions, while overnight trays use lower-concentration carbamide peroxide worn for 6 to 8 hours or more. The right pick usually comes down to your schedule and your teeth’s sensitivity history, not which method is objectively “stronger.”
TL;DR:
- When total active peroxide exposure is similar, both daytime hydrogen peroxide and overnight carbamide peroxide whitening methods yield comparable results.
- Proper tray fit significantly impacts comfort and effectiveness, with custom-fitted trays reducing gel pooling, sensitivity, and waste compared to generic options.
- Using a lower concentration gel for longer durations, such as overnight trays, minimizes sensitivity risks associated with higher peroxide levels used in short, intense daytime sessions.
- Consistency and adherence to wear-time instructions are more crucial to whitening success than the specific method or product strength.
- Managing sensitivity with desensitizing toothpaste, proper tray fit, and treatment spacing helps ensure a smoother whitening experience and maintains results longer.
Table of Contents
- Overnight vs Daytime Whitening: A Side-by-Side Comparison
- The Chemistry Behind Why Time and Concentration Both Matter
- How Long Should You Wear Whitening Trays or Strips?
- What the Research Actually Shows About Effectiveness and Durability
- Sensitivity and Gum Irritation: What Causes It and How to Fix It
- Which Whitening Method Fits Your Situation?
- Getting Tray Fit and Application Right
- How to Make Your Whitening Results Last
- Our View: Why Tray Fit Matters More Than the Debate Itself
- Which Clearretain Products Fit Your Whitening Plan
- Sources
- FAQ
Overnight vs Daytime Whitening: A Side-by-Side Comparison
The two approaches solve the same problem with opposite strategies: daytime whitening compresses a strong dose into a short window, and overnight whitening stretches a mild dose across hours of sleep. A split-arch clinical trial comparing 10% carbamide peroxide used twice daily for one hour versus once nightly for eight hours found no significant difference in color change between the two schedules. That single finding undercuts a lot of marketing claims about one method being inherently superior.
Here’s how the two stack up on the factors that actually matter to someone deciding between them:
- Typical wear time: Daytime sessions run 30 to 60 minutes; overnight sessions run 6 to 8 or more hours per night.
- Active ingredient: Daytime products generally use hydrogen peroxide (often 6 to 10 percent); overnight products use carbamide peroxide (commonly 10 to 16 percent), which breaks down into a lower effective hydrogen peroxide equivalent.
- Speed of visible change: Daytime sessions can produce noticeable change relatively quickly due to higher peroxide levels; overnight regimens show cumulative change over consistent use.
- Daily commitment: Daytime whitening demands you carve out an uninterrupted block during waking hours; overnight whitening piggybacks on time you’re already spending asleep.
- Sensitivity risk: Overnight wear carries a higher risk of prolonged contact irritation if trays fit poorly; daytime sessions concentrate irritation into a shorter, more controllable window.
- Cost and convenience: Overnight kits often need fewer daily interruptions, which tends to improve real-world compliance, even when the chemistry is comparable.
That last point deserves more weight than most whitening guides give it. Compliance, meaning whether you actually finish the regimen as directed, is often the real variable separating people who get results from people who quit halfway through a box of strips. A slightly weaker product you use every night for two weeks beats a stronger one you abandon after three days.
The Chemistry Behind Why Time and Concentration Both Matter
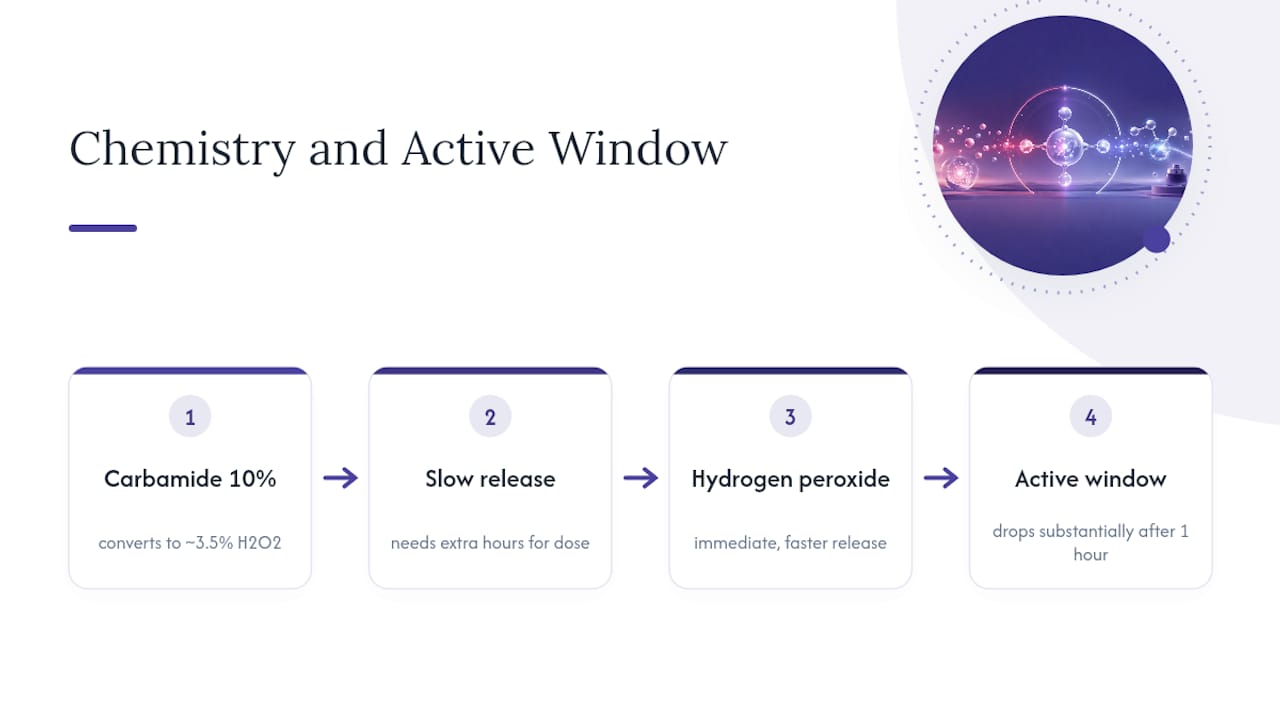
Carbamide peroxide is not a separate whitening agent. It’s a compound that breaks down into hydrogen peroxide and urea once it contacts saliva and tooth surface moisture. Roughly, a 10% carbamide peroxide gel is chemically equivalent to about 3.5% hydrogen peroxide, released slowly rather than all at once. That’s why overnight trays lean on carbamide peroxide: it needs the extra hours to deliver a comparable total dose of active peroxide.
Hydrogen peroxide, used directly in most daytime strips and gels, skips that conversion step. It releases reactive oxygen molecules immediately and at a higher rate, which is why daytime products can work in a fraction of the time. The tradeoff is a narrower margin for error. A higher concentration means faster whitening, but also a faster path to sensitivity if you overuse it or leave it on too long.
Here’s the detail most people miss: peroxide doesn’t stay active indefinitely once it’s in the tray. Research on treatment durations shows that much of the bleaching action happens early in a session, with active peroxide levels dropping substantially after the first hour or so. That means wearing an overnight tray for 10 hours instead of 7 doesn’t whiten your teeth more. It just extends the window where your gums and enamel are exposed to gel that’s already lost most of its punch. Extended wear past the active window adds risk without adding benefit, and that single mechanism explains a lot of the sensitivity complaints tied to overnight whitening.
How Long Should You Wear Whitening Trays or Strips?
Realistic timelines matter more than marketing promises. Here’s what a sensible regimen looks like for each approach:
- Daytime hydrogen peroxide protocol: Wear a 6 to 10 percent HP gel or strip for 30 to 60 minutes once daily. Most people notice a subtle shade shift by day 3 to 5, with more visible change by the end of week one. A full course typically runs 1 to 3 weeks depending on your starting shade and target.
- Overnight carbamide peroxide protocol: Wear a 10 to 16 percent CP gel in a tray for 6 to 8 hours nightly, because the release is slower, expect the first noticeable change around days 4 to 7, with cumulative results building over 1 to 2 weeks of consistent use.
- Track progress with a shade guide. Compare your teeth to a shade tab in consistent lighting every 3 to 4 days rather than checking daily, since daily changes are too small to judge accurately and checking too often just breeds frustration.
- Photograph under the same lighting each time. A quick phone photo next to a shade tab, taken in the same spot with the same light, gives you a more honest read than your bathroom mirror.
- Know when to stop. If you’re not seeing any change after a full 2-week course, or if sensitivity outlasts a couple of days after each session, that’s your cue to pause and check in with a dentist rather than pushing through with a stronger product.
Total active exposure across a full course tends to land in a similar range for both methods once you add it up: a daytime user doing 45 minutes a day for two weeks logs around 10.5 hours of contact time, while an overnight user doing 7 hours a night for the same period logs roughly 98 hours, but at a much lower concentration. The math evens out more than the raw hour counts suggest, which is exactly what the clinical evidence below shows.
What the Research Actually Shows About Effectiveness and Durability
The clinical picture is more settled than the “overnight is better” or “daytime is faster” debates online suggest. A comparison of treatment durations across whitening systems found that at-home products sometimes produced better immediate whitening than in-office treatments, though the gap narrowed by the six-month mark. In other words, the fast in-chair treatment and the slower take-home tray tend to converge over time.
A systematic review of professional whitening methods reached a similar conclusion: at-home carbamide peroxide protocols hold up well long-term and may show lower relapse than some in-office approaches, while in-office high-concentration hydrogen peroxide treatments work faster but can bring more immediate sensitivity. No single method dominates across every metric, and the review is candid about that.
The split-arch trial mentioned earlier adds a useful data point at the ingredient level: when total active peroxide exposure between daytime and overnight sessions is roughly matched, the resulting color change is statistically similar. That’s a strong signal that schedule is a convenience decision, not an effectiveness one.
Where the evidence gets thinner is on exact sensitivity rates by product type. Studies vary in how they measure and report sensitivity, and most of the strongest data comes from controlled trials with limited sample sizes rather than large population studies. Treat comparisons of durability and immediate results as reasonably solid, and treat exact sensitivity percentages between specific product formulations with more caution.
Sensitivity and Gum Irritation: What Causes It and How to Fix It
Tooth sensitivity and mild gum irritation are the two adverse effects you’re most likely to run into, and both are usually mild and temporary. They’re not signs that whitening is inherently unsafe. They’re signs that something in your routine, tray fit, session length, or frequency, needs adjusting.
The most common causes trace back to a short list:
- Excessive wear time, especially overnight sessions pushed past the 8 hour mark out of a “more is better” instinct.
- Poor tray fit or gel pooling, which lets gel sit directly against gum tissue instead of just tooth enamel.
- Retreating too often, without giving your teeth recovery days between sessions.
- Using a higher concentration than your teeth can currently tolerate, particularly if you have any exposed dentin or existing sensitivity.
The review of adverse effects tied to whitening products points specifically to poorly adapted trays and unsupervised OTC use as key risk factors for gingival irritation. Careful tray adaptation measurably reduces that risk, which is part of why custom-molded trays tend to outperform generic one-size-fits-all trays sold at drugstores.
If sensitivity shows up, the fix is usually simple: switch to a potassium nitrate desensitizing toothpaste a few days before and during your whitening course, shorten your sessions, and space treatments every other day instead of daily. ADA clinical resources support professional assessment before bleaching, particularly if sensitivity is severe or lasts more than a couple of days after you stop.
Pro Tip: If your gums feel irritated right after a session, don’t rinse and reapply the next day hoping it’ll pass. Skip 48 hours entirely, switch to every-other-day sessions, and you’ll usually preserve your final shade while giving your gum tissue time to recover. For a deeper breakdown of what causes discomfort and how to manage it, see this guide on reducing sensitivity after whitening.
Which Whitening Method Fits Your Situation?
Instead of guessing, run through this checklist. Answer honestly and the right method usually becomes obvious.
- What’s your schedule like? If you can’t sit still with a tray in for 30 to 60 minutes without talking or eating, overnight whitening fits your life better than daytime sessions will.
- Do you have a history of sensitive teeth? If yes, start with a lower-concentration overnight carbamide peroxide product and a desensitizing toothpaste, rather than jumping into a high-percentage daytime gel.
- Do you have crowns, veneers, or fillings on visible teeth? Peroxide doesn’t whiten restorations the way it whitens natural enamel, which can create shade mismatches. This is a case where a dentist consultation before you start makes a real difference.
- Is there a deadline, like a wedding or an interview, driving this? Short, controlled daytime sessions give you more predictable timing when you need visible results in under two weeks.
- Have you whitened before without problems? If your teeth handled a product well previously, you have more room to try a slightly stronger option this time.
- What’s your budget and how likely are you to stick with a routine? A cheaper product you’ll actually use consistently beats an expensive one that sits half-finished in a drawer.
If two or more answers point toward high sensitivity or existing dental work, lean toward a dentist-supervised at-home plan or in-office treatment rather than an unsupervised high-concentration product; consulting a professional is recommended for the best results from teeth whitening in Washington DC. A useful real-world example: someone with sensitive teeth and a wedding in ten days is generally better served by short daytime sessions paired with a desensitizing protocol than by a long overnight regimen they’ve never tried before.
Getting Tray Fit and Application Right
Most whitening complaints trace back to technique, not the gel itself. A few adjustments fix the majority of problems before they start.
- Use a thin line of gel, roughly a rice-grain amount per tooth compartment, not a filled reservoir. Overfilling is the single biggest cause of gel pooling against gum tissue.
- Seat the tray evenly and press gently along the arch so it sits flush, then wipe away any gel that squeezes out at the edges.
- Get a professional cleaning before you start. Removing plaque and surface buildup beforehand improves how evenly the whitening agent contacts enamel, which means fewer patchy results.
- Avoid acidic foods and drinks right before and after a session, since acid can temporarily soften enamel and increase sensitivity.
- If you feel a sting, stop. Pause 24 to 48 hours, add a potassium nitrate toothpaste to your routine, and resume every other day instead of daily.
Pro Tip: A tray that fits loosely does more damage than a slightly stronger gel. If your tray shifts or gel leaks out within the first few minutes, that’s a fit problem worth solving before you keep whitening, not something to push through.
How to Make Your Whitening Results Last
Whitening isn’t a one-and-done event. What you do in the weeks after your last session determines whether you’re touching up in two months or two years.
The biggest threat to your new shade is the same stuff that stained your teeth in the first place: coffee, tea, red wine, and dark sauces. For the first 48 hours after a whitening session, enamel is more porous and more prone to picking up stains, so it’s worth being extra careful with those items right after you finish, even if you’re not strict about them long-term. Rinsing with water after dark beverages and using a straw for cold drinks both cut down on surface staining without requiring you to give anything up entirely.
A consistent oral hygiene routine matters more for maintenance than any whitening product does. Brushing twice daily, flossing, and getting regular professional cleanings removes the surface buildup that dulls your shade over time, faster than any at-home product can. If you want to hold your color between full whitening courses, a light touch-up session every few months, using the same gel at a shorter wear time, tends to work better than waiting until you’ve faded significantly and starting from scratch.
Keep your custom trays clean and dry between uses too. A tray stored wet or left in a warm car can warp slightly, which throws off the fit you originally had and reintroduces the gel-pooling problem that causes irritation in the first place.
Our View: Why Tray Fit Matters More Than the Debate Itself
The overnight versus daytime argument gets more attention than it deserves. The clinical evidence is fairly consistent: when total active peroxide exposure is comparable, the results are comparable too. What actually separates a good whitening experience from a frustrating one is tray fit, and that’s the part most guides skip.
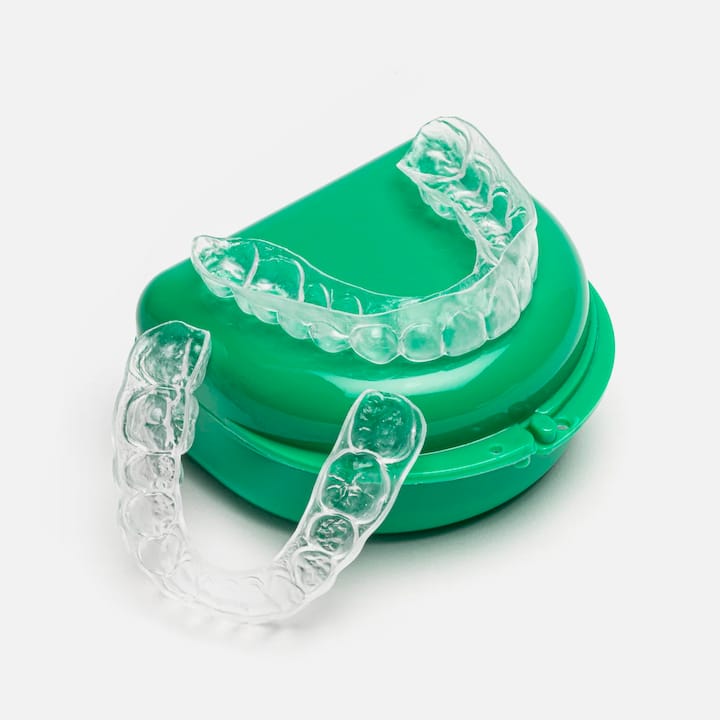
A poorly fitted tray, whether it’s a boil-and-bite kit or a generic drugstore mold, lets gel pool against your gums instead of sitting flush against enamel. That’s the mechanical root of most sensitivity complaints, not the concentration printed on the box. Custom-fit trays built from an actual impression of your teeth close that gap, which is why they tend to reduce both gum irritation and wasted gel compared to generic alternatives.
Clearretain builds every set of bleaching trays from a self-impression kit reviewed under orthodontic technician supervision, using FDA-approved materials, precisely because fit is the variable that determines whether a whitening session is comfortable or irritating. A well-made tray doesn’t just feel better. It makes every session more efficient, since the gel actually stays where it’s supposed to work instead of leaking into places it shouldn’t be.
— Clear
Which Clearretain Products Fit Your Whitening Plan
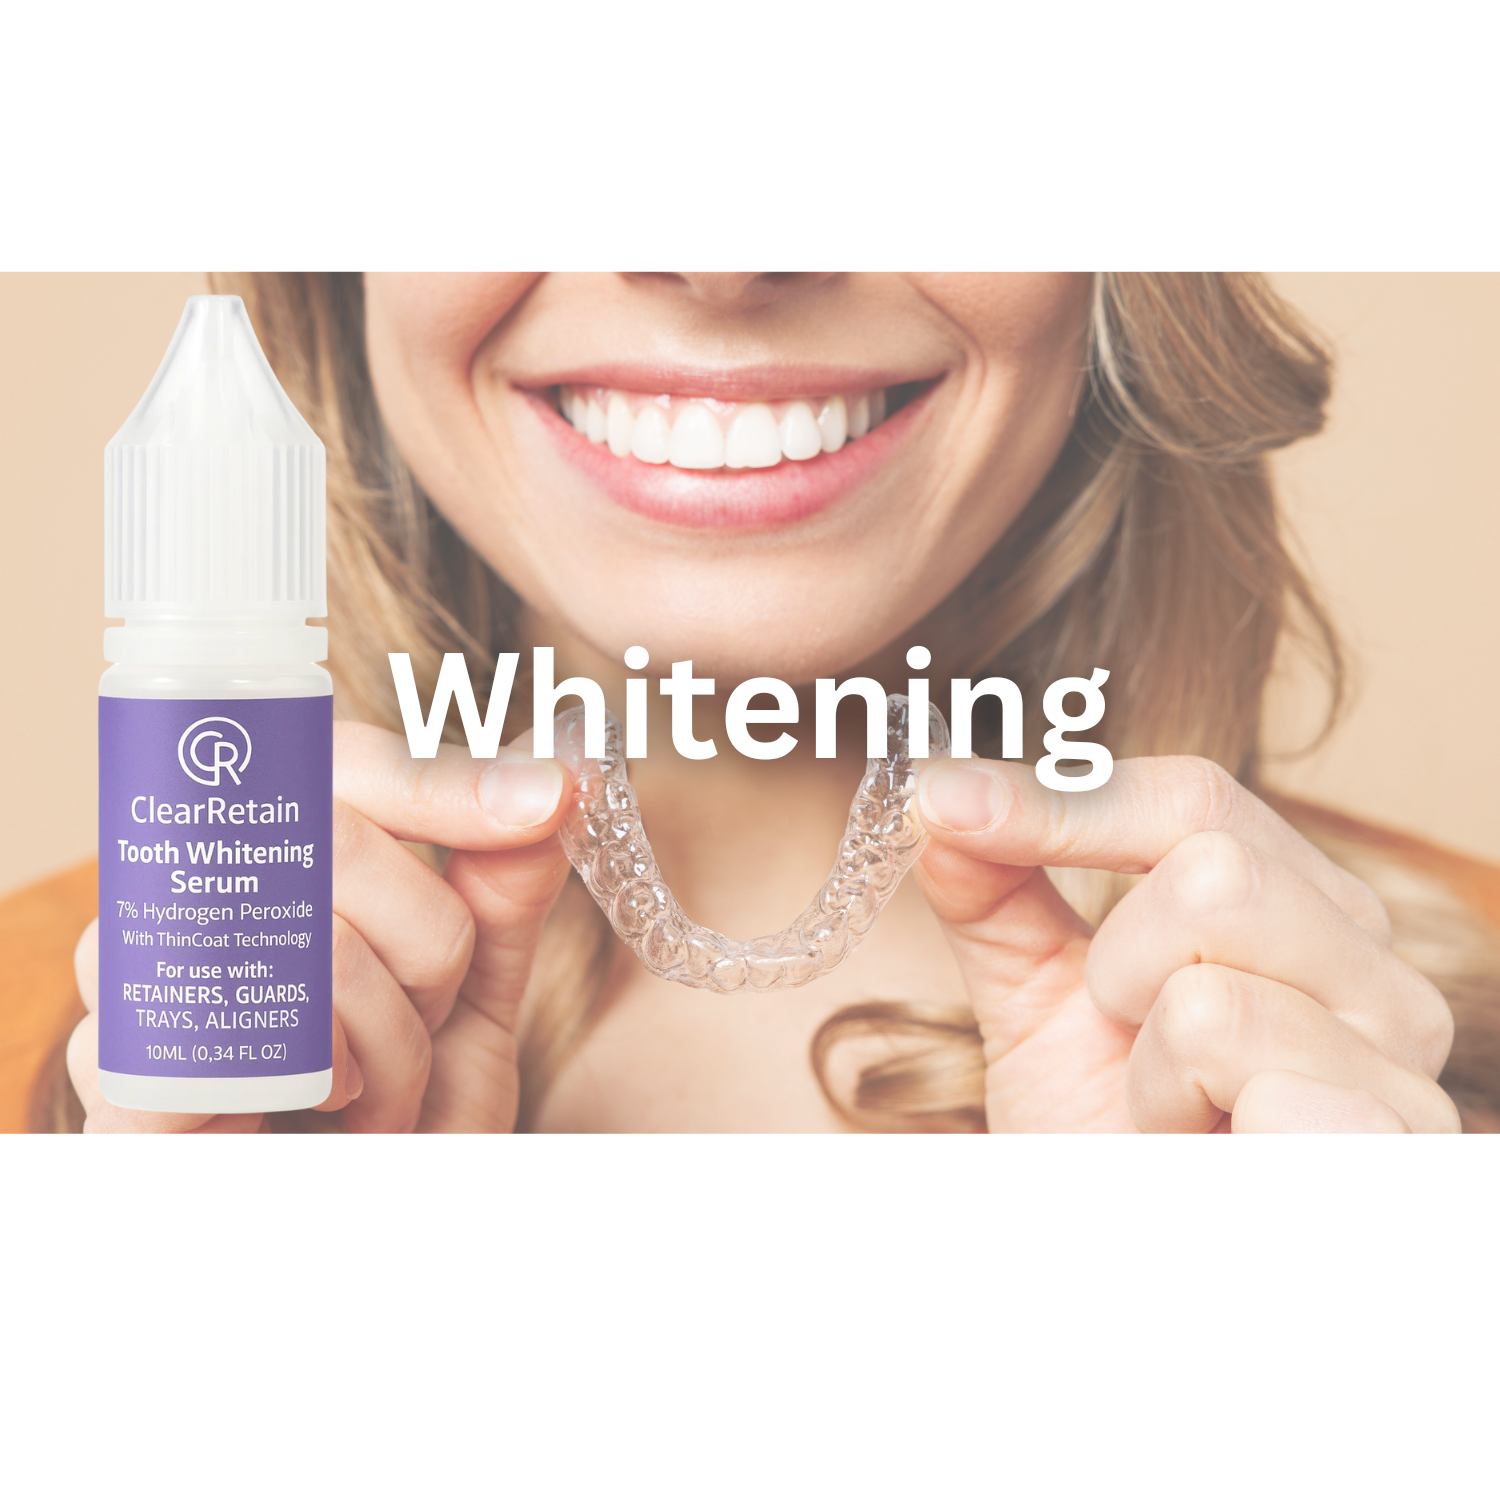
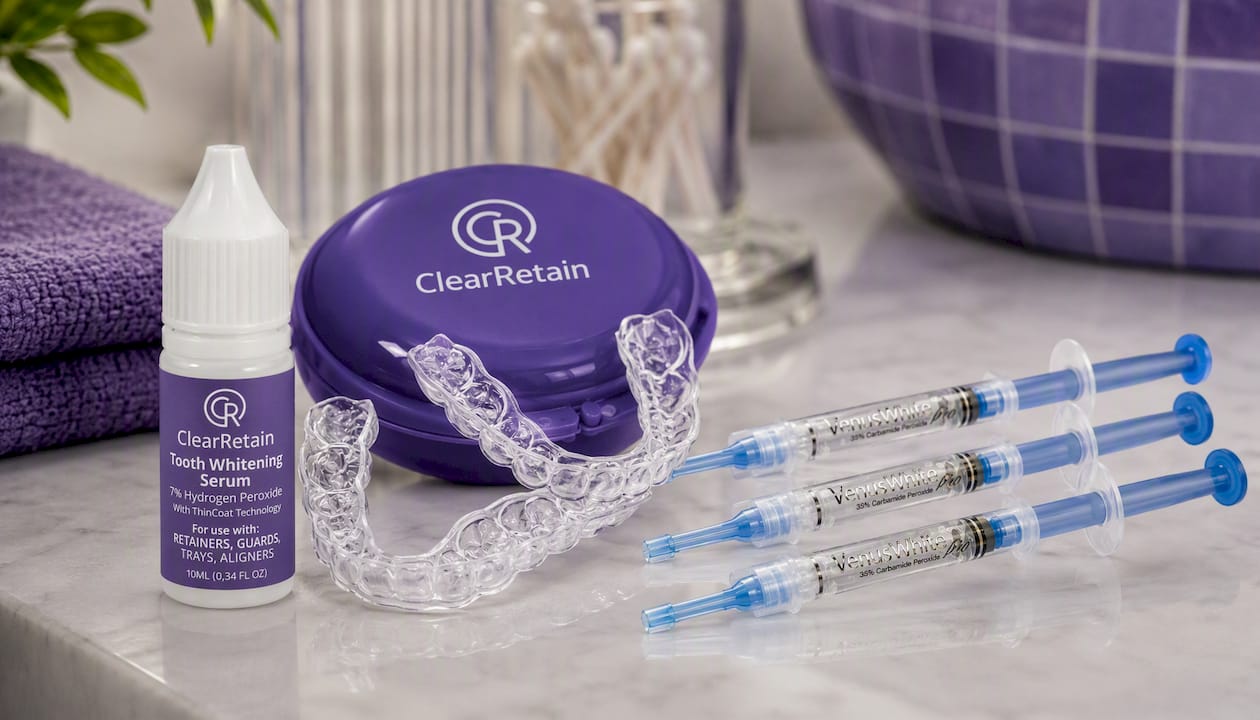
Once you know whether you’re an overnight or daytime person, matching the right product is straightforward. If you’re sleeping through your whitening sessions, Clearretain’s Teeth Bleaching Trays paired with the Tooth Whitening Serum give you a custom-fit tray designed to hold gel evenly against enamel for hours without pooling against your gums. If you’d rather run short, controlled daytime sessions, the Teeth Whitening Gel 3 Pack works in the same custom trays for quicker 30 to 60 minute applications.
Here’s the advantage over a drugstore kit or an orthodontist’s office: some services allow you to order a self-impression kit online, mail it back, and get custom trays made under orthodontic technician supervision from FDA-approved materials, often at a lower cost than a dental office. That means you’re not choosing between a cheap generic tray that leaks gel and an expensive professional fitting. You get the custom fit without the office visit price tag.
Follow the wear-time directions on your product exactly, whether that’s the shorter daytime window or the longer overnight one, and check in with a dentist first if you have crowns, veneers, or a history of significant sensitivity. Browse the full bleaching trays and whitening gel collection to get started, or head to Clearretain’s site to order your self-impression kit today.
Sources
For readers who want to dig into the clinical evidence directly: the PMC review of treatment durations and whitening outcomes compares at-home and in-office systems. The MDPI systematic review covers effectiveness across professional whitening types. The split-arch clinical trial directly compares day and night carbamide peroxide use, and ADA/JADA resources offer general clinical guidance on safe whitening practices.
This article is general information, not a substitute for advice from a qualified doctor. Consult a qualified healthcare professional about your own circumstances before acting on anything here.
- Treatment Durations and Whitening Outcomes of Different Tooth Whitening Systems - PMC
- Evaluation of the Effectiveness of Different Types of Professional Tooth Whitening: A Systematic Review
- Undesirable and adverse effects of tooth-whitening products: a review
- Clinical Evaluation of the Efficacy of 10% Carbamide Peroxide Bleaching Agent Used During Night-Time and Day-Time
- Journal of the American Dental Association / ADA resources
FAQ
Is it better to whiten teeth in the morning or at night?
Neither time of day is inherently better. What matters is total active peroxide exposure, and a split-arch clinical trial found no significant color-change difference between daytime and overnight 10% carbamide peroxide use. Pick whichever schedule you’ll actually stick with consistently.
Is NiteWhite or DayWhite better?
Both are established carbamide and hydrogen peroxide based systems built around the same core tradeoff covered throughout this guide: lower concentration over longer overnight wear versus higher concentration over shorter daytime sessions. Neither is universally “better”; the right pick depends on your sensitivity history and how much time you can realistically commit each day.
What is the 2 2 2 rule for teeth?
Definitions of this rule vary across sources, and there’s no single clinical standard behind it. Rather than repeat an unverified number, the safer guidance is to follow your specific product’s labeled wear time and check with a dentist if you’re unsure how to schedule a course.
Do I really have to wait 48 hours after teeth whitening?
Avoiding dark or acidic foods and drinks for about 48 hours after a session helps because enamel is temporarily more porous and prone to picking up stains right after treatment. It’s a precaution worth taking seriously in that immediate window, even if you’re more relaxed about your diet the rest of the time.
Can I switch between overnight and daytime whitening mid-course?
Yes, since both methods rely on the same peroxide chemistry, just at different concentrations and durations. Many people start with shorter daytime sessions to gauge sensitivity, then move to overnight wear once they know their teeth tolerate it well.