

How Whitening Works on Dental Restorations: A Clinical Guide
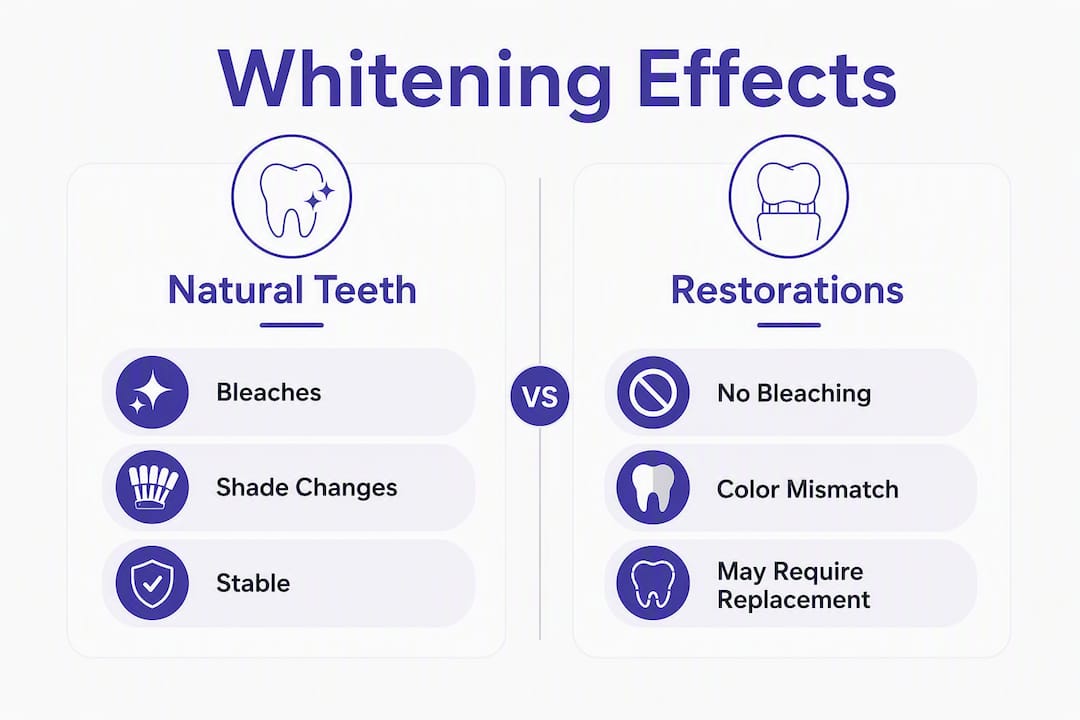
Peroxide-based whitening lightens natural enamel and dentin but does not change the intrinsic color of crowns, veneers, bridges, or composite fillings. The American Dental Association is direct on this point: hydrogen peroxide and carbamide peroxide permeate natural tooth structure but not the inorganic or resin-based materials used in restorations. If you have visible dental work in your smile zone, whitening is still worth doing. You just need to plan the sequence carefully.
Here is the practical checklist before you book any treatment:
- Review existing restorations with your dentist. Identify which ones are in the smile zone and whether they are still structurally sound.
- Whiten natural teeth first using a professional or supervised tray-based system (Clearretain’s custom bleaching trays fit this step well).
- Wait for shade stabilization, typically 1–2 weeks after your final whitening session, before any shade-matching or restorative work.
- Replace or rematch visible restorations if the color contrast is clinically or personally unacceptable after stabilization.
Skipping any of these steps is where patients end up with a crown that looks noticeably darker than their newly whitened teeth, or a composite veneer that was matched before the shade settled.
Table of Contents
- How does peroxide-based whitening actually change tooth color?
- Why restorations usually don’t bleach, material by material
- What are your practical options when whitening creates a color mismatch?
- When should you whiten, and how long should you wait before restoring?
- What risks and side effects should you know about before whitening with restorations?
- How do dentists decide the best path for patients with existing restorations?
- Safe at-home whitening with custom trays and how Clearretain fits the clinical workflow
- Key Takeaways
- The sequence is the strategy
- Clearretain’s whitening products support your dental plan
- Useful sources and further reading
How does peroxide-based whitening actually change tooth color?
Bleaching uses hydrogen peroxide (or carbamide peroxide, which releases hydrogen peroxide as it breaks down) to generate reactive oxygen species. Those molecules oxidize the organic chromophores — the pigmented compounds — embedded inside enamel and dentin. The ADA’s expert summary describes this as disrupting the chemical bonds of darker-colored compounds called chromogens at a molecular level.
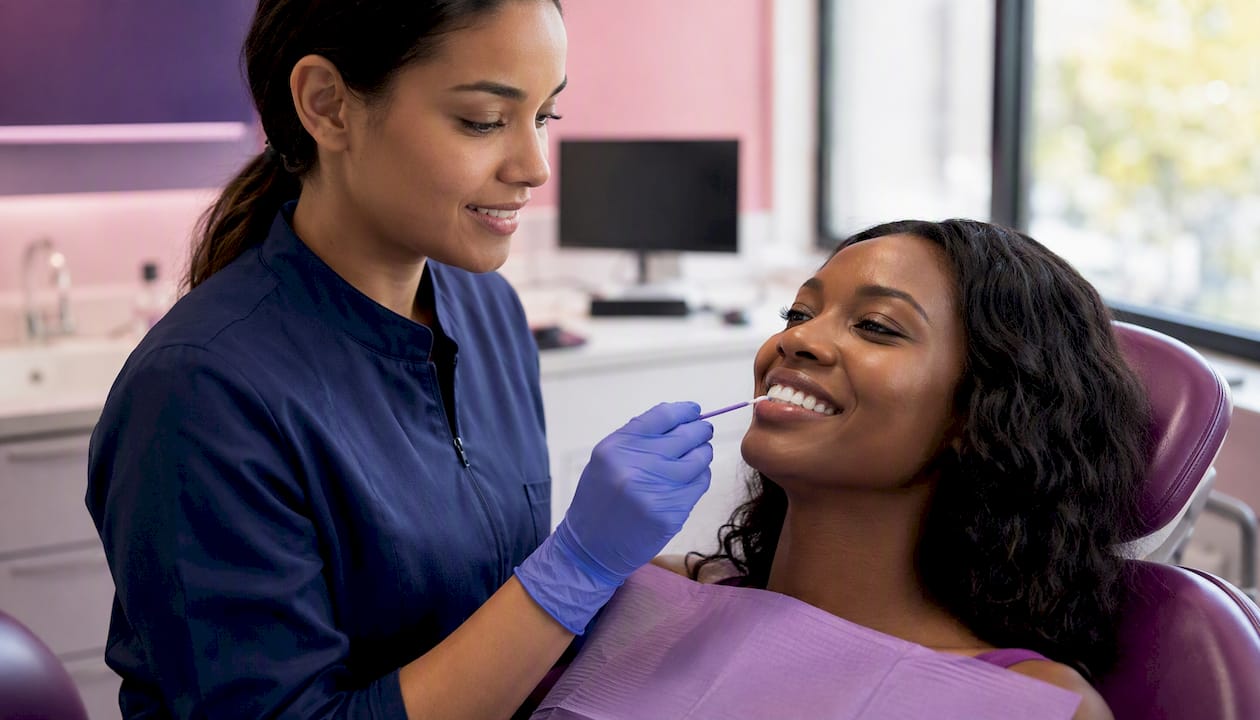
What makes this work on natural teeth is anatomy. Enamel is not a solid block; it has interprismatic spaces and the underlying dentin has open tubular channels. Peroxide molecules are small enough to diffuse through those pathways, reaching the stained organic matrix inside the tooth. The oxidation reaction breaks the chromophore’s conjugated double bonds, converting the dark-colored compound into a lighter, less light-absorbing molecule.
Several clinical variables determine how much lighter a tooth gets:
- Peroxide concentration: Higher concentrations drive faster and more pronounced results in whitening systems, with in-office treatments generally using higher levels than at-home trays.
- Exposure time: Longer contact time allows deeper diffusion into dentin.
- Delivery method: In-office treatments produce faster results; tray-based home systems work more gradually over days or weeks.
- Light activation: Some in-office systems use curing lights or LEDs to accelerate the reaction, though the Carey 2014 review notes that the evidence for light-activated enhancement is mixed.
- Stain type: Extrinsic stains (coffee, tea, tobacco) respond faster than intrinsic stains (tetracycline, fluorosis), which require longer protocols.
Key point: Peroxide works because natural tooth structure is porous and organic. Restorations are neither.
Why restorations usually don’t bleach, material by material
The short answer: inorganic, non-porous materials like porcelain, ceramic, and zirconia have no organic chromophores to oxidize. Peroxide has nothing to react with. Resin-based materials are a different story, but the changes are unpredictable and not the same as true bleaching.
Material-by-material breakdown
- Porcelain and ceramic: No response to bleaching. The color is fired into the material at the factory. Surface stains can be polished off, but the underlying shade stays fixed.
- Zirconia: Highly resistant. Zirconia’s crystalline structure does not absorb peroxide, and its color is set during sintering. Expect no intrinsic change.
- Gold and metal alloys: Peroxide does not alter metal color. Gold restorations are unaffected by bleaching agents.
- Composite resin: Variable. Peroxide does not bleach composite the way it bleaches enamel, but studies show hydrogen peroxide can produce measurable color coordinate shifts and luminosity changes in composite restorations. These are surface-level and unpredictable, not a controlled lightening.
- Glass ionomer: Susceptible to surface changes. Literature reviews flag glass ionomer and older compomers as materials that can undergo structural or surface degradation after bleaching, sometimes beyond clinically acceptable ranges.
- Amalgam: Unaffected in color but can release trace ions in acidic environments; not a whitening concern per se, but a reason to keep bleaching protocols conservative.
| Material | Responds to whitening? | What to expect | Clinical note |
|---|---|---|---|
| Natural enamel | Yes | Predictable lightening | Responds well to both HP and CP |
| Porcelain/ceramic | No | No intrinsic change | Replace for shade match after whitening |
| Zirconia | No | No intrinsic change | Highly resistant; replace if mismatch |
| Composite resin | Variable | Surface/luminosity shift only | Unpredictable; may need polishing or replacement |
| Glass ionomer | Limited/adverse | Possible surface roughness | Evaluate integrity before bleaching |
The composite situation deserves a closer look. Patients sometimes notice that a composite filling looks slightly different after whitening. That is not the composite bleaching. It is either a surface stain being removed, a luminosity shift from peroxide interaction, or the contrast effect of the surrounding natural teeth now being lighter. Research comparing whitening agents found hydrogen peroxide produced greater color shifts in composite restorations than carbamide peroxide, which makes composite-managed cases harder to predict.
What are your practical options when whitening creates a color mismatch?
The gold-standard sequence is simple: whiten natural teeth first, wait for shade stabilization, then address restorations. Clinical guidance consistently recommends this order because natural teeth will predictably change, and matching restorations to a pre-whitening shade guarantees a mismatch later.
Once whitening is complete and the shade has stabilized, you have several paths:
External polishing. For surface stains on porcelain or composite, a professional polish can restore the original laboratory color without replacement. This works when the restoration itself is still the right shade and only surface discoloration is the issue.
Internal bleaching. This applies only to non-vital (root-canal-treated) teeth that have darkened from the inside. A dentist places bleaching agent inside the pulp chamber and seals it. This is not relevant for crowns or veneers, only for darkened single teeth that still have their natural crown.
Composite repair or recontouring. If a composite filling or bonded veneer is slightly off after whitening, a dentist can sometimes add a thin layer of a lighter composite shade or repolish the surface. This is a conservative fix that avoids full replacement.
Crown or veneer replacement. For porcelain or zirconia restorations in the smile zone that are now noticeably darker than the whitened teeth, replacement is the definitive solution. The new restoration is shade-matched to the stabilized post-whitening color.
Accepting a minor contrast. Posterior restorations (premolars, molars) that are not visible when smiling rarely need replacement. A slight shade difference in a back tooth is clinically acceptable and not worth the cost of replacement.
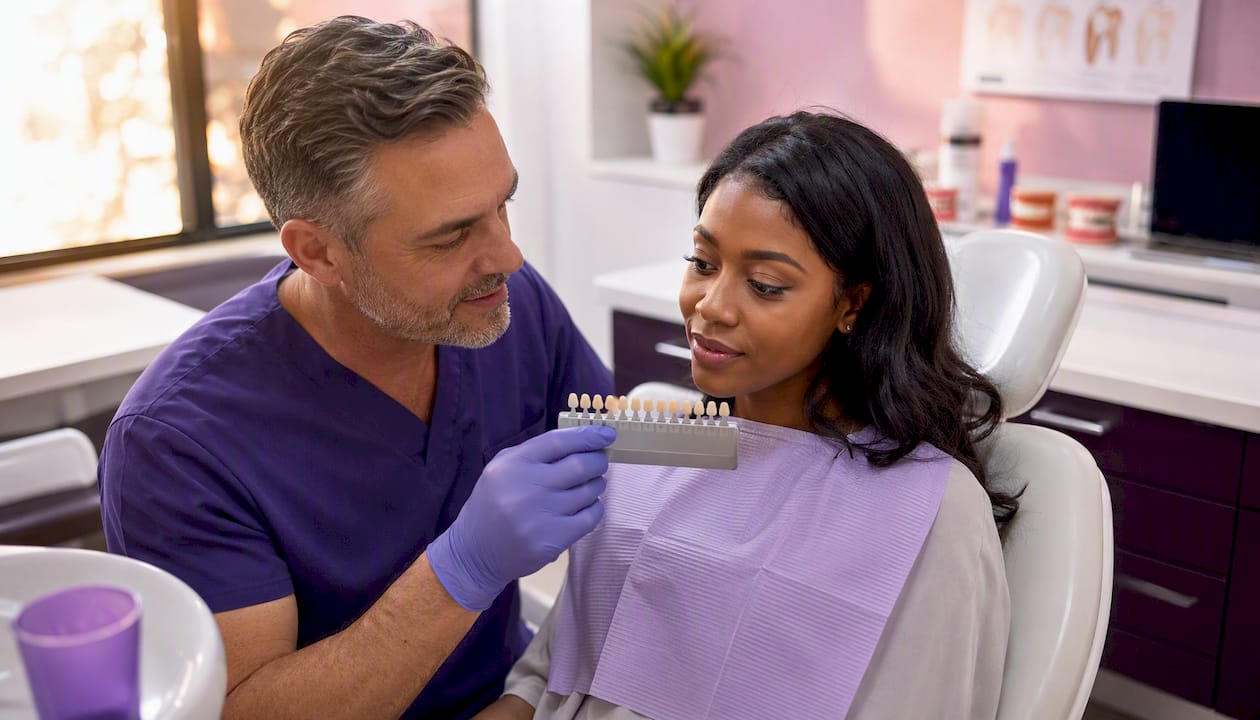
Shade selection matters throughout. Dentists use the VITA Classical or VITA Linearguide shade guides, and digital spectrophotometers are increasingly common for objective color measurement. Photography under standardized lighting helps document the baseline and post-whitening shade for comparison.
Pro Tip: Ask your dentist to photograph your teeth under consistent lighting before and after whitening. That record makes shade-matching for new restorations far more accurate than memory alone.
When should you whiten, and how long should you wait before restoring?
Finish whitening first. Wait a minimum of two weeks before any adhesive restorative work or shade-matched prosthetic orders. That is the evidence-backed recommendation based on studies showing significantly reduced bond strength when adhesive procedures are performed immediately after bleaching.
Here is why the wait matters. Immediately after bleaching, two things happen to natural teeth:
- Dehydration. Teeth lose moisture during bleaching and appear chalky or slightly opaque. The shade looks lighter than it will settle at once the tooth rehydrates.
- Residual oxygen. Peroxide leaves free oxygen in the enamel matrix. That oxygen inhibits resin polymerization, meaning adhesive bonds formed too soon are weaker and more likely to fail.
The practical timeline:
- Day 0: Final whitening session completed.
- Days 1–7: Teeth rehydrate; shade shifts slightly back toward the true stabilized color. Avoid shade-matching during this window.
- Day 14: Minimum recommended point for shade-stable matching and adhesive restorative procedures. Some protocols extend to three weeks for patients with heavy bleaching regimens.
Pro Tip: For shade matching, use D65-equivalent daylight-balanced lighting (5500–6500 K color temperature) and photograph with a gray card for white balance reference. Fluorescent office lighting shifts perceived shade significantly and can lead to a mismatch that looks fine in the chair but wrong in sunlight.
What risks and side effects should you know about before whitening with restorations?
When restorations are structurally sound, professional whitening is unlikely to damage porcelain or metal. The literature review on bleaching effects confirms that gold and dental ceramics are the most resistant materials. The concern is with other materials and with compromised margins.
Specific risks to know:
- Tooth sensitivity: The most common side effect. Peroxide diffuses into dentin and can temporarily irritate the pulp. Usually resolves within 24–48 hours of stopping treatment.
- Gingival irritation: Tray overflow or strip contact with gum tissue causes temporary inflammation. Proper tray fit minimizes this.
- Composite surface changes: As noted above, peroxide can alter composite luminosity and surface texture. A clinician can often polish minor roughness, but significant changes may require replacement.
- Leaky margins: If a restoration has a compromised margin, peroxide can seep underneath, causing sensitivity or undermining the bond. Evaluate and repair margins before bleaching.
- Glass ionomer and compomer degradation: Higher concentrations and longer exposure times increase the risk of surface roughness and microhardness changes in these materials. Conservative protocols matter here.
Warning: Avoid DIY acidic or abrasive home remedies. Clinical guidance is clear that lemon juice, baking soda, and activated charcoal can abrade porcelain and composite surfaces, producing permanent roughness and increased staining susceptibility. These are not whitening agents; they are surface damage risks.
The dentist’s job before any bleaching starts is to assess every restoration for margin integrity, surface condition, and material type. If a restoration is already failing, bleach it and you accelerate the problem.
How do dentists decide the best path for patients with existing restorations?
The decision comes down to five factors: restoration type, smile-zone visibility, restoration age and integrity, the patient’s target shade, and budget. Start with whitening, then decide on replacement only if the mismatch is clinically or personally unacceptable.
Patient decision checklist:
- What material is the restoration (porcelain, composite, zirconia)?
- Is it visible when you smile or speak?
- How old is it, and are the margins still sealed?
- How white do you want your natural teeth to go?
- What is your budget for potential replacement?
- What is your timeline (wedding, event, or no deadline)?
Questions to ask at your dental consult:
- “Should I whiten before we discuss replacing this crown, or do you recommend a different sequence?”
- “How long should I wait after whitening before you take the shade for the new restoration?”
- “How will you match the shade — shade guide, digital spectrophotometer, or photography?”
Common scenarios:
Single front crown: Whiten natural teeth, wait two weeks, then replace the crown matched to the new shade. The crown will not bleach, so replacement is the only way to achieve a uniform smile.
Multiple porcelain veneers: Same sequence. If all veneers are being replaced anyway, whiten first and use the stabilized shade as the target. If only some are being replaced, the match to existing veneers requires careful shade documentation.
Posterior composite fillings: Usually not a concern aesthetically. If the filling is visible and the color shift after whitening is noticeable, a simple composite repair or replacement is straightforward and inexpensive.
Safe at-home whitening with custom trays and how Clearretain fits the clinical workflow
Custom trays with dentist-grade peroxide gels are a safe, effective part of a supervised whitening plan when used per instructions and after a dental exam. The tray fit is what separates a professional at-home system from over-the-counter strips: a well-fitted tray holds gel against the tooth surface evenly, minimizes gingival contact, and prevents saliva dilution.
Clearretain offers three product categories that fit directly into the whiten-first workflow:
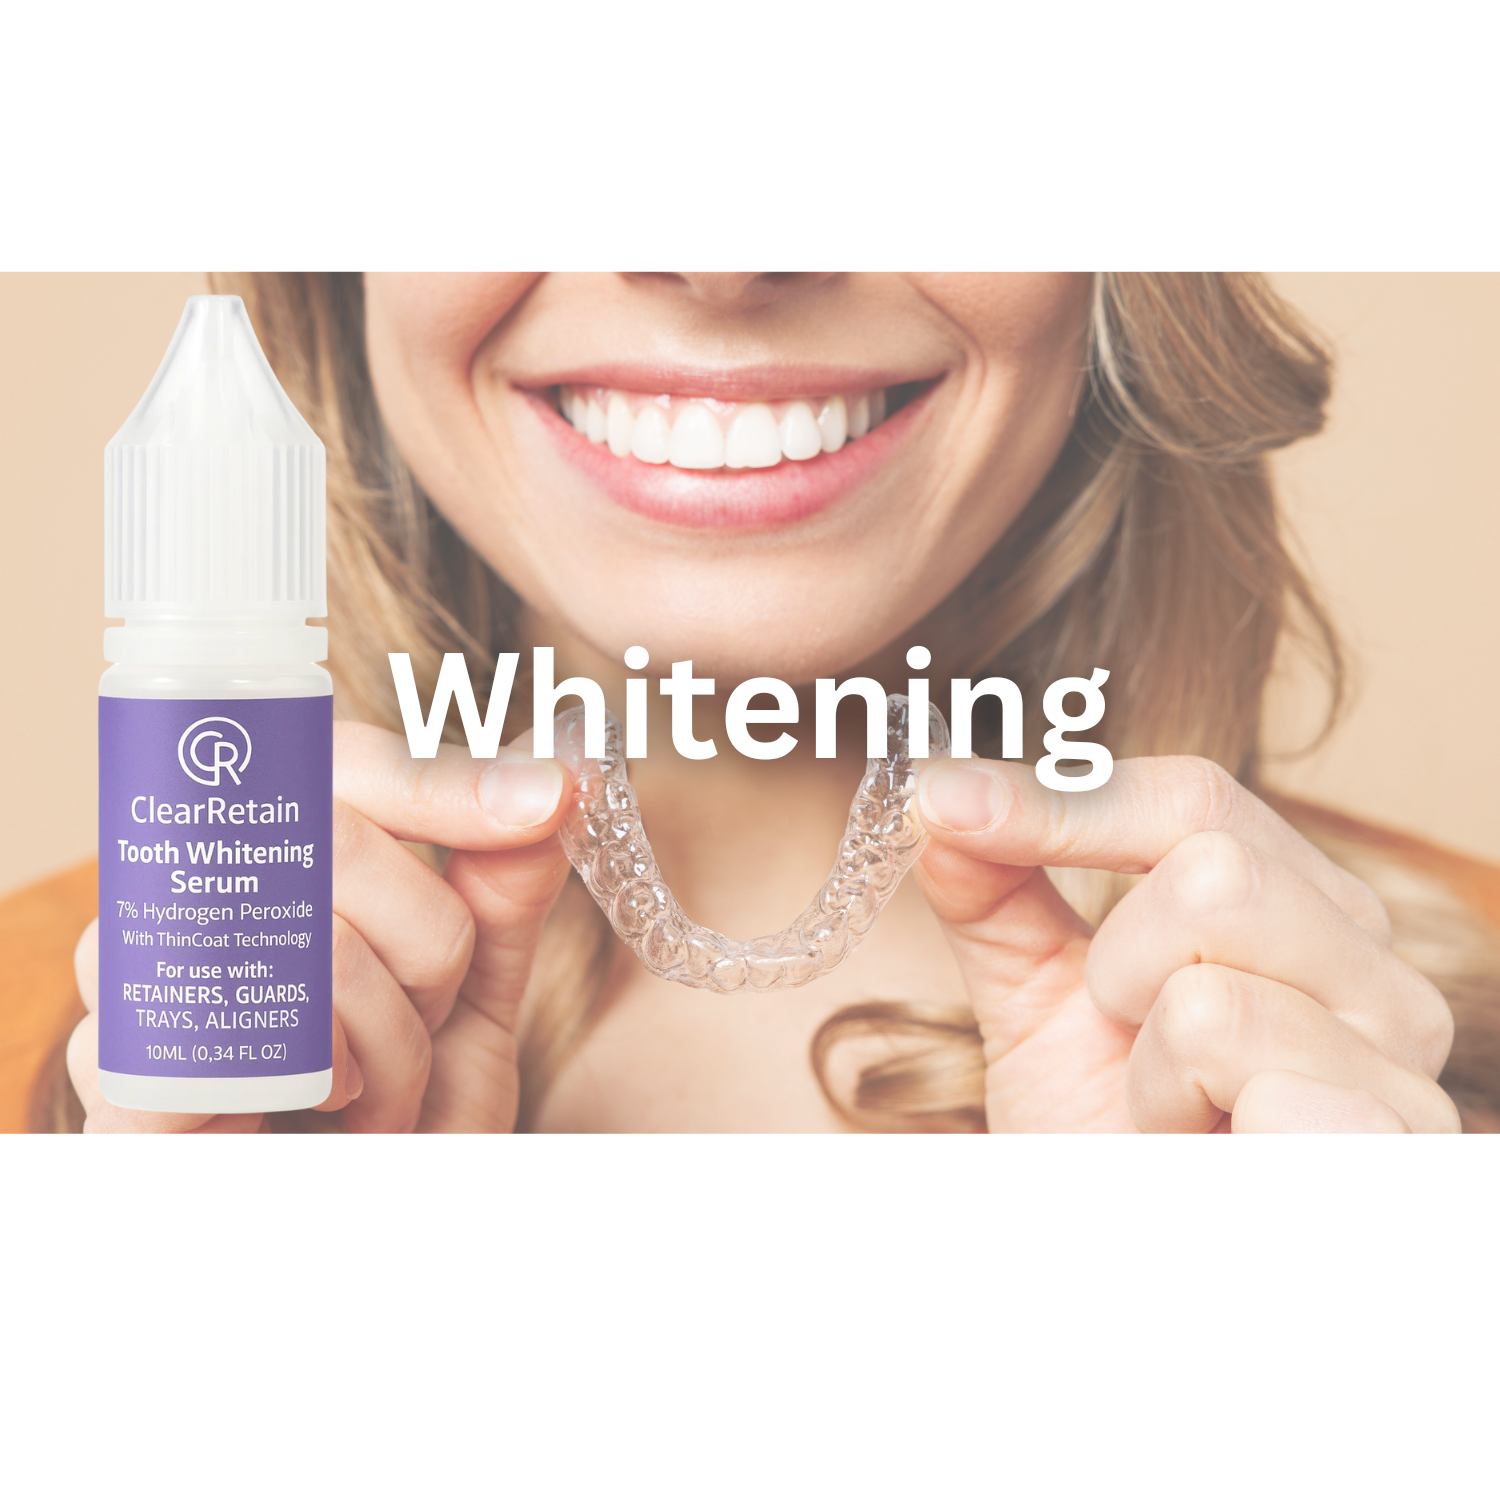
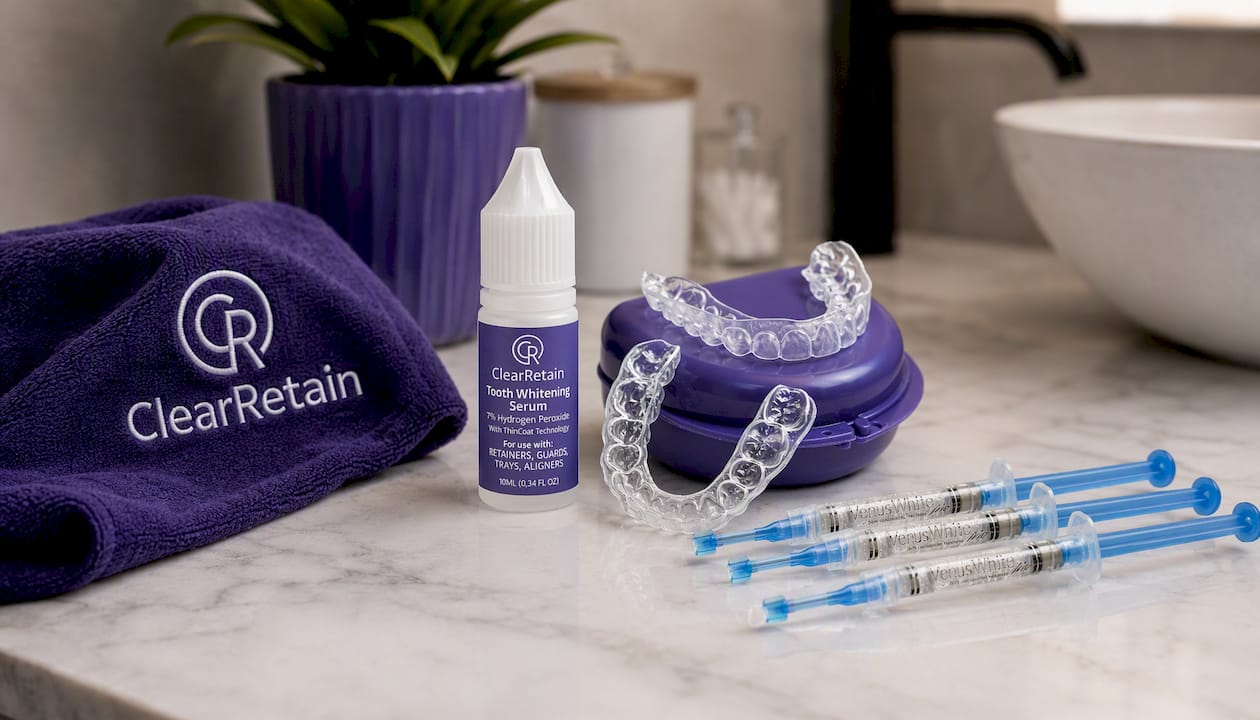
- Tooth Whitening Serum: Designed for use with custom retainers or night guards, this serum lets you incorporate whitening into an existing appliance routine without a separate tray.
- Teeth Bleaching Trays: Custom-fit trays made from a home impression kit, providing the precise fit that makes tray-based whitening both more effective and safer for patients with existing restorations.
- Whitening Gel 3-Pack: Gel refills for use with custom trays, allowing you to complete a full whitening course and maintain results over time.
These products fit the sequence: whiten with custom trays, wait for stabilization, then consult your dentist about restoration replacement or rematch.
Safety checklist for tray-based whitening with restorations:
- Complete a dental exam before starting; have margins and restoration integrity checked.
- Confirm tray fit; a loose tray causes gel overflow onto gum tissue.
- Use the recommended concentration for at-home systems (typically 10–16% carbamide peroxide or 3–6% hydrogen peroxide).
- Apply gel sparingly; overfilling the tray does not improve results and increases gingival contact.
- Wear for the time specified for your concentration; longer is not better.
- Remove the tray, rinse thoroughly, and clean the tray after each use.
- Stop immediately if you experience sharp sensitivity or gum pain and consult your dentist.
Pro Tip: If you have glass ionomer or older composite restorations, discuss the whitening protocol with your dentist before starting. Lower concentrations and shorter wear times reduce the risk of surface changes in those materials.
For readers comparing professional versus home whitening options, custom tray systems sit between in-office treatments and generic OTC strips in both cost and efficacy, and they give you the control to pause if sensitivity develops.
Key Takeaways
Peroxide whitening changes natural enamel but not restorations, so the correct sequence is whiten first, stabilize for two weeks, then replace or rematch any visible restorations that no longer match.
| Point | Details |
|---|---|
| Restorations don’t bleach | Porcelain, zirconia, and metal hold their lab color; composite shows variable surface shifts only. |
| Whiten before restoring | Match new restorations to the post-whitening shade, never the pre-whitening shade, to avoid remakes. |
| Wait two weeks | Residual oxygen and dehydration after bleaching reduce bond strength; delay adhesive work until day 14. |
| Composite is unpredictable | Hydrogen peroxide can shift composite color coordinates more than carbamide peroxide in some studies. |
| Clearretain custom trays | Clearretain’s bleaching trays and whitening gel fit the whiten-first workflow at a fraction of in-office cost. |
The sequence is the strategy
Most patients come in asking whether whitening will damage their crown or make their filling look strange. Those are reasonable questions, but they frame the issue backward. The real question is: what order do you do things in?
Whitening first is not just a clinical preference. It is the only logical sequence. Natural teeth will change color; restorations will not. If you match a new crown to your current shade and then whiten, you have paid for a crown you will need to replace. If you whiten first and wait for the shade to settle, you order the crown once and it matches. That single sequencing decision eliminates a surprising number of repeat visits and remake costs.
Patients also worry that whitening with existing restorations is risky. For sound porcelain and metal restorations, the risk is genuinely low. The materials that warrant caution are glass ionomer, older compomers, and composites with compromised margins. A pre-whitening exam catches those before bleaching starts, not after. The exam is not a formality; it is what makes the rest of the plan work.
Clearretain’s whitening products support your dental plan
If you are ready to start the whiten-first step, Clearretain makes it straightforward. The Teeth Bleaching Trays are custom-fit from a home impression kit, so you get the precise tray contact that makes at-home whitening both effective and safe around existing restorations. Pair them with the Whitening Gel 3-Pack for a complete course, or use the Tooth Whitening Serum with a retainer or night guard you already own.
All products are FDA-approved and made under the supervision of experienced orthodontic technicians, with prices up to 80% lower than traditional in-office options. Consult your dentist before beginning any whitening, especially if you have existing restorations in the smile zone. Once you have the green light, order your custom trays online and start the first step of your cosmetic plan.
Useful sources and further reading
The claims in this article draw from peer-reviewed literature, ADA guidance, and clinical practice resources. These are the most authoritative references for anyone who wants to go deeper:
- Tooth Whitening: What We Now Know (PMC, Carey 2014): A comprehensive peer-reviewed review of whitening chemistry, efficacy, and safety. The foundational reference for understanding peroxide mechanisms and clinical outcomes.
- Whitening | American Dental Association: The ADA’s primary guidance page on whitening agents, safety, and the limitation of peroxide on restorations. Authoritative professional guidance.
- Effect of two whitening agents on composite restorations (PMC): Clinical study comparing hydrogen peroxide and carbamide peroxide effects on composite color coordinates. Key evidence for the composite-behavior section.
- Influence of bleaching on microtensile bond strength (PMC): Research on reduced bond strength after bleaching and the rationale for the two-week waiting period before adhesive procedures.
- Effects of bleaching agents on restorative materials: a literature review (ScienceDirect): A broad review of how different bleaching protocols affect porcelain, composite, glass ionomer, amalgam, and other materials. The primary source for material-specific risk guidance.