


Avoid 2–4 Weeks Unprotected: Stop Wearing a Perforated Night Guard
A night guard with a full-thickness hole or a shifted fit is no longer doing its job, and you should stop wearing it. Minor surface thinning can sometimes wait a night or two, but it’s not a fix. Keep the damaged guard in its case, don’t attempt a glue or heat repair, and call your dentist or order a replacement so you’re not sleeping unprotected.
TL;DR:
- A full-thickness hole or a shifted fit in your night guard indicates it no longer protects your teeth and must be replaced immediately.
- Risks of continuing to use a perforated guard include uneven bite force distribution, increased wear, and bacterial buildup in trapped debris.
- Do not attempt household repairs like gluing or reheating, as they can alter the fit and introduce harmful chemicals into your mouth.
- If the damage is severe, a dental or lab-made replacement is not only safer but often more effective at preventing microbial and structural issues.
- Ordering a replacement through a self-impression kit can provide faster protection, especially for heavy grinders or when quick turnaround is needed.
Table of Contents
- How to Tell How Bad the Hole Really Is
- What to Do Tonight if You Chewed Through Your Guard
- Repair vs. Replacement: When to See a Dentist
- Keeping Your Next Night Guard From Ending Up the Same Way
- Replacing a Damaged Night Guard the Right Way
- Our Take: Skip the Glue, Trust the Lab
- Get a Replacement Night Guard Without the Office Wait
- Sources
- FAQ
How to Tell How Bad the Hole Really Is
Not every mark on a night guard means disaster. A shallow, shiny patch where your canine tips rest is normal wear. A hole you can push a finger through, or one that lets your upper and lower teeth touch directly, is a different problem entirely.
Run through this checklist before you decide anything:
- Full-thickness perforation: light passes through, or a tooth surface pokes through the material.
- Visible splits or cracks running along an edge, especially near the back molars.
- Hard, sharp, or jagged edges that weren’t there when the guard was new.
- Warping, where the guard no longer seats flush or feels twisted when you bite down.
- A loose or rocking fit, even if the plastic itself looks intact.
- A persistent bad smell that doesn’t go away after cleaning.
- Return of jaw soreness, headaches, or clicking that had settled down before.
A hole matters more than it looks because of how force travels through your bite. When one section of the guard is missing, your teeth on that side make direct contact while the rest of your bite is still cushioned by plastic. That mismatch concentrates bite force unevenly instead of spreading it out, which is part of why a perforated guard can end up worse than wearing nothing at all. Human bite force during clenching or grinding can be very high, exceeding typical chewing forces at the molars, and some animal comparisons put that in perspective for how much repeated load a thin sheet of acrylic or thermoplastic is actually absorbing every night.
Material matters here too. Hard acrylic guards tend to wear as a single crack line or chip rather than a spreading hole, since the material is rigid and brittle by comparison. Soft or dual-laminate thermoplastic guards, the kind made from a boil-and-bite process, are more prone to actual perforation because heavy grinders can wear straight through the softer top layer over months of nightly use. Either way, the National Institute of Dental and Craniofacial Research notes that bruxism subjects teeth and oral appliances to repeated force, and that fatigue is exactly what shows up as thinning, cracking, and eventually a hole.
What to Do Tonight if You Chewed Through Your Guard
If you just discovered a hole, or you chewed through your night guard mid-sleep and woke up to find it, here’s the order of operations that actually protects your teeth without making things worse.
- Stop wearing the damaged guard immediately if the hole goes all the way through or the fit feels different than usual.
- Rinse it in cool water, pat it dry, and store it in its case rather than tossing it in a drawer or bag.
- Contact your dentist the next business day and ask whether they can assess it in person or expedite a replacement.
- If your dentist clears it, a certified boil-and-bite guard can serve as a one or two night stopgap, but only if it actually fits your bite well.
- Order a proper replacement so you’re not relying on a temporary fix for more than a few nights.
Keeping the old guard isn’t just for peace of mind. A dentist or lab tech can read your specific wear pattern off the damaged appliance, which helps them balance the new one to match your actual bite rather than guessing.
Here’s what not to do, and this list matters more than the one above. Don’t reach for superglue, epoxy, or any household adhesive to patch a hole. Don’t try to reheat and remold a custom-fitted guard yourself with boiling water, a hair dryer, or an oven. Don’t file down a rough edge with sandpaper or a nail file. Each of these seems like a reasonable five-minute fix, but they change the fit in ways you can’t undo, and some introduce chemicals into your mouth for eight hours a night that were never meant to sit against your gums. Dental practice guidance is consistent on this point: household glues and reheating attempts on custom appliances are flagged as unsafe for exactly these reasons.
Pro Tip: If you’re mid grind-episode and don’t have a backup guard on hand, sleeping on your back with a slightly elevated pillow can reduce jaw clenching pressure for that one night. It’s not a fix, just damage control until your replacement arrives.
Repair vs. Replacement: When to See a Dentist
A small edge chip is fixable. A hole usually isn’t, and here’s why dentists lean toward replacement more often than patching.
Once a guard has a full-thickness hole, the cavity created traps saliva, food debris, and bacteria in a spot that’s genuinely hard to clean, since the material is already compromised. The mouth carries an extensive and constantly active microbiome, and a breach in an appliance you wear for hours every night gives that microbial activity a place to settle in that a toothbrush can’t reach. Combine that with the altered bite forces discussed earlier, and you’ve got two separate reasons replacement tends to win out over repair for anything beyond a superficial nick.
That said, repair isn’t off the table for everything:
- Small edge chips or a chipped corner that doesn’t go through the guard can sometimes be smoothed or built up at a dental lab.
- Localized surface defects that don’t let teeth contact through the material may be monitored rather than replaced immediately.
- A guard that’s structurally sound but just doesn’t fit right anymore, due to dental work or tooth movement, may need a fit adjustment rather than a full remake.
For anything more serious, a lab remake typically takes two to four weeks, though some dental offices and direct-to-consumer providers offer faster turnaround if you ask. Costs vary widely depending on whether you’re going through a dentist’s office or ordering directly, and insurance coverage for night guards is inconsistent. Some plans cover a portion if bruxism or TMJ is documented; others treat it as elective. Call your insurer or ask your dental office about preauthorization before you commit to a repair or a full remake, so you’re not surprised by the bill.
Keeping Your Next Night Guard From Ending Up the Same Way
The guard that just failed on you probably didn’t fail overnight. Most holes result from prolonged grinding pressure wearing down specific spots over time, and a few habit changes can meaningfully stretch how long the next one lasts.
Clean it every morning with cool water and a soft brush, using mild soap or a non-alcoholic denture cleaner rather than toothpaste, which is often too abrasive for the plastic surface. Skip hot water entirely. Heat is what makes thermoplastic guards moldable in the first place, so hot water, a dishwasher, or a guard left on a car dashboard in summer can quietly warp the fit even when there’s no visible damage.
Store it in a ventilated case, not sealed in a plastic bag where moisture gets trapped and bacteria have an easier time multiplying.
- Rinse in cool water each morning, never hot.
- Use mild soap or a denture cleaning tablet, not abrasive toothpaste.
- Store in a vented case away from direct sunlight, radiators, or a hot car.
- Bring it to dental checkups so your provider can spot early wear before it becomes a hole.
If you’re a heavy grinder, material choice matters more than most people realize. Hard acrylic guards generally hold up longer under intense, sustained clenching because the rigid material resists the kind of compression wear that eats through softer thermoplastic. Ask your dentist which material actually matches your bruxism pattern rather than defaulting to whatever’s cheapest. And if grinding intensity itself is the underlying issue, addressing stress levels, sleep habits, or getting evaluated for occlusal therapy can reduce how hard your next guard has to work in the first place, since bruxism-driven force is what causes the material fatigue to begin with.
Replacing a Damaged Night Guard the Right Way
Once you’ve confirmed the damage is beyond a minor cosmetic issue, replacement is the safer call, and there are two realistic paths: an in-office remake through your dentist, or a direct-to-consumer option using a self-impression kit you complete at home. Clearretain builds toward the second path, and it’s worth understanding what each option actually gives you before choosing.
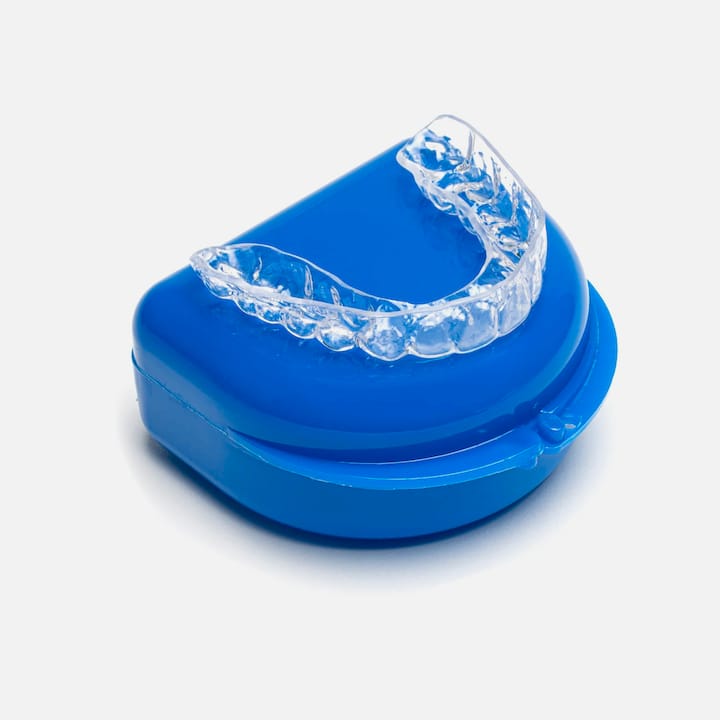
A self-impression kit lets you take your own molds at home, following included instructions, and ship them back for processing. It skips the office visit but still relies on physical impressions or scans, not guesswork. In-office remakes make more sense if you have active TMJ symptoms, a complex bite that’s shifted recently, or ongoing dental work that could change your fit again soon.
Clearretain’s relevant options include:
- An upper retainer night guard, suited to most standard grinding patterns.
- A lower retainer night guard built for heavier grinding.
- A hard night guard made from rigid acrylic, generally the better pick for intense, sustained clenching.
Whichever route you take, hold onto the damaged guard. If you do end up seeing a dentist first, that worn appliance tells them exactly where your bite is putting the most pressure.
Our Take: Skip the Glue, Trust the Lab
We’d rather see someone sleep two nights without a guard than watch them seal a hole with superglue and keep using it. That’s not caution for its own sake. A DIY patch doesn’t restore the material’s structural integrity, and it doesn’t fix the microbial reservoir a breach creates. Clinical-grade replacement, whether through a dentist or a direct lab process, actually addresses both problems.
The math is straightforward: a short gap in protection while you arrange a proper replacement almost always costs less, in money and in tooth damage, than months of an uneven bite grinding away at whatever tooth structure your guard was supposed to be protecting.
— Clear
Get a Replacement Night Guard Without the Office Wait
Most dental offices quote two to four weeks for a lab remake, and that’s a long stretch to go without protection if your current guard has a hole. You can complete a self-impression kit at home, ship it back, and avoid the markup that comes with in-clinic fabrication.
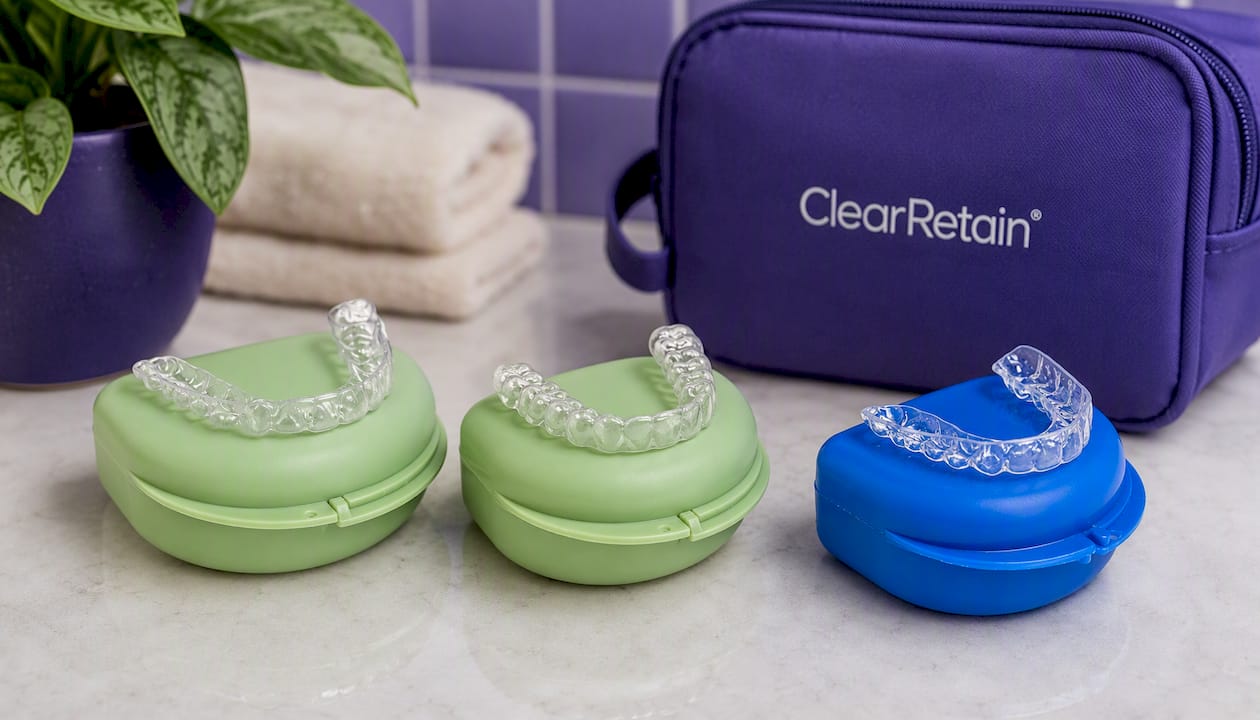
If your grinding is heavy or your old guard wore through fast, the hard night guard is built from rigid acrylic that tends to outlast softer thermoplastic under sustained clenching. Standard patterns are better matched to the upper retainer night guard or the lower retainer night guard, depending on which arch takes more wear in your bite. You can browse the full night guard collection to compare options, or check the main product lineup if you’re also due for a retainer or whitening refresh.
If your case involves active TMJ pain or a bite that’s shifted recently, talk to your dentist first and bring the damaged guard to that appointment. For everyone else dealing with a straightforward worn-out or perforated guard, ordering a replacement kit today means you’re not stuck sleeping unprotected for weeks.
Sources
This article draws on clinical guidance from the NIDCR’s overview of bruxism, NIH News in Health’s reporting on oral microbes, a peer-reviewed look at oral appliance material stress, and a dental practice guide on replacement timing.
This article is general information, not a substitute for advice from a qualified doctor. Consult a qualified healthcare professional about your own circumstances before acting on anything here.
- NIDCR — Bruxism
- NIH News in Health — Mouth microbes
- GrindMyTeeth — How long does a night guard last?
FAQ
Can a night guard be repaired?
Small edge chips or surface nicks can sometimes be smoothed or built up at a dental lab, but full-thickness holes and major fit changes usually call for replacement rather than repair.
I chewed through my mouth guard. What should I do?
Stop wearing it, rinse and store it in its case, and contact your dentist about a quick evaluation or expedited remake; a certified boil-and-bite guard can serve as a one-night stopgap only if your dentist confirms it fits well.
Can you remold a night guard yourself?
No. Reheating or remolding a custom guard at home changes its fit in ways you can’t control, and dental practice guidance specifically warns against this along with household glues and adhesives.
Can I fix a hole in my tooth at home?
A hole in a tooth needs a dentist, not a home remedy; if a damaged night guard has left your bite uneven, that’s a separate risk factor worth mentioning at the same appointment.
How much does a replacement night guard typically cost?
Costs vary by provider and material, and insurance coverage for night guards is inconsistent, so it’s worth asking your dental office about preauthorization; Clearretain’s current pricing for options like the hard night guard is listed on its product pages.