

How to Clean a Toothbrush: Quick, Evidence-Based Steps
Rinse your toothbrush under hot tap water after every use, shake off the excess, and stand it upright to air-dry. That’s the routine the ADA recommends for most people, and it covers the vast majority of daily hygiene needs. Replace the brush every 3–4 months, or immediately after an infectious illness.
A few quick rules to keep in mind:
- Rinse bristles thoroughly under running water after each brushing session.
- Shake off excess water and store the brush upright so air can circulate around the head.
- Keep brushes separated so they don’t touch each other in the holder.
- Never store a damp brush in a closed container — trapped moisture encourages microbial growth.
- Don’t swallow any disinfecting solution; rinse the brush with water before use if you’ve soaked it.
- Replace after any oral or systemic infection, not just after a period of use.
If you own a Clearretain retainer, night guard, or whitening tray, the same logic applies: rinse after use, air-dry, and store in a clean, open case.
Key Takeaways
Daily rinsing, upright air-drying, separated storage, and replacing every 3–4 months cover the hygiene needs of most healthy adults without any disinfection protocol.
| Point | Details |
|---|---|
| Daily routine | Rinse under hot water, shake off excess, store upright and uncovered after every use. |
| Replacement timing | Replace every 3–4 months, sooner if bristles fray, and immediately after illness. |
| Disinfection when needed | Soak bristle head in 3% hydrogen peroxide for 10–15 minutes; rinse thoroughly before use. |
| Electric toothbrush care | Remove the head before any cleaning step; never submerge the handle or use a microwave. |
| Clearretain appliances | Retainers and night guards follow the same logic: rinse, air-dry, and store in a clean open case. |
This article is general information, not a substitute for advice from a qualified doctor. Consult a qualified healthcare professional about your own circumstances before acting on anything here.
Table of Contents
- How do toothbrushes pick up germs, and does it actually matter?
- What are the safest ways to disinfect a toothbrush?
- Daily habits that protect your toothbrush better than any sanitizer
- How to clean an electric toothbrush properly
- When should you throw out a toothbrush?
- What does the research actually show about disinfection?
- Do natural bristles need different cleaning than synthetic ones?
- How do hydrogen peroxide and mouthwash compare as disinfectants?
- Signs your toothbrush needs replacing before the three-month mark
- The routine most people actually need
- Clearretain custom dental appliances, made for real life
- Sources
How do toothbrushes pick up germs, and does it actually matter?
Toothbrushes collect bacteria, saliva, oral debris, and occasionally trace blood during normal use. Studies have detected a range of microorganisms on used bristles, including S. mutans and S. aureus. That sounds alarming, but context matters: your mouth already hosts hundreds of bacterial species as part of its normal microbiome. No clinical evidence links routine brush contamination to systemic infections in healthy people.
The ADA notes that there is no clinical evidence routine soaking in disinfectants improves oral or systemic health — the mouth’s resident microbiome means a “sterile” brush offers no proven advantage.
The real concern is cross-contamination: brushes stored touching each other, or shared between people, can transfer pathogens that wouldn’t otherwise reach a new host. Closed, damp storage compounds the problem by creating anaerobic conditions where certain bacteria survive longer. Cleveland Clinic experts put it plainly: simple rinsing and air-drying handle most of the risk for healthy adults.
What are the safest ways to disinfect a toothbrush?
Disinfection makes sense after illness, for immunocompromised individuals, or when you want extra reassurance. The methods below range from well-supported to cautious.
Disinfection options compared
A PMC lab study found 100% white vinegar most effective against S. mutans and S. aureus, while 1% sodium hypochlorite led for E. coli reduction. Microwave treatment showed variable results depending on the organism. These are laboratory findings using high bacterial loads — they don’t directly translate to clinical outcomes.
The EPA notes that UV light can reduce pathogens under controlled parameters, but wavelength, dose, and exposure time all matter. Consumer UV toothbrush sanitizers may reduce microbial counts, though no established clinical benefit has been demonstrated for routine toothbrush use.
Pro Tip: Remove the head from a powered toothbrush before soaking — submerging the handle risks water ingress and electrical damage. Let the head air-dry completely before reattaching.
- Choose your method from the table above based on availability and your reason for disinfecting.
- Soak only the bristle head, not the full handle, in the solution for the recommended time.
- Rinse the head thoroughly under running water before your next use.
- If you used bleach or CHX, rinse for at least 30 seconds.
- Air-dry upright before storing.
After acute illness, Cleveland Clinic clinicians advise replacing the brush rather than attempting disinfection. A new brush costs less than $5 and removes the uncertainty entirely.
Daily habits that protect your toothbrush better than any sanitizer
Consistent daily care prevents most contamination problems before they start. The routine is short.
- Brush twice daily, then rinse the head under running tap water until the water runs clear.
- Shake off excess water firmly — bristles that stay wet longer harbor more bacteria.
- Stand the brush upright in an open holder where air circulates freely.
- Keep each person’s brush at least an inch apart so bristles don’t touch.
- Never share a toothbrush, even within a household.
- Use travel caps only on a fully dry brush, and remove the cap as soon as you’re home.
Handle and non-bristle cleaning: Wipe the handle with a damp cloth weekly. For electric handles with crevices around the neck, use a cotton swab to clear debris buildup. The CDC recommends against closed containers for storage — the same logic applies to the handle: keep it dry between uses.
How to clean an electric toothbrush properly
Cleaning an electric toothbrush follows the same principles as a manual brush, with a few extra steps to protect the handle’s electronics.
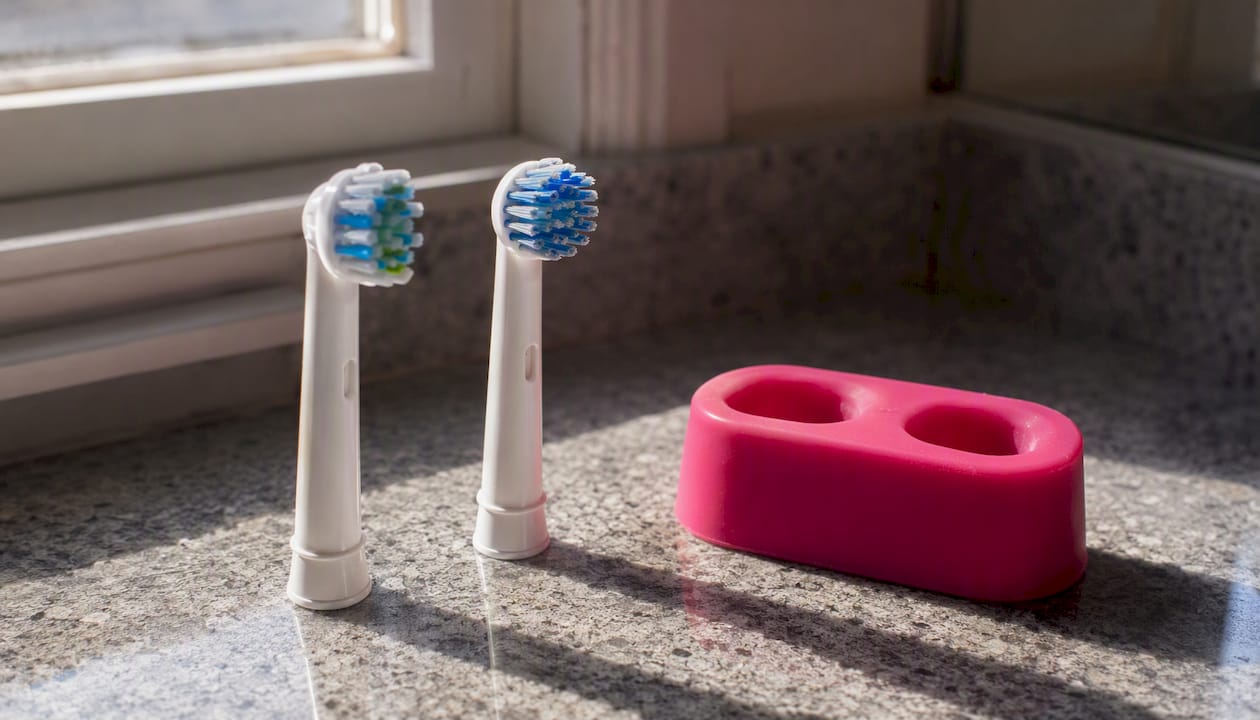
- After brushing, press the power button off before removing the head.
- Pull the replacement head straight off the handle neck.
- Rinse the head under hot running water, working the bristles gently with your fingers to dislodge debris.
- If disinfecting, soak the head only (not the handle) in your chosen solution for the appropriate contact time.
- Rinse the head again thoroughly, then set it bristle-side up to air-dry on a clean surface.
- Wipe the handle and neck with a damp cloth, paying attention to the groove where the head attaches — toothpaste and saliva collect there.
- Dry the handle completely before reattaching the head.
Most electric handles are not dishwasher-safe or microwave-safe. Check the manufacturer’s instructions before trying either method — damage from heat or water ingress typically voids the warranty and can warp the head attachment point, reducing cleaning effectiveness.
Pro Tip: Alternate between two replacement heads. While one is in use, the other has time to dry completely, which cuts down on anaerobic bacterial survival between sessions.
When should you throw out a toothbrush?
The ADA’s rule of thumb is every 3–4 months, or sooner if bristles fray. Frayed bristles clean less effectively regardless of how clean the brush is — the mechanical action that removes plaque depends on bristle shape.
Beyond the calendar, replace immediately if any of these apply:
- You’ve had a cold, flu, strep throat, or any oral infection.
- A family member used your brush by mistake.
- The brush was stored touching another person’s brush.
- Bristles are visibly bent, matted, or discolored.
For immunocompromised individuals and young children, many clinicians recommend replacing more frequently than every 3–4 months and following specific guidance from their care provider.
Cleveland Clinic specifically advises replacing at the start of illness treatment and again once the illness resolves — two replacements per illness episode — to prevent reinfection from a contaminated brush.
What does the research actually show about disinfection?
A 2026 systematic review and meta-analysis covering studies from January 2000 through December 2024 found that chemical disinfection, home remedies, and physical methods all reduced bacterial load on toothbrushes compared to controls. Chlorhexidine showed an especially strong effect. The catch: the overall certainty of evidence was rated very low due to heterogeneity across studies and risk of bias. That means the lab results are real, but their clinical significance for healthy people remains unproven.
A randomized crossover trial in children found that 3% neem, 2% triclosan, 0.2% chlorhexidine gluconate, and 1% sodium hypochlorite all reduced S. mutans counts on toothbrushes, with 3% neem showing the largest reduction in that specific trial. These are promising signals, not definitive clinical recommendations.
The practical takeaway: use disinfection as a targeted tool after illness or for high-risk situations, not as a substitute for replacement or proper storage. No study has shown that routine sanitizing changes health outcomes for the average healthy adult.
Do natural bristles need different cleaning than synthetic ones?
Most modern toothbrushes use nylon bristles, which are non-porous and tolerate brief soaks in hydrogen peroxide, dilute bleach, or vinegar without significant degradation. Natural bristles, typically made from boar hair, are porous and absorb moisture more readily. That porosity means bacteria can penetrate deeper into the bristle shaft, making surface rinsing less effective.
For natural-bristle brushes, shorter soak times are preferable since prolonged exposure to acidic solutions like vinegar can weaken the bristle structure faster than with nylon. Thorough drying matters even more: because natural bristles retain moisture longer, standing them upright in a well-ventilated spot is non-negotiable. Avoid microwave treatment entirely for natural-bristle brushes — the heat can cause the bristles to splay or the handle to crack.
How do hydrogen peroxide and mouthwash compare as disinfectants?
Hydrogen peroxide at 3% concentration is a stronger antimicrobial agent than most over-the-counter antiseptic mouthwashes. The PMC lab study cited earlier found mouthwash containing propolis had a weaker overall effect than vinegar or sodium hypochlorite against the tested organisms. Hydrogen peroxide works by releasing oxygen radicals that disrupt bacterial cell membranes, making it effective against a broad range of microbes in a 10–15 minute soak.
Mouthwash is more convenient and gentler on bristles, but its active ingredients (cetylpyridinium chloride or essential oils in most consumer products) are formulated for oral tissue contact time, not extended surface disinfection. A 15–20 minute soak in antiseptic mouthwash reduces microbial counts, but the reduction is smaller than what hydrogen peroxide or CHX achieves in comparable studies. If convenience is the priority, mouthwash is a reasonable option. For post-illness disinfection before a replacement brush arrives, hydrogen peroxide is the stronger choice.
Signs your toothbrush needs replacing before the three-month mark
Frayed or bent bristles are the most obvious signal, but a few less visible signs also indicate a brush has crossed into unsafe territory. Visible discoloration on the bristles that doesn’t rinse away suggests embedded debris or mold, particularly if the brush has been stored in a closed container while damp. A persistent unpleasant odor after rinsing points to the same problem.
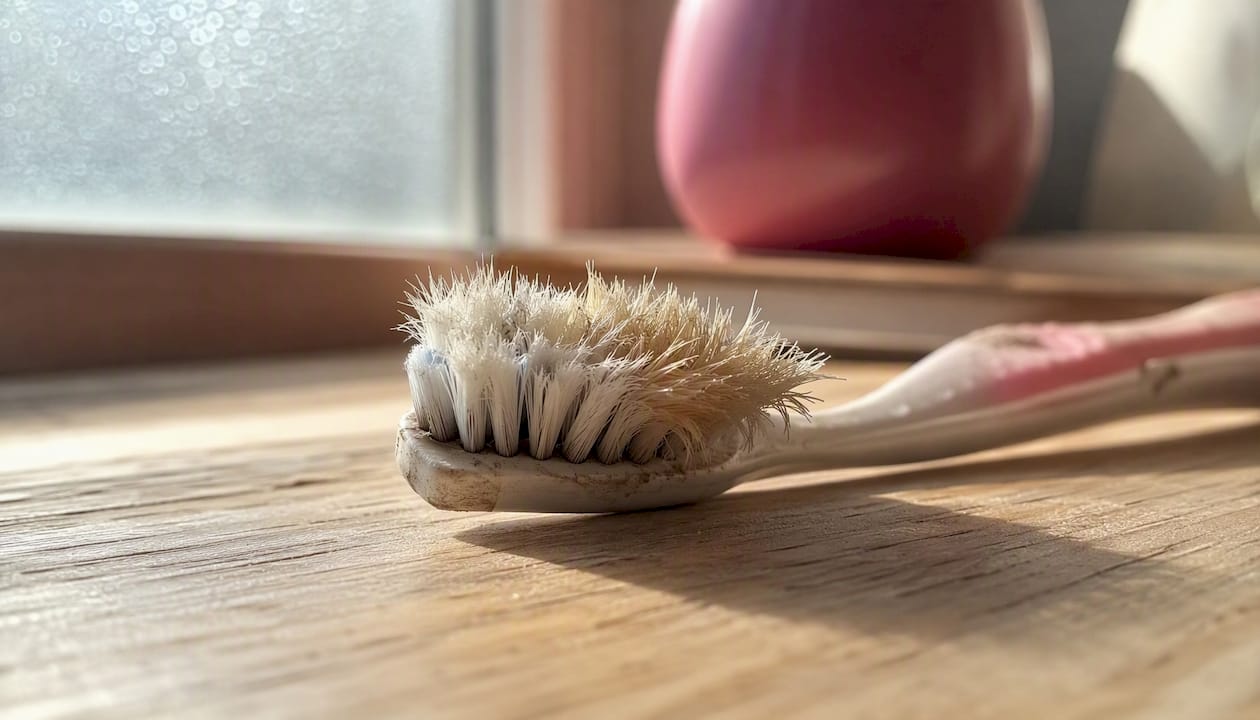
If the brush was dropped on a bathroom floor, rinsing it isn’t sufficient — bathroom floors carry fecal bacteria, and bristles can trap particles that water alone won’t dislodge. Replace it. The same applies if the brush was stored near an uncovered toilet: flushing disperses aerosol particles that can settle on nearby surfaces, including toothbrush heads. Keeping brushes at least six feet from the toilet or in a closed medicine cabinet addresses this specific risk without requiring any disinfection protocol.
The routine most people actually need
The research is consistent on one point: for healthy adults, aggressive disinfection protocols add complexity without proven health benefit. Daily rinsing, upright air-drying, separated storage, and timely replacement cover the real risks. Disinfection is a targeted response to specific situations, not a daily ritual.
Clearretain’s dental appliances, including retainers and night guards, follow the same logic: rinse after every use, air-dry, store in a clean open case, and clean thoroughly on a regular schedule. The dental hygiene principles that apply to toothbrushes transfer directly to any appliance that spends time in your mouth.
If you’re immunocompromised, recovering from illness, or caring for a young child, consult your dentist or physician for guidance specific to your situation. This article provides general information, not professional dental advice.
Clearretain custom dental appliances, made for real life
Clearretain offers custom upper retainers, lower retainers, partial denture retainers, night guards, and teeth whitening kits at a fraction of what a traditional orthodontic office charges, with FDA-approved materials and no office visit required. If you’re already careful about toothbrush hygiene, you understand why the appliance in your mouth matters just as much. Order online, use the self-impression kit at home, and get a custom-fit appliance shipped directly to you. Visit Clearretain to place your order.
Sources
- Wash it, soak it, pitch it: 4 tips for a clean toothbrush — Cleveland Clinic
- Efficacy of different methods for toothbrush disinfection — PMC (lab study)
- Toothbrush disinfection trial results (PubMed)
- Effectiveness of disinfection methods for toothbrushes: systematic review and meta-analysis (2026 DOI)
- Disinfecting surfaces with UV light — EPA