


How Impression Accuracy Affects Retainer Fit
Impression accuracy is the single most important factor in determining how well a dental retainer fits. In orthodontics, the term “impression trueness” describes how closely a mold replicates the actual shape of your teeth. A deviation as small as a fraction of a millimeter can cause a retainer to sit too loosely, press too tightly, or fail to hold your teeth in position at all. Understanding how impression accuracy affects retainer fit gives you a real advantage, whether you are working with a clinician or completing a self-impression kit at home. Clearretain builds every retainer from impressions held to professional-grade standards, because fit quality starts long before the appliance is manufactured.
How impression accuracy affects retainer fit: the core mechanics
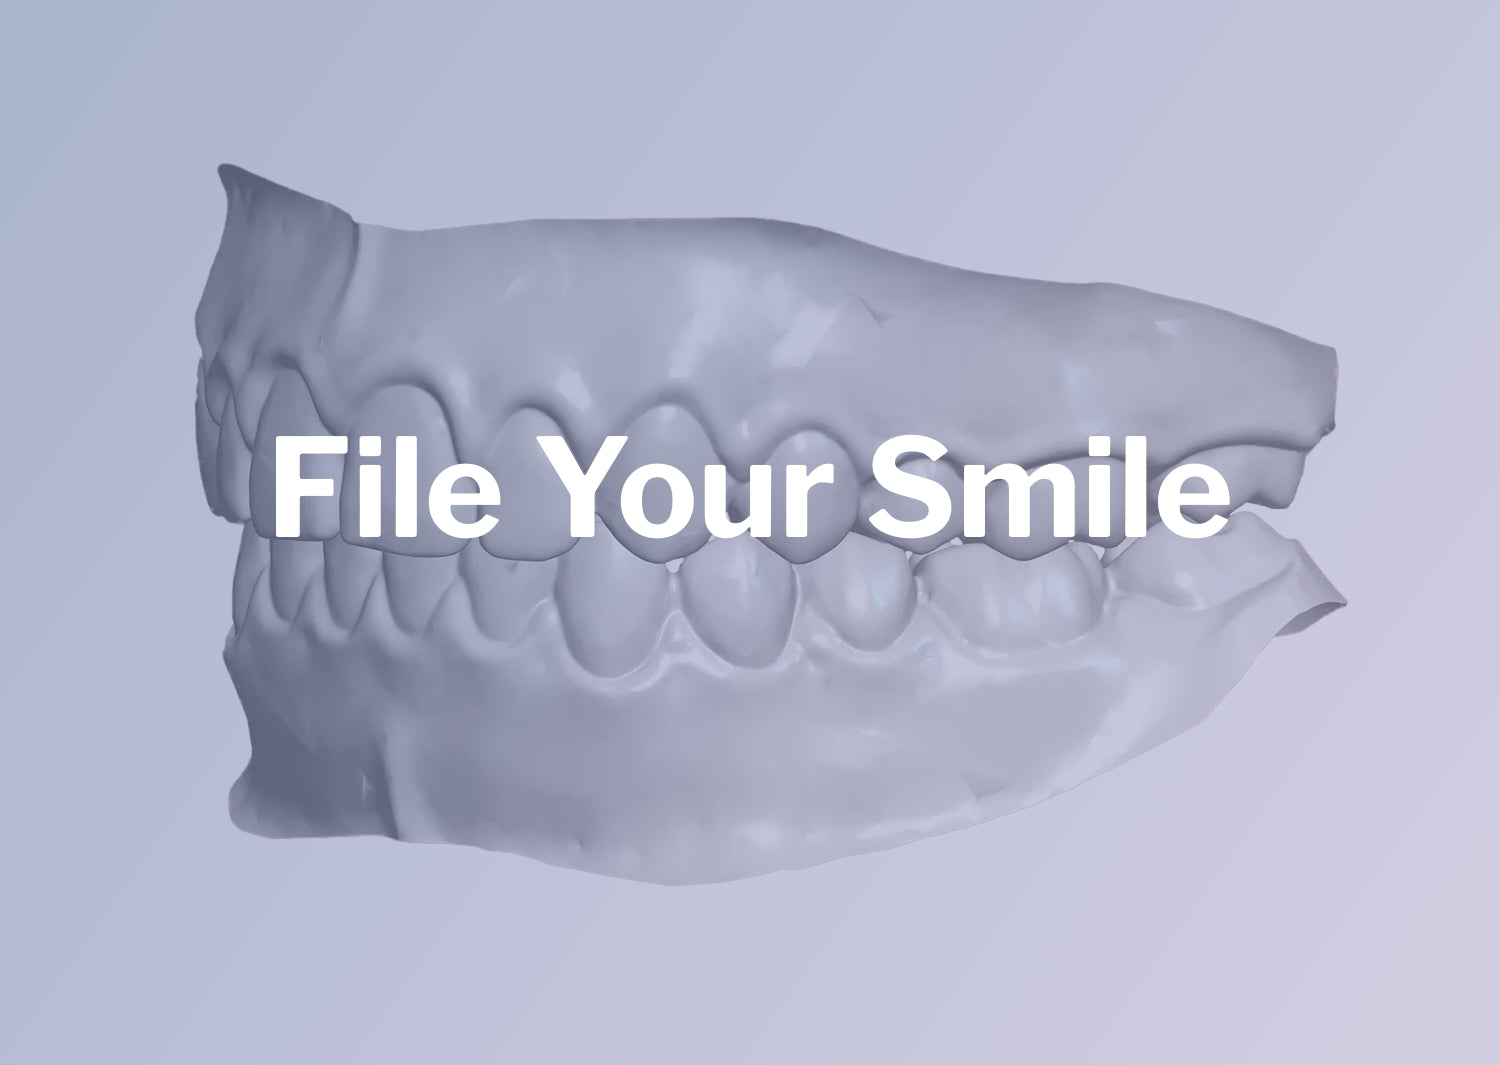
Impression accuracy is defined by two clinical benchmarks: trueness and precision. Trueness measures how closely the impression matches the actual tooth geometry. Precision measures how consistently that result can be reproduced. Both matter, because a retainer is fabricated from a model of your teeth, not from your teeth directly. Any distortion in the impression becomes a distortion in the retainer.
Digital impressions achieve dimensional tolerances within ±0.25 mm per tooth, which is the current clinical benchmark for precise retainer fabrication. That level of accuracy means the retainer conforms to your dentition closely enough to hold teeth in place without applying unwanted force. Physical impressions, by contrast, introduce variability through material behavior, technique, and timing.
A retainer that fits too loosely will not maintain tooth position. One that fits too tightly creates a different problem: a distorted fit causes active forces that push or pull teeth, mimicking the behavior of an aligner rather than a passive retainer. Neither outcome is acceptable for long-term orthodontic retention.
What impression methods produce the most accurate results?
Two main methods capture dental impressions: intraoral digital scanning and conventional physical impressions using alginate or polyvinyl siloxane (PVS) materials.
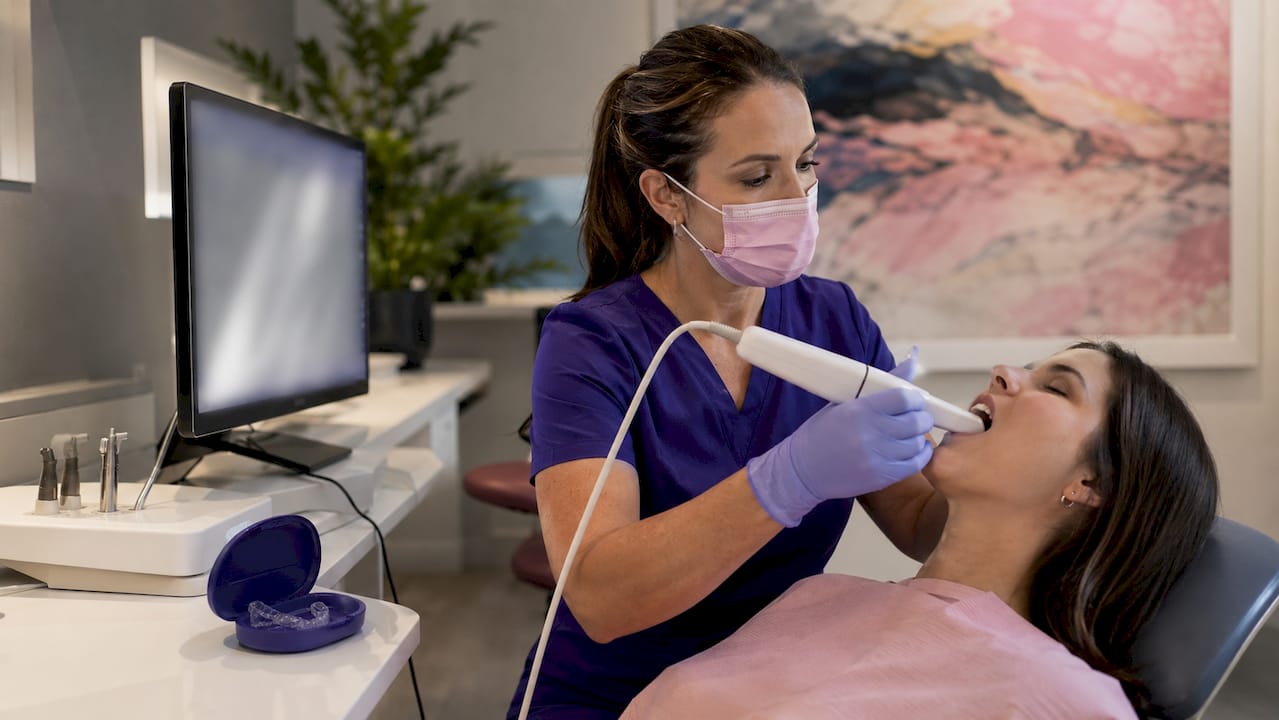
Digital intraoral scanners capture thousands of data points per second and build a 3D model in real time. Clinicians can evaluate the 3D model instantly and rescan specific areas if any region shows incomplete coverage. That immediate quality control eliminates the guesswork that comes with physical impressions, where errors are often discovered only after the stone model is poured.
Physical impressions depend heavily on material handling. Impressions must be poured within 15 minutes of recording to avoid dimensional distortion from material shrinkage or expansion. Delays beyond that window introduce an “error chain” where each step in the laboratory process compounds the original inaccuracy. The result is a stone model that no longer reflects the true shape of your teeth.
Patient comfort also influences accuracy. Digital scanning is recommended for patients with severe gag reflexes, because the physical presence of impression trays and setting material frequently triggers movement that distorts the mold. A patient who gags or shifts during impression taking produces a compromised record, regardless of the clinician’s skill.
Pro Tip: If you are completing a self-impression at home, breathe slowly through your nose during the setting time. Controlled breathing reduces the urge to gag and keeps your jaw still, which directly improves impression trueness.
For at-home retainer services, physical impression kits remain the standard delivery method. The quality of those kits, and the clarity of the instructions, determines how close the result comes to clinical standards. Clearretain’s step-by-step impression guide walks you through each stage to minimize common errors.
What common impression errors cause retainer fit issues?
Most retainer fit problems trace back to a small set of avoidable mistakes made during impression taking. Recognizing these errors before they happen is the most effective way to protect your retainer investment.
The most frequent mistakes include:
- Wrong tray size. A tray that is too small misses the back molars. A tray that is too large allows the material to shift before it sets. Both produce an incomplete or distorted arch record.
- Insufficient impression material. Thin coverage over the biting surfaces creates voids and bubbles in the final mold. Those gaps translate directly into gaps in the retainer.
- Tray movement during setting. Any movement while the material is firming up creates a smeared or doubled impression. The retainer built from that record will not seat correctly.
- Premature tray removal. Common errors like premature tray removal distort the impression before the material has fully set, pulling the mold out of shape.
The consequences of these errors show up in predictable ways. A retainer with voids may squeak or rock when seated. One built from a shifted impression creates pressure points that cause soreness within hours of wear. A retainer that covers only part of the arch provides uneven retention, which can allow teeth to drift.
One misconception deserves direct attention. Patients often mistake tightness from a distorted impression as a sign of correct retainer fit. Tightness is not a quality indicator. A well-fitting retainer seats fully and holds firmly without causing pain. If your retainer feels uncomfortably tight from the first day, the impression, not your teeth, is likely the source of the problem. Clearretain’s guide on why retainers feel tight explains how to tell the difference between normal adjustment pressure and a fit problem that needs correction.
Pro Tip: After removing your impression, hold it up to a light source and look for air bubbles, thin spots, or areas where the material did not reach the gum line. Catching these defects before you send the impression saves weeks of waiting for a replacement.
How does impression accuracy shape the manufacturing process?
Impression accuracy does not just affect the model. It determines which manufacturing methods can be used and how well they perform. This is where the connection between impression quality and final retainer fit becomes most concrete.
Digital impression files integrate directly with CAD/CAM systems and 3D printers. Digital files integrate with CAD/CAM systems for precise fabrication, meaning the retainer is designed and produced from the exact digital geometry of your teeth. No intermediate steps introduce additional error.
The manufacturing method itself also matters. Direct-printed retainers exhibit significantly higher dimensional accuracy than thermoformed retainers, with the difference reaching statistical significance at p<0.001. Thermoforming involves heating a plastic sheet and pressing it over a model. That process introduces slight distortion as the material cools and contracts. Direct printing builds the appliance layer by layer from a digital file, preserving the original geometry throughout. Advances in 3D-printed dental appliances have made this level of precision accessible at a consumer price point.
Physical impressions that feed into thermoforming workflows carry two sources of error: the impression itself and the thermoforming process. Each step amplifies the inaccuracy of the previous one. A physical impression that is 0.3 mm off in one region may produce a thermoformed retainer that deviates by a larger margin in the same area, because the plastic does not conform uniformly to every surface.
Manufacturing advances mean impression accuracy is only the first step. Direct-printed retainers add a crucial layer of precision that thermoforming cannot match. For patients who need a lower partial retainer or a full upper and lower retainer set, the manufacturing method is as important as the impression quality that precedes it.
What steps can you take to maximize impression accuracy at home?
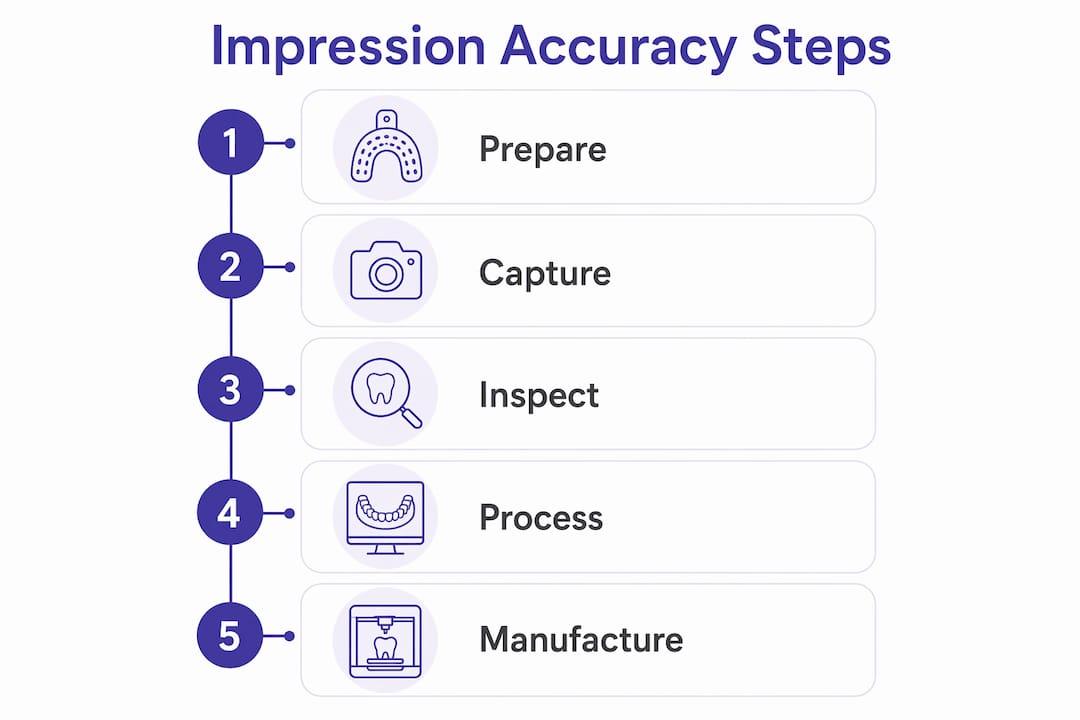
Getting a high-quality self-impression is achievable with the right preparation. The process rewards patience and attention to detail more than any special skill.
- Select the correct tray size. Most kits include multiple tray sizes. Test each tray in your mouth before mixing any material. The tray should cover all your teeth from front to back with about 3–4 mm of clearance on all sides for the impression material.
- Mix and load the material correctly. Follow the kit’s timing instructions exactly. Under-mixed material sets unevenly. Over-mixed material begins to firm before the tray is fully seated.
- Seat the tray firmly and hold it still. Press the tray evenly over your teeth and hold it without any movement for the full setting time. Use a timer. Do not estimate.
- Wait the full setting time before removing. Removing the tray even 30 seconds early can distort the impression. The material should feel firm and rubbery, not soft or tacky, before you remove it.
- Inspect the impression before packaging. Look for complete coverage of all tooth surfaces, clear detail at the gum line, and no air bubbles or voids. If you find defects, retake the impression using the spare tray included in most kits.
- Send the impression promptly. Physical impressions are most stable in the first 24 hours. Delays allow the material to shift slightly, which degrades the model quality.
The self-impression workflow guide from Clearretain covers each of these steps with photographs and troubleshooting notes. For patients with a strong gag reflex or significant crowding, consulting a dental professional for a digital scan before ordering a retainer is a sound option.
Key takeaways
Impression accuracy is the foundation of retainer fit: a deviation of even 0.25 mm can cause discomfort, poor retention, or unintended tooth movement.
| Point | Details |
|---|---|
| Accuracy benchmark | Digital impressions achieve ±0.25 mm tolerance, the clinical standard for retainer fabrication. |
| Error consequences | Wrong tray size, tray movement, and premature removal all produce distorted molds and poor retainer fit. |
| Tightness misconception | A tight retainer signals a distorted impression, not a correct fit. Passive seating is the goal. |
| Manufacturing impact | Direct-printed retainers outperform thermoformed ones in dimensional accuracy, making impression quality even more critical. |
| Home impression success | Correct tray selection, full setting time, and post-impression inspection are the three steps that matter most. |
What I’ve learned from watching impressions go wrong
The most common mistake I see is not a technique error. It is a mindset error. People treat the impression as a formality, something to get through quickly so they can move on to receiving their retainer. That attitude produces rushed results, and rushed impressions produce retainers that do not fit.
The clinical reality is that a retainer is only as good as the model it was built from. A distorted impression does not just produce a slightly imperfect retainer. It produces an appliance that may actively work against the orthodontic result you spent months or years achieving. That is not a small risk.
Physical impressions done at home can absolutely meet clinical standards, but they require the same deliberate attention that a clinician brings to an in-office scan. Reading the instructions once and then improvising is not the same as following each step in sequence with a timer in hand.
The other thing worth saying plainly: if your retainer does not feel right after the first few days of wear, do not assume your teeth need to adjust. Investigate the impression first. A retainer that was built from a flawed mold will not improve with time. It will continue to fit poorly, and in some cases, it will move teeth in the wrong direction. Catching that early saves you from a much larger orthodontic correction later.
Precision in orthodontics is not about perfection for its own sake. It is about protecting the result you already have.
— Clear
Clearretain retainers built for accurate fit
Getting the impression right is only half the equation. The retainer itself needs to be manufactured from materials that hold their shape and a process that preserves the accuracy of your impression.
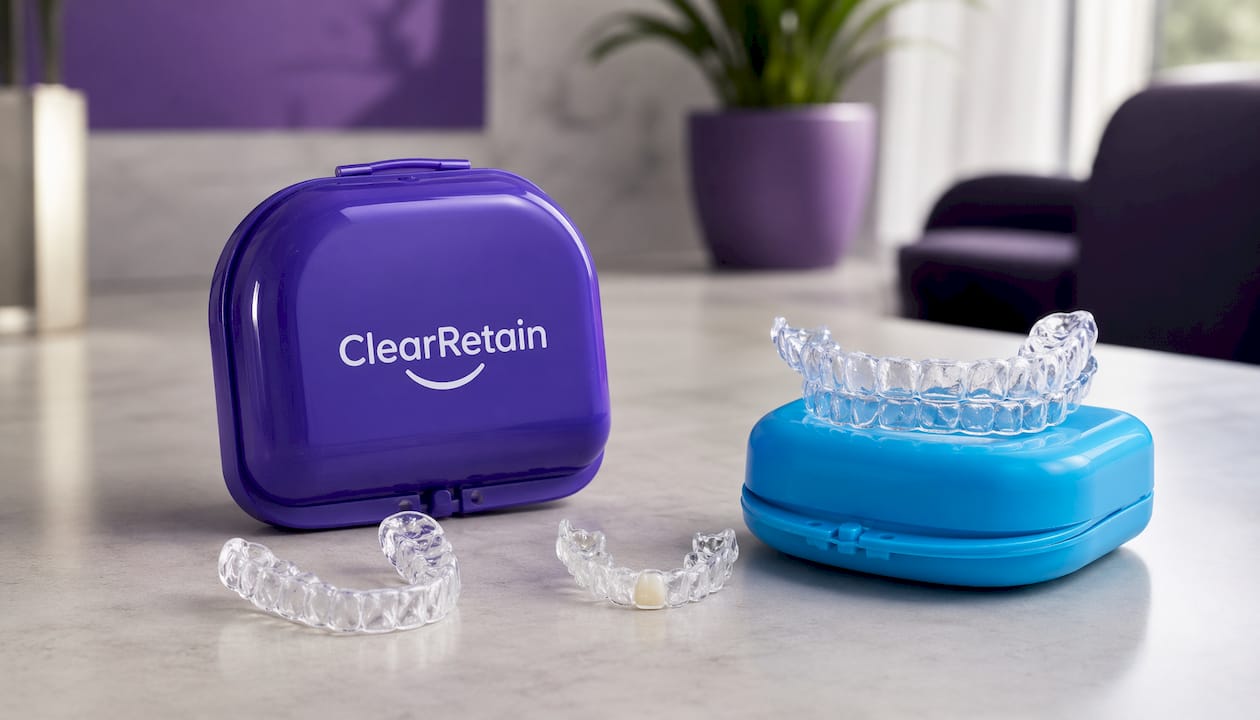
Clearretain uses FDA-approved materials and professional-grade fabrication supervised by experienced orthodontic technicians. Every order includes a detailed impression kit with clear instructions designed to minimize the errors that cause fit problems. The clear lower retainer and the full upper and lower retainer set are built to hold your teeth exactly where your orthodontist left them, at a fraction of the cost of an in-office replacement. Clearretain also offers a lower partial denture retainer for patients with partial tooth replacement needs requiring high-accuracy fit.
FAQ
How does a bad impression affect my retainer?
A bad impression produces a distorted model, and the retainer built from that model will not seat correctly. The result is a retainer that rocks, creates pressure points, or fails to hold your teeth in position.
Why do digital impressions improve retainer accuracy?
Digital scans capture tooth geometry within ±0.25 mm per tooth and allow immediate quality checks, eliminating the material distortion and timing errors that affect physical impressions.
Can I retake a self-impression if it looks wrong?
Yes. Most at-home impression kits include a spare tray for exactly this reason. Inspect the impression under good lighting before packaging it, and retake it if you see bubbles, voids, or incomplete coverage.
Why does my new retainer feel tight?
A tight retainer often signals an impression distortion rather than a correct fit. A well-made retainer seats fully without pain. If tightness persists beyond the first day or two, the impression accuracy and retainer fit should be reviewed.
Does the manufacturing method affect how well my retainer fits?
Direct-printed retainers show significantly higher dimensional accuracy than thermoformed retainers. The fabrication method amplifies or preserves the accuracy of the original impression, so both steps matter for final fit quality.