


Upper vs. Lower Night Guard: Which Arch Is Right for You?
Neither arch is universally superior. Pick the one that protects your most vulnerable teeth, fits your anatomy, and that you’ll actually wear every night. A custom night guard with a stable fit matters far more than which jaw it sits on.
That said, most dentists default to the upper arch first. Upper guards use the palate for retention, stay put more reliably, and cover the full occlusal surface. Lower guards suit patients with a strong gag reflex, significant maxillary restorations, or tongue-space concerns. According to NCBI clinical guidance on occlusal splints, custom hard acrylic splints are the standard recommendation for tooth protection, and the Cleveland Clinic emphasizes professional bite assessment before selecting any appliance.
Key factors that drive the decision:
- Existing restorations: Crowns, veneers, or implants on the upper arch often push clinicians toward a lower guard to avoid loading those restorations.
- Gag reflex: Palatal coverage triggers nausea in some patients; a lower guard eliminates that entirely.
- Bruxism severity: Heavy grinders need a hard, flat surface on whichever arch provides the best retention.
- Airway status: If you snore or suspect sleep apnea, arch choice becomes secondary to a sleep assessment.
Key Takeaways
Neither arch is universally better for bruxism protection; the right choice depends on your restorations, gag reflex, bite, and airway status, and a custom hard-acrylic guard worn consistently every night outperforms any OTC option regardless of arch.
| Point | Details |
|---|---|
| No universally superior arch | Upper and lower guards both protect teeth; the best choice depends on your specific dental profile. |
| Protect the vulnerable arch | Choose the arch opposite your most significant crowns, veneers, or implants to avoid loading restorations. |
| Gag reflex and airway first | Tell your provider about gag sensitivity or sleep symptoms before selecting an arch — both can change the recommendation. |
| Avoid dual-arch for routine grinding | Wearing guards on both arches simultaneously is not standard practice and can stress the TMJ without clinical justification. |
| Clearretain custom options | Clearretain offers upper, lower, and paired custom guards made from FDA-approved materials at a fraction of in-office cost. |
Table of Contents
- How do upper and lower night guards compare?
- How upper and lower guards differ anatomically and functionally
- How do dentists decide between upper and lower?
- What materials and types should you know about?
- How do you get a properly fitted guard?
- Should you wear both upper and lower night guards?
- Risks, limitations, and when to see a specialist
- What does the research actually show?
- A practical perspective on choosing your arch
- Clearretain custom night guards: find the right fit for your arch
- Sources
How do upper and lower night guards compare?
The table below covers the eight criteria that matter most when choosing between a top or bottom night guard.
| Feature | Upper guard | Lower guard |
|---|---|---|
| Comfort | Familiar for most; palate can feel bulky | Smaller footprint; less palate coverage |
| Bulk / intrusiveness | More material; covers palate | Thinner profile; sits on lower teeth only |
| Stability (stays in place) | High — palatal suction and undercuts | Moderate — relies on tooth undercuts only |
| Protection for restorations | Less ideal if crowns/veneers are upper | Better when upper restorations are present |
| Gag reflex / tongue interference | Can trigger gag; less tongue room | Minimal gag risk; more tongue interference |
| Cost | Comparable for custom; OTC varies | Comparable for custom; OTC varies |
| Adjustment time | 1–2 weeks typical | 1–3 weeks; tongue adapts more slowly |
| Speech impact | Mild lisp possible | Mild lisp possible; tongue contact differs |
The upper guard wins on retention. The lower guard wins on gag tolerance and tongue comfort. For most patients without significant upper restorations or airway concerns, the upper arch is the practical starting point. As Madison Dental Art’s clinical summary notes, neither option is proven superior across the board — the right choice is individualized.
Pro Tip: Custom fit closes the gap between arches. An OTC boil-and-bite lower guard will underperform a well-fitted custom upper guard every time, regardless of which arch theory you prefer.
How upper and lower guards differ anatomically and functionally
The upper jaw is fixed. The lower jaw moves. That single fact shapes everything about how each guard performs.
An upper guard sits on a stationary arch and uses palatal surface area for retention. The palate acts almost like a suction cup, which is why upper guards tend to stay put even in patients who grind aggressively. The downside: that same palatal coverage can displace the tongue slightly backward and, in patients with a sensitive gag reflex, trigger nausea within minutes of insertion.
A lower guard sits on the moving arch. The mandible shifts laterally, protrudes, and retracts during grinding, so the guard moves with it. This can actually be a functional advantage: the lower arch allows freer mandibular movement, which some clinicians argue reduces joint loading during lateral excursions. The tradeoff is that retention depends entirely on tooth undercuts, which vary by patient, and the guard competes with the tongue for space.
Functionally, the most important design variable on either arch is the biting surface. A flat, smooth occlusal surface distributes grinding forces evenly and discourages the jaw from locking into a habitual position. Registered or indexed surfaces (those molded to your exact bite) can inadvertently reinforce a clenching pattern. BDJ design literature is clear that appliance design and material firmness affect clinical outcomes more than arch placement alone.
- Palatal coverage: Increases retention on upper guards; can cause gag or mild airway displacement in susceptible patients.
- Tongue space: Lower guards reduce available tongue room, which most patients adapt to within two weeks.
- Mandibular movement: Lower guards move with the jaw; upper guards provide a stable platform the lower teeth slide against.
- Undercuts for retention: Upper arch has more surface area and palatal engagement; lower arch relies on buccal and lingual tooth undercuts.
Pro Tip: Ask your provider specifically for a flat biting surface, not a registered one. Flat surfaces distribute force more evenly and avoid reinforcing a habitual clenching position, regardless of which arch you choose.
How do dentists decide between upper and lower?
Clinicians run through a short checklist before recommending an arch. Knowing that checklist helps you walk into an appointment prepared.
The clinical decision criteria:
- Bruxism severity and wear pattern: Heavy grinders with significant enamel loss on upper teeth often get an upper guard to protect that arch directly.
- Existing restorations: Crowns, veneers, bridges, or implants on the upper arch are a strong signal to go lower, since a guard on the same arch as a crown adds loading risk.
- Periodontal health: Loose or compromised teeth affect retention; the arch with healthier periodontium usually hosts the guard.
- Missing teeth: Gaps reduce retention on either arch; the arch with more intact dentition holds a guard better.
- Mandibular tori: Bony growths on the inner lower jaw make lower guards uncomfortable or impossible to fit without surgical reduction.
- Gag reflex: A hyperactive gag reflex is one of the most common reasons to switch from upper to lower.
- Airway and sleep-breathing status: DentalEconomics practice guidance recommends screening for sleep-disordered breathing before prescribing any standard night guard, because a guard that repositions the tongue or jaw can worsen obstruction.
What to bring to your appointment:
- A list of all restorations (crowns, veneers, implants, bridges) with approximate dates.
- Notes on your gag reflex — does it trigger easily with dental instruments or impressions?
- Any sleep symptoms: loud snoring, witnessed pauses in breathing, or excessive daytime sleepiness.
- Photos of visible tooth wear if you have them.
- Your current bite concerns — does your jaw feel sore in the morning, or do you notice clicking?
The Cleveland Clinic’s malocclusion guidance reinforces that bite evaluation is a prerequisite for appliance selection, not an optional add-on.
What materials and types should you know about?
Material choice affects performance as much as arch placement. Here is what the main options actually mean for your grinding pattern.
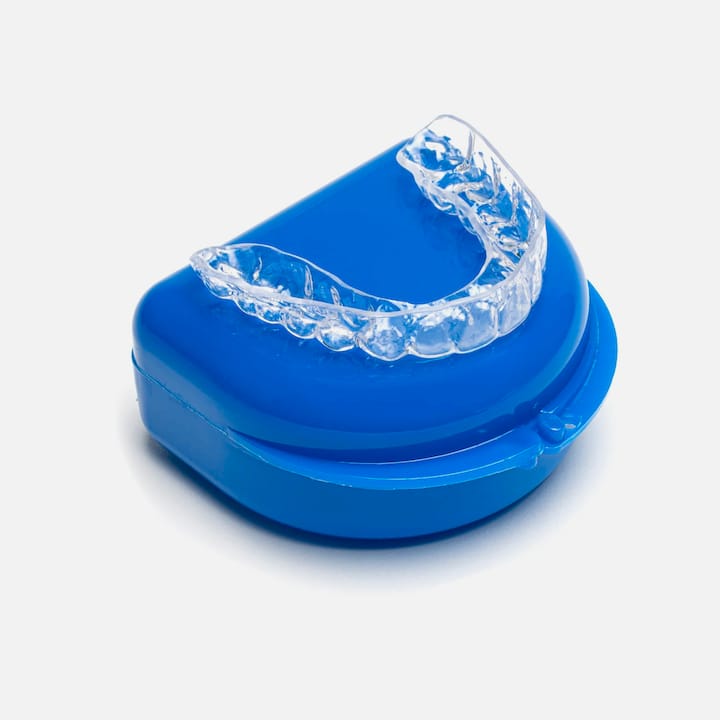
Hard acrylic is the clinical gold standard for heavy grinders. It distributes force across the full occlusal surface, resists wear, and maintains a flat biting plane. Custom hard acrylic guards are what most clinical reviews recommend for long-term tooth protection. They work on either arch.
Dual-laminate guards combine a hard outer shell with a soft inner lining. The soft layer improves comfort at insertion; the hard outer layer handles grinding forces. A reasonable middle ground for moderate grinders who find full-hard guards uncomfortable initially.
Soft guards feel comfortable but carry a real clinical caveat: some research suggests soft appliances can actually increase muscle activity in heavy clenchers, because the jaw interprets the soft material as something to chew. For light bruxers or occasional clenchers, soft guards are fine. For heavy grinders, they can make things worse.
Boil-and-bite OTC trays are inexpensive and available immediately, but the fit is approximate. Colgate’s consumer guidance notes that custom appliances provide meaningfully better fit and function for long-term protection. An OTC tray also cannot account for your specific restorations or bite pattern.
- Heavy grinders: custom hard acrylic, flat surface, either arch.
- Moderate grinders or clenchers: dual-laminate custom guard.
- Light clenchers or comfort-sensitive patients: soft or dual-laminate.
- Lower-arch guards with tongue contact: harder materials tolerate tongue pressure better than soft ones, which can deform.
For a deeper look at material safety and BPA-free options, the Clearretain BPA-free night guard guide covers material comparisons in detail.
How do you get a properly fitted guard?
Getting a night guard for teeth grinding involves a few clear steps, whether you go through a dentist or a direct-to-consumer provider.
Step-by-step process:
- Initial assessment: A dentist evaluates your bite, wear patterns, restorations, and any airway concerns. For a DTC order, you complete a self-assessment and note restorations and gag reflex history.
- Impression or scan: In-office digital scans are fast and precise. At-home impression kits from DTC providers like Clearretain use FDA-approved putty with detailed instructions; the impression ships to the lab.
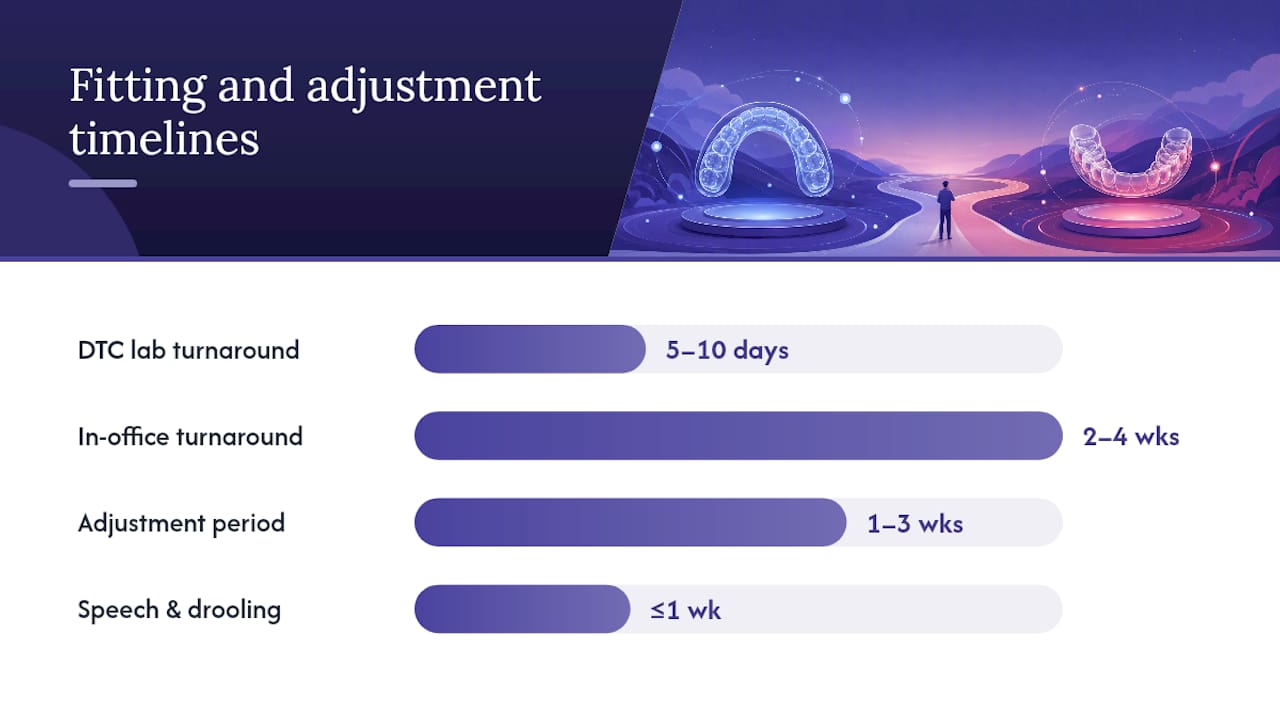
- Lab fabrication: Custom guards are milled or pressure-formed from your model. Typical lab turnaround is 5–10 business days for DTC; in-office dental lab orders often run 2–4 weeks.
- Fit check: In-office fitting includes bite adjustment by the dentist. DTC guards come with fit instructions; minor adjustments can be made with warm water or by contacting support.
- Adjustment period: Plan for 1–3 weeks of nightly wear before the guard feels natural. Speech and drooling typically normalize within the first week.
Cost ranges (approximate, not guaranteed):
- OTC boil-and-bite: low cost, available immediately at most pharmacies.
- Custom DTC guard (Clearretain): significantly less than in-office custom options.
- Custom dental-office guard: higher cost, includes professional fitting and adjustment.
Before ordering, note:
- Which teeth have crowns, veneers, or implants, and on which arch.
- Whether you have a sensitive gag reflex.
- Any sleep symptoms that should prompt a dentist conversation first.
- Whether you want the option to re-order using stored impressions (Clearretain stores your digital model for easy reorders).
The Clearretain custom vs. OTC comparison walks through the fitting process in more detail.
Should you wear both upper and lower night guards?
No, not for routine bruxism. Wearing guards on both arches simultaneously increases the vertical dimension of your bite, which stresses the temporomandibular joint and can cause or worsen TMJ pain. Single-arch devices are the standard recommendation precisely to avoid this.
There are narrow exceptions:
- Sleep apnea devices: Mandibular advancement devices (MADs) are dual-arch by design and work by repositioning the lower jaw. These are prescribed and fitted under medical supervision and serve a different purpose than a bruxism guard.
- Specific orthodontic or prosthodontic cases: Occasionally a clinician will prescribe dual-arch appliances for a specific bite rehabilitation scenario. This is not routine.
Pro Tip: If a provider recommends wearing guards on both arches for standard grinding without a clear clinical rationale, ask for a written explanation or get a second opinion. Dual-arch bruxism guards are not standard practice.
Risks, limitations, and when to see a specialist
Night guards protect teeth and reduce morning jaw soreness. They do not cure bruxism. That distinction matters when symptoms persist or worsen.
Common, expected side effects that usually resolve within a few weeks:
- Initial tooth soreness or pressure after the first few nights.
- Mild speech changes (lisp or altered “s” sounds).
- Increased saliva or drooling, especially with lower guards.
- A temporary feeling that your bite has shifted after removing the guard in the morning.
Red flags that warrant a dental visit:
- Pain that increases rather than decreases after the first two weeks.
- New or worsening tooth mobility.
- A bite shift that persists throughout the day, not just in the morning.
- Jaw clicking or locking that is new or getting worse.
Airway red flags — see a sleep specialist:
Standard night guards can worsen airway obstruction in patients with undiagnosed obstructive sleep apnea. DentalEconomics practice guidance specifically flags this risk and recommends oral appliance therapy evaluation when airway symptoms are present. If you experience loud snoring, witnessed pauses in breathing, or significant daytime sleepiness, request a sleep assessment before committing to a standard night guard on either arch.
The bottom line: a night guard is a protective device, not a cure. Coordinate with your dentist and, when airway symptoms exist, a sleep medicine provider.
What does the research actually show?
The evidence on occlusal splints is consistent on protection and modest on everything else.
BDJ peer-reviewed literature (2018) supports tooth protection and symptom relief from occlusal appliances but shows mixed results on whether they reduce bruxism frequency or prevent long-term occlusal change. The 2014 BDJ design study adds that appliance design and material firmness are stronger predictors of structural outcomes than arch placement.
No large randomized trial has established that upper guards outperform lower guards, or vice versa, for bruxism protection. The clinical consensus is that arch choice is individualized, guided by retention, restorations, comfort, and airway considerations.
| Evidence domain | What the research supports | What remains uncertain |
|---|---|---|
| Tooth protection | Strong support for custom hard splints | No arch shown superior |
| Morning pain relief | Consistent across studies | Effect size varies |
| Bruxism frequency | Not reliably reduced by any guard | Causal treatment remains elusive |
| Long-term bite change | Limited data; regular follow-up needed | Risk with poorly fitted guards |
| Airway interaction | Standard guards can worsen obstruction | Needs case-by-case screening |
A practical perspective on choosing your arch
The debate over upper vs. lower night guards is real, but it is also somewhat overstated in online discussions. The arch matters less than whether the guard fits well, uses the right material, and gets worn consistently every night.
Start with the arch that protects your most vulnerable teeth. If you have crowns or veneers on the upper arch, go lower. If your upper teeth show the most wear and you have no significant restorations there, go upper. If you have a strong gag reflex, go lower without hesitation.
Once you have your guard, track two things in the first month: morning comfort and whether the guard stays in place all night. If either is consistently poor after two to three weeks of adaptation, that is the signal to revisit arch choice or material with your provider. Schedule a follow-up within 2–6 weeks of starting wear. Clearretain’s upper and lower guard options, ordered with a custom impression, can match most of these clinical scenarios at a fraction of in-office pricing.
Clearretain custom night guards: find the right fit for your arch
Custom night guards from a dental office can run several hundred dollars or more. Clearretain delivers the same FDA-approved, lab-fabricated quality through a direct-to-consumer model that cuts that cost significantly, without sacrificing the custom fit that makes a guard actually work.
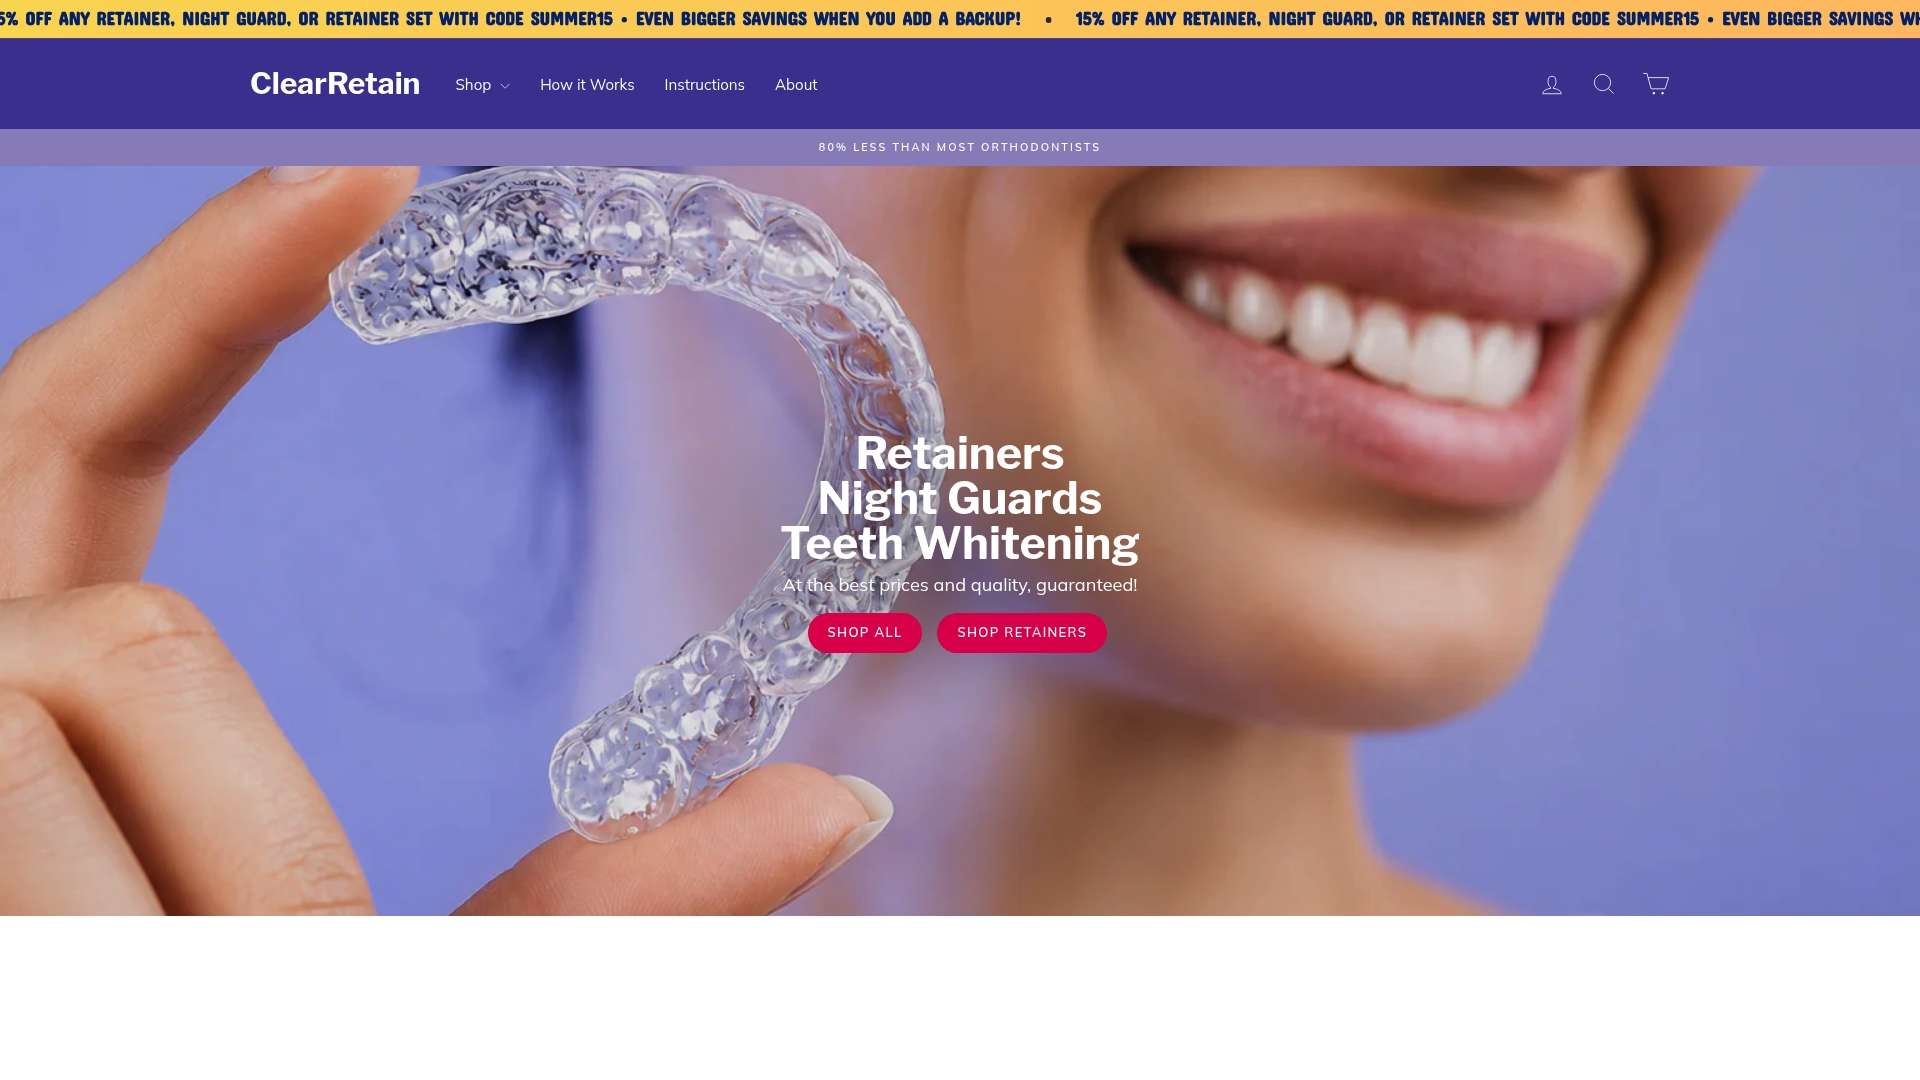
Here is how the product lineup maps to the clinical criteria covered above:
- Upper guard cases (most wear, best retention, no significant upper restorations): the Premium Hard Night Guard or Hard Night Guard on the upper arch.
- Lower guard cases (gag reflex, upper crowns/veneers, airway concerns): the Lower Teeth Retainer / lower night guard option.
- Clinician-directed dual-arch cases: the Upper and Lower Retainers Set, for patients whose provider has specifically recommended both arches.
- Whitening add-ons: pair your guard with the Tooth Whitening Serum or Teeth Bleaching Trays using the same impression workflow.
The process: order your impression kit, take your molds at home, ship them back, and receive your custom guard within days. Clearretain stores your digital model so reorders take minutes. If you are unsure which arch to choose, consult your dentist first, then order the guard that matches that recommendation directly through Clearretain’s night guard collection.
Sources
- Management of bruxism (occlusal splint guidance) — NCBI Bookshelf
- 3 reasons dentists should offer oral appliance therapy (not night guards) for sleep apnea — DentalEconomics
- Malocclusion — Cleveland Clinic
- Over-the-counter vs custom night guard — Colgate
This article provides general information about night guards and bruxism management. It is not a substitute for professional dental or medical advice. Consult a licensed dentist or sleep specialist to confirm which appliance is appropriate for your specific situation.